
Putting a nail into a wall may look simple. But if you do it the wrong way, you can crack the plaster, damage the paint, bend the nail, or even hit a wire or pipe hidden behind the wall. That is why learning how to hammer a nail into a wall safely matters more than many people think.
A good nail job is not only about force. It is about choosing the right nail, checking the wall type, using the right angle, and hitting with control. When these small steps are done well, the nail holds better and the wall stays clean.
In this guide, you will learn how to do the job safely and securely, what tools you need, common mistakes to avoid, and when a nail is not the best choice at all.
Start with the wall, not the hammer
Before you drive any nail, take a few seconds to understand the wall. This is the step many beginners skip, and it is often the reason for damage later.
Different walls behave in different ways. Drywall is soft and easy to pierce, but it can crumble if you use a nail that is too thick. Plaster is harder and can crack if you hammer too fast. Brick, concrete, and tile usually need special fixings, not a simple nail.
Also, some walls hide electrical wires or water pipes inside. If you are hanging anything near outlets, switches, sinks, or major plumbing lines, be careful. A nail in the wrong spot can create a real hazard.
If you want a reliable general safety reference, the Occupational Safety and Health Administration offers useful safety guidance for home and work projects.
Check what the wall is made of
- Drywall: Common in modern homes. Easy to nail, but it can chip if handled roughly.
- Plaster: Older walls often have plaster over wooden strips. It can crack if struck too hard.
- Wood paneling: Usually simple to nail, but the nail should be the right length.
- Brick or concrete: A standard nail is usually not the right tool here.
- Tile: Very easy to crack. Use special hardware instead of a nail when possible.
Look for hidden risks
Use a stud finder if you have one. It can help you locate wooden studs and sometimes detect wiring or metal pipes. If you do not have one, avoid random hammering near electrical outlets, switches, and plumbing areas.
Non-obvious tip: Even if a wall feels empty, there may still be horizontal wood blocks, wiring paths, or repairs behind it. That is why one safe spot can work while another spot just a few inches away may not.
Choose the right nail and hammer
The best way to make a nail hold well is to use the right size and type. A very large nail can split wood or enlarge the hole in drywall. A nail that is too small may not support the object.
For light wall items like small frames, a finish nail or picture nail is often enough. For heavier items, you may need a larger nail or, better yet, a wall anchor or screw.
Match the nail to the object
| Item to hang | Better nail choice | Notes |
|---|---|---|
| Light photo frame | Small picture nail | Best for dry wall and light weight |
| Small mirror | Finish nail or wall hook | Check the weight first |
| Medium wall art | Longer finish nail or picture hook | May need more than one point of support |
| Heavy frame or shelf | Wall anchor or screw | A nail alone is often not enough |
Non-obvious tip: The nail should usually go into something solid if the item is heavy. A nail in plain drywall may hold a light frame, but it may loosen over time if the object pulls on it every day.
Pick the right hammer
A standard claw hammer works for most home tasks. It should feel balanced in your hand. A hammer that is too heavy can make you hit too hard. A hammer that is too light may cause weak, repeated strikes.
Check the hammer head before use. It should be firmly attached. The handle should not be cracked. A loose hammer is unsafe and makes the job harder.
Prepare the wall and your work area
Good preparation helps you avoid slips, wall damage, and poor placement. This part is simple, but it makes the result look much cleaner.
:max_bytes(150000):strip_icc()/how-to-nail-into-concrete-by-hand-3573191-05-b1268df15db44ca9aed5e27584e55871.jpg)
Credit: thespruce.com
Mark the spot clearly
Use a pencil to mark the exact point where the nail will go. Measure carefully if you want the item to hang level. For frames or decorations, a small mistake at this stage can make the final result look uneven.
If possible, hold the item against the wall before nailing. This helps you check height and spacing.
Protect the wall surface
If the wall is painted, dusty, or delicate, place a small piece of painter’s tape where the nail will go. This can reduce minor surface chipping, especially on plaster or older walls.
You can also make a tiny starter hole with a small nail if the surface is hard. This can help guide the larger nail and reduce slipping.
Clear the area around you
- Move furniture if it blocks your swing.
- Keep children and pets away.
- Make sure the floor is dry and not slippery.
- Stand where you can swing the hammer freely without twisting your wrist.
Use the safest hammering technique
This is the part most people think about first, but technique only works well when the setup is right. The goal is not to hit hard. The goal is to place the nail straight and controlled.
Hold the nail correctly
Place the nail tip on the mark with one hand. Hold it near the top, not near the point. Keep your fingers away from the direction of the hammer. Many beginners get hurt because they hold the nail too close to the striking area.
If the nail is small and hard to hold, you can use a clothespin, a small piece of cardboard, or even tape to steady it for the first taps.
Start with gentle taps
Use short, light taps at the beginning. The first goal is to get the nail into the wall far enough so it stands on its own. Once it is stable, you can pull your fingers away and continue with firmer strikes.
Keep your wrist straight and aim from your shoulder and elbow. This gives you better control than quick, loose wrist flicks.
Keep the nail straight
Watch the nail as you hit it. If it begins to lean, stop and correct it before going farther. A crooked nail may bend, weaken the hold, or leave a larger hole.
Non-obvious tip: The first few hits matter more than the last few. If the nail starts at the wrong angle, every later strike can make the problem worse. A careful start gives the best result.
Stop before the wall is damaged
Do not drive the nail too deep unless the job calls for it. If the head goes too far into the wall, you can chip paint or tear the surface. For hanging items, the nail head should usually stay slightly out from the wall so the object can rest on it.
If the nail begins to bend, remove it and start again with a fresh nail. Forcing a bent nail deeper usually causes more damage.
Know how to prevent wall damage
Wall damage is usually caused by too much force, the wrong nail, or poor positioning. A neat nail job is less about strength and more about control.
Common mistakes that damage walls
- Using a nail that is too thick for the wall.
- Hitting the nail too hard from the start.
- Placing the nail too close to an edge or corner.
- Ignoring cracks, soft spots, or old repair areas.
- Using a hammer with a loose or damaged head.
Edges and corners are weaker than flat wall areas. If you drive a nail too near an edge, the wall material may split more easily.
If the wall is old, test the surface gently first. Some older plaster walls can seem solid but break apart once struck with repeated force.
Use support when needed
If your object is heavier than a simple frame, do not rely on a nail alone. Use wall anchors, picture hooks, or screws when appropriate. A nail may hold at first but loosen later under constant weight.
This is especially important for items that may move, swing, or be touched often. Movement creates stress, and stress makes nail holes bigger over time.
How to hammer a nail into a wall without hurting yourself
Safety is not only about the wall. Your hands, eyes, and posture matter too.
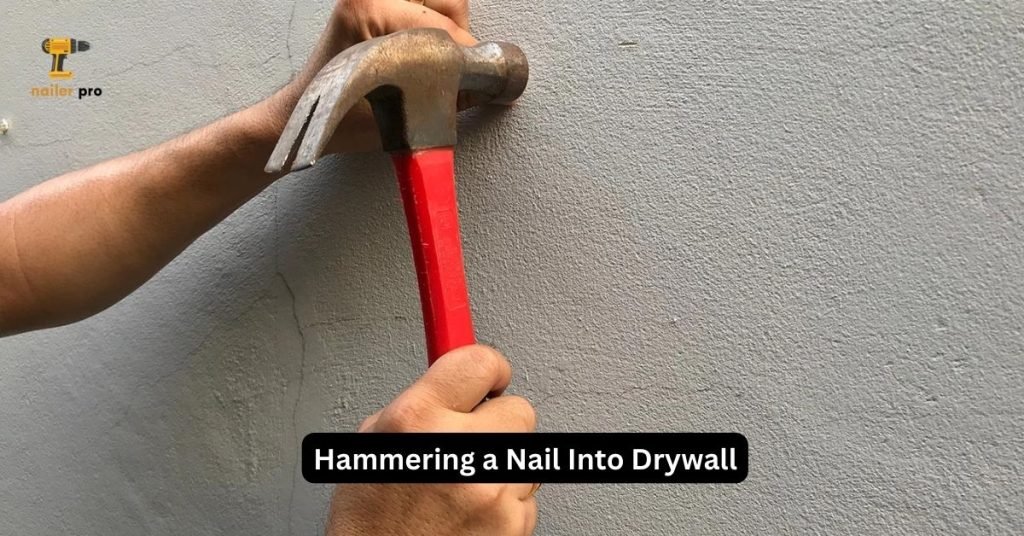
Credit: nailerpro.com
Keep your fingers clear
The easiest way to avoid a finger injury is to never place your hand too close to the strike point. Start the nail with your fingers at the top, then remove your hand as soon as the nail can stand by itself.
Wear simple eye protection
Small chips can fly off drywall, plaster, or old paint. Basic safety glasses are a smart choice, especially if you are working on an older wall.
Stand in a balanced position
Keep your feet steady and do not reach too far. If you are stretched out awkwardly, your hammer control drops fast. A stable stance gives cleaner strikes and less fatigue.
Work slowly if you are tired
People make more mistakes when they rush. If your arm is tired or you feel distracted, stop for a moment. One careful minute is better than one damaged wall or a sore thumb.
What to do if the nail bends or misses
Even careful people miss sometimes. The important thing is to correct the problem the right way.
If the nail bends
Do not keep hitting it hard. Pull it out with the claw of the hammer if possible. Then use a fresh nail. A bent nail is weaker and harder to control.
If the nail goes in at the wrong angle
If it is only slightly off and still secure, you may leave it. But if the angle is bad enough to affect the object, remove it and start again. A crooked nail often gives poor support.
If the wall chips
Stop and inspect the area. Small chips can sometimes be covered later with touch-up paint, but a growing crack means the wall material may be too weak for a nail in that place.
Non-obvious tip: It is often better to make one clean hole in the right spot than to force a weak nail into a damaged spot. Repeated corrections usually create more visible damage than a fresh start.
After the nail is in place
Once the nail is secure, check whether it feels stable. Give it a very light test by touching or gently pressing the hanging point. Do not pull hard, because that can loosen a fresh hole.
Hang the item carefully and watch it for a moment. If it shifts or tilts, the nail may not be in a strong enough spot. For heavier pieces, use two support points instead of one whenever possible.
Clean up any wall dust or small chips right away. This keeps the area neat and makes it easier to notice whether the nail caused any crack that needs repair.
When a nail is not the right answer
Sometimes the safest answer is not to hammer at all. A nail is good for light to medium wall items, but it is not the best tool for every job.
- Heavy shelves: Use screws and proper anchors.
- Large mirrors: Use rated hardware made for the weight.
- Brick or concrete walls: Use masonry fixings.
- Fragile tile surfaces: Avoid nails if you can.
- Items near wires or pipes: Choose a safer hanging method after checking the area.
If you are unsure, stop and choose a stronger mounting method. A secure installation is better than a quick one.
Simple best practices for a cleaner result
A neat nail job usually comes from a few small habits. These are easy to remember and make a big difference.
- Mark the spot before hammering.
- Check the wall type first.
- Use a nail that matches the weight of the item.
- Start with soft taps, then increase force slowly.
- Keep the nail straight from the first strike.
- Stop if the wall begins to crack or crumble.
These steps may feel basic, but they are what separate a clean, secure result from a damaged wall and a loose hanger.

Credit: istockphoto.com
Why a secure nail job matters over time
A nail that seems fine today may still fail later if it was installed poorly. Heat, movement, humidity, and repeated use can slowly loosen weak wall holes. That is why a solid start matters.
For example, a picture in a hallway may not seem heavy, but people walking by can create tiny vibrations. Over weeks or months, those vibrations can loosen a badly placed nail. The same is true for objects in kitchens, bedrooms, or near doors that close often.
So when you learn how to hammer a nail into a wall the right way, you are not just making the item stay up for today. You are making it stay up safely for longer.
Frequently asked questions
1. How do I hammer a nail into a wall without cracking the plaster?
Use a small nail, start with very light taps, and avoid hammering near weak edges. If the plaster is old or crumbly, test the spot gently first and consider a picture hook or anchor instead.
2. What size nail should I use for wall hanging?
For light frames, a small picture nail or finish nail is usually enough. For heavier items, a nail may not be the best choice. Use a wall anchor or screw if the object has more weight.
3. Can I hammer a nail directly into drywall?
Yes, for light objects. Drywall can hold small nails for frames or decorations. But if the item is heavy, a nail alone may loosen over time, so a better mounting method is safer.
4. How can I keep my fingers safe while hammering?
Hold the nail at the top, use gentle first taps, and remove your fingers as soon as the nail can stand on its own. You can also use pliers, tape, or a small holder for extra safety.
5. When should I avoid using a nail in the wall?
Avoid nails in brick, concrete, tile, or very fragile plaster. Also avoid nailing near outlets, switches, sinks, or any area where wires or pipes may be hidden. In those cases, choose the right anchor or consult a professional.
