
If you want a pegboard wall but do not want to put holes in your wall, you are not alone. Many renters, small-space owners, and DIY beginners want a clean setup that can be removed later without damage. The good news is that how to mount pegboard without drilling is possible in several practical ways.
The best method depends on the weight of the tools or items you plan to hang, the type of wall you have, and how long you want the pegboard to stay in place. A light craft board has very different needs from a garage board that holds heavy tools. When you choose the right mounting method, the board can stay secure and still come off cleanly later.
In this guide, you will learn the safest no-drill options, what each one is best for, and how to avoid common mistakes that cause boards to fall or damage the wall. You will also see simple setup tips that make the install stronger, neater, and easier to remove.
Choose the right no-drill mounting method
Before you buy anything, think about what the pegboard will hold. This is the biggest factor in choosing a damage-free setup. A board for scissors, tape, and light craft supplies can use simple adhesive support. A board for drills, hammers, or kitchen pans needs a stronger plan.
Here are the most useful no-drill methods:
- Heavy-duty mounting strips for light to medium pegboards
- Command-style hook systems for small and light boards
- Strong removable adhesive pads for temporary use
- Freestanding frames or stands for heavier storage needs
- Furniture-backed mounting using bookcases, cabinets, or desks
The main idea is simple: the wall should support the board, but the board should not depend on fragile glue alone if the load is heavy. A common beginner mistake is choosing a strong-looking adhesive without checking the real weight limit after tools are added.
What makes a pegboard fail?
Most failures happen for three reasons. First, the wall surface was dirty, dusty, or oily. Second, the adhesive was not rated for the actual weight. Third, the board was loaded too soon after installation. Even strong products need proper curing time.
Another thing many people miss is that pegboard itself adds weight. If you use thick wood pegboard instead of a light composite board, the mounting system must carry more than just the items on it. This small detail often decides whether the setup lasts or falls.
Pick the board style that works best without drilling
The kind of pegboard you use matters more than most people think. Lightweight boards are easier to mount with removable products, while heavy wooden boards often need a support frame or shelf-backed design. If you are starting from scratch, choose a lighter board for the easiest no-drill install.
| Pegboard type | Best no-drill method | Good for | Main caution |
|---|---|---|---|
| Light composite pegboard | Adhesive strips or removable hooks | Craft rooms, dorms, light storage | Avoid heavy tools |
| Thin metal pegboard | Freestanding frame or shelf support | Modern home storage | Can be heavy for wall adhesives |
| Wood pegboard | Frame-backed or furniture-supported setup | Decorative use, medium loads | Usually too heavy for simple adhesive |
| Small pegboard panels | Command-style hanging system | Small tools, keys, accessories | Works best on smooth walls |
If you want the most flexible setup, a smaller board is smarter than one large sheet. Many people try to mount a huge pegboard with adhesive, but a smaller panel spreads less weight and is much easier to remove later.
Prepare the wall so the mount holds better
Good prep can make the difference between a strong hold and a fast failure. Do not skip this part. Adhesive products need a clean, dry, smooth surface to work well.
Clean the area properly
Use a dry cloth first to remove dust. Then clean the wall with mild soap and water or rubbing alcohol, depending on the wall finish. Let the area dry fully before you attach anything.
If the wall has grease, moisture, or soft paint that is already peeling, no-drill mounting will be less reliable. In that case, choose a freestanding option instead of forcing adhesive to do too much.
Check the wall finish
Smooth painted drywall usually works best for removable adhesive products. Textured walls, brick, concrete, and rough plaster are harder to work with. These surfaces reduce contact and weaken the grip.
This is one of the most overlooked details in how to mount pegboard without drilling. The product may be strong, but the wall itself still needs to support the bond. If the wall texture is uneven, the adhesive only touches high points, not the full surface.
Use adhesive strips for the simplest damage-free setup
For many light pegboards, strong removable adhesive strips are the easiest answer. They are fast, affordable, and simple to remove if you follow the instructions. They also work well for renters who want a clean wall later.
Choose strips that are rated for more weight than you think you need. Do not use the minimum rating. A safe setup should have extra capacity because pegboard loads often change over time.
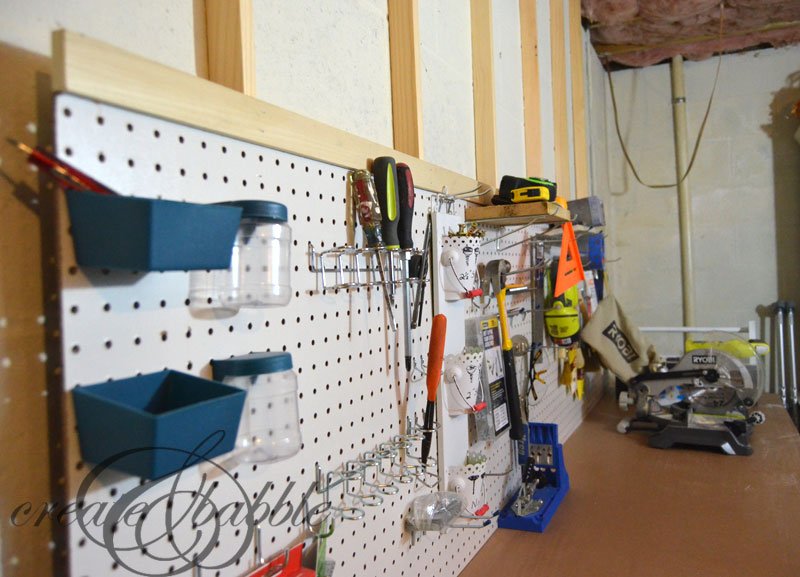
Credit: createandbabble.com
How to install with adhesive strips
- Measure where the board will sit and mark the top corners lightly with pencil.
- Clean the wall surface and the back of the pegboard.
- Attach the strips to the back of the pegboard, following the product instructions.
- Press the board firmly against the wall for the recommended time.
- Remove the board once if required by the strip brand, then press it back into place for the final hold.
- Wait the full curing time before adding any items.
That last step matters a lot. Many people hang the board and load it right away. The bond is usually weaker before the curing period ends, even if the board feels tight to the wall.
Best uses for adhesive strips
- Craft tools and supplies
- Light kitchen accessories
- Keys, cords, and small organizers
- Decorative pegboards
Adhesive strips are not the best choice for heavy garage tools. They can hold a board, but the weight of metal tools and frequent pulling creates stress that is hard to predict.
Try removable hooks for small boards and light loads
Another easy option is to hang the pegboard from strong removable hooks. This works especially well if the board has a lightweight frame or if you can attach hanging points to the top edge. It is a clean option for small panels used in offices, bedrooms, or craft corners.
The main advantage is flexibility. You can move the board more easily, and you can often remove the hooks without visible damage. The downside is lower weight support compared with more permanent systems.
How to make hooks work better
Use at least two hooks, and make sure they are level. If the board is wider, use three or four to spread the load. The board should hang flat and not tilt forward.
One small but important tip: add a tiny spacer at the bottom of the board if it leans away from the wall. Even a small gap can make the pegboard wobble when you remove items. A stable board feels stronger and looks more finished.
Build a no-drill frame for a stronger hold
If you want a safer setup for heavier use, a frame is often the smartest damage-free solution. Instead of asking adhesive to hold the full weight, the frame spreads the load and gives the pegboard a solid shape.
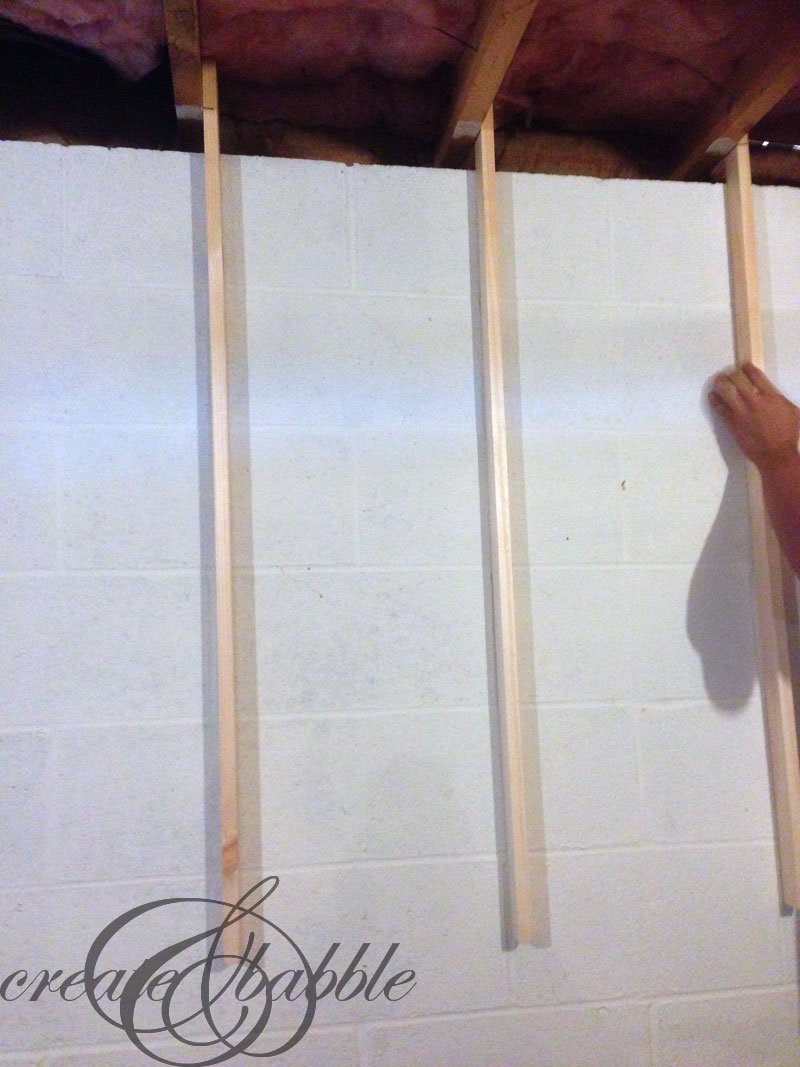
You can build a simple frame with lightweight wood or buy a ready-made stand system. Some people place the pegboard inside a freestanding frame and lean it against the wall. Others use a frame that sits on a cabinet, desk, or shelf.
Why a frame is often the better choice
- It supports more weight than adhesive alone
- It reduces bending and warping
- It makes the pegboard easier to move later
- It can look cleaner and more finished
This method is especially useful in garages, studios, and utility rooms. If you plan to hang larger tools or change the layout often, a frame is more reliable than a wall bond.
Smart frame tip
Leave a little space behind the pegboard so the hooks can fit properly. Many beginners forget this and mount the board too flat against the frame. When that happens, some pegboard hooks do not sit correctly, and the board becomes less useful.
Use furniture as support when wall mounting is not ideal
Sometimes the easiest no-drill solution is not on the wall at all. If you have a bookshelf, cabinet, worktable, or desk near the area, you may be able to attach the pegboard to the furniture instead of the wall.
This works very well in small rooms and rentals. The pegboard can stand behind a desk or sit on top of a storage unit. In many cases, this gives you the same function with less risk.
Credit: createandbabble.com
Good furniture-supported setups
- Pegboard above a desk for office supplies
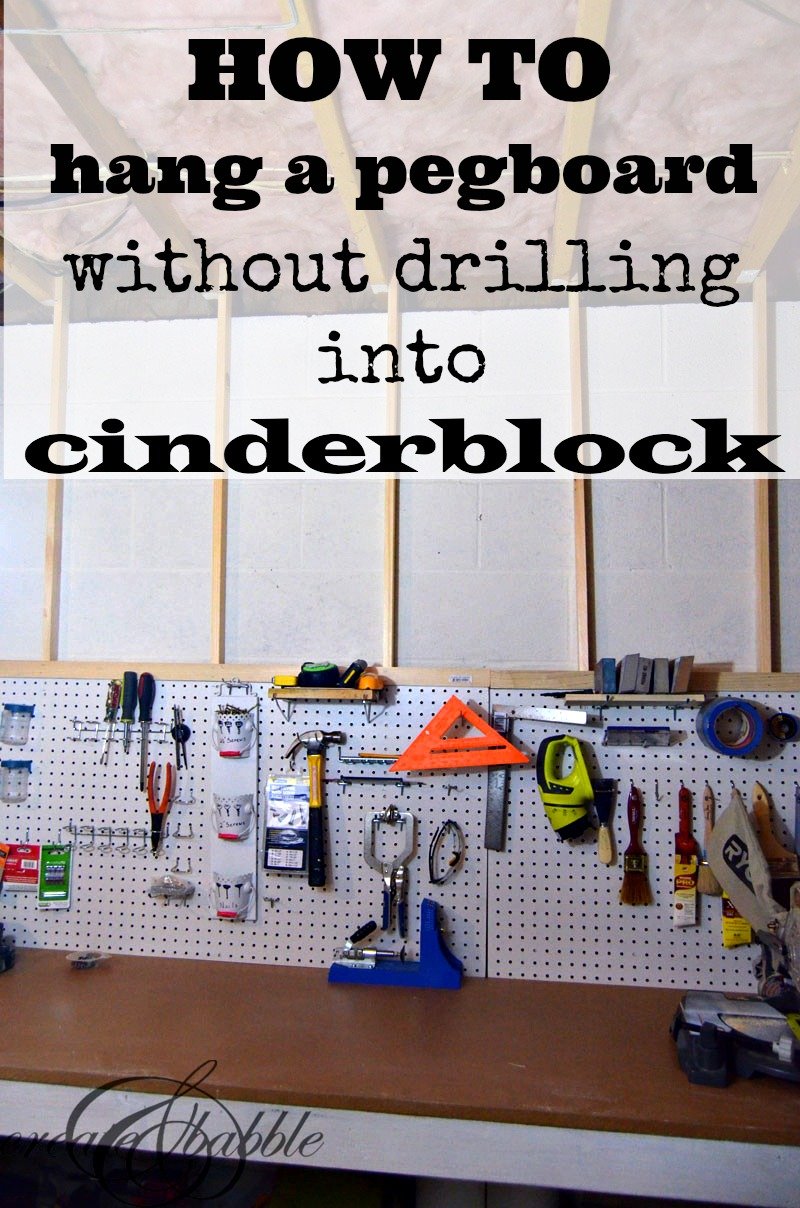
- Pegboard behind a workbench for tools
- Pegboard on top of a low cabinet for kitchen storage
- Pegboard attached to a bookcase side for craft items
The main benefit is stability. Furniture already has weight and balance, so the pegboard does not depend only on adhesives. The setup also makes it easier to hide cords, bins, or small accessories nearby.
How to mount pegboard without drilling safely: step-by-step plan
If you want a simple process, follow this plan. It works for most light and medium no-drill projects.
- Choose a lightweight pegboard panel.
- Check the total weight you plan to hang.
- Pick the no-drill method that matches that weight.
- Clean the wall or furniture surface well.
- Dry-fit the pegboard before sticking anything down.
- Mark level points with a pencil.
- Attach the mounting product carefully.
- Press firmly and wait the full cure time.
- Test the board with a few light items first.
- Add heavier items slowly over time.
This slow approach may seem simple, but it prevents most problems. Many failures happen because people load everything at once and do not test the bond first.
Common mistakes that weaken a no-drill pegboard
Some errors show up again and again. Avoid these, and your project will last much longer.
- Using too much weight. The wall mount may hold the board but fail under loaded tools.
- Skipping surface prep. Dust and oil reduce grip fast.
- Mounting on textured walls. The bond is weaker on rough surfaces.
- Ignoring cure time. The board needs time to settle before use.
- Choosing a board that is too heavy. The pegboard itself may be the real problem.
- Pulling items off too sharply. Repeated hard pulling can stress the mount.
One less obvious mistake is forgetting about temperature and humidity. Warm, damp rooms can weaken some adhesives. If your pegboard is going in a laundry room, near a stove, or in a bathroom, choose a method that can handle those conditions better.
How to make the setup look neat and stay useful
A no-drill pegboard should not only stay up. It should also look clean and work well every day. A neat setup is easier to use, and it feels more secure too.
Start by placing the board at a comfortable height. If you need to reach items often, keep the center of the board near eye level. If the board is for kids, lower it enough for safe access.
Then organize items by weight. Put lighter things near the top and heavier items lower down. This keeps the board balanced and reduces pull on the upper mount points. It is a small detail, but it helps a lot.
You can also use baskets, small bins, and hooks in matching sizes. A busy pegboard looks more polished when the accessories are consistent. Too many random hook shapes can make the board feel cluttered and harder to use.
When a no-drill method is not enough
Sometimes the honest answer is that no-drill mounting is not the right choice. If you want to hold large power tools, cast-iron pans, or heavy hardware, wall adhesive alone is usually not enough.
In those cases, use a freestanding frame, a cabinet-backed setup, or a wall system that can be installed with hardware later. If you are renting and cannot drill, it is better to choose a safe free-standing design than to risk damage from a falling board.
If you want more technical product guidance on wall-safe hanging systems, a useful reference is 3M Command, since it explains product use, weight limits, and removal details clearly.
Credit: createandbabble.com
Final thoughts before you start
Learning how to mount pegboard without drilling is mostly about matching the right method to the right load. Light boards can often use adhesive strips or removable hooks. Heavier boards need a frame, furniture support, or a different storage plan.
If you clean the surface, respect the weight limit, and wait for the adhesive to cure, you can create a strong and removable pegboard setup without drilling a single hole. The best result is not just damage-free. It is also stable, neat, and easy to live with every day.
FAQs
1. Can a pegboard really be mounted without drilling?
Yes, a pegboard can be mounted without drilling if the board is light enough and the wall surface is smooth and clean. Adhesive strips, removable hooks, and freestanding frames are the most common methods.
2. What is the strongest no-drill way to hang pegboard?
For light boards, heavy-duty adhesive strips are usually the simplest strong option. For heavier pegboards, a frame or furniture-supported setup is stronger and more reliable than adhesive alone.
3. Will no-drill pegboard damage the wall when removed?
It can be removed with little or no damage if you use removable products correctly and follow the removal steps. Pulling too fast or removing from weak paint can still cause peeling.
4. Can I use no-drill mounting for garage pegboards?
Yes, but only for lighter setups or boards with a frame or support system. If you want to hold heavy tools, a simple adhesive mount is usually not the safest choice.
5. How long should I wait before loading the pegboard?
Wait the full curing time listed by the product maker, which is often several hours or more. Do not load the board right away, even if it feels firmly attached at first.
