
If your car paint looks dull, fine scratches are easy to see, or the shine has faded, a buffer can help bring it back. Many people think polishing is only for experts, but with the right steps, it is a job most car owners can do at home.
The key is not speed. The key is control. When you learn how to polish a car with a buffer, you can remove light paint defects, improve gloss, and make the car look much newer. But you must use the right pad, polish, and machine movement. One mistake can create swirl marks or burn the paint.
This guide explains the full process in simple words. You will learn what tools to use, how to prepare the car, how to polish safely, and how to avoid common errors. By the end, you will know how to get a clean, glossy finish without guessing.
What you need before you start
Good results begin with proper tools. A buffer alone is not enough. You also need the right pads, products, and a clean work area. If you rush this part, the polishing step becomes harder and less safe.
There are two common types of buffers. A dual-action buffer is the safer choice for most beginners. It moves in both a spinning and orbiting motion, which lowers the chance of paint damage. A rotary buffer removes defects faster, but it is harder to control and can overheat paint if used the wrong way.
For most car owners, a dual-action buffer is the best starting point.
| Tool or product | Why it matters |
|---|---|
| Dual-action buffer | Safer for beginners and easier to control |
| Polishing pads | Used to cut, refine, or finish the paint |
| Car polish | Removes light defects and improves gloss |
| Microfiber towels | Used to wipe off polish and inspect the surface |
| Car shampoo | Cleans dirt before polishing |
| Clay bar or clay mitt | Removes stuck contaminants from the paint |
| Painter’s tape | Protects rubber trim and edges |
| Good lighting | Helps you see scratches, haze, and swirl marks |
You should also have a clean wash bucket, a hose or pressure washer, and a shade area to work in. Polishing in direct sun is not ideal because the product can dry too fast.
Understand what polishing can and cannot fix
This step is important because many beginners expect too much from polish. Polishing improves the surface, but it does not repair every paint problem.
Polishing can help with:
- Light swirl marks
- Fine scratches in the clear coat
- Oxidation and dull paint
- Water spots that sit on the surface
- Small marks left after washing
Polishing cannot fix:
- Deep scratches that go through the clear coat
- Rock chips
- Peeling clear coat
- Rust damage
- Paint that has already failed
This is one of the most useful things beginners miss: if you can feel the scratch with your fingernail, polishing may not remove it. In that case, the damage may need touch-up paint or professional repair.
Wash and decontaminate the car first
Never polish a dirty car. Tiny dirt particles can scratch the paint while the buffer moves over the surface. A proper wash is the first real step in getting a glossy finish.
1. Wash the car well
Use car shampoo and clean water. Wash from top to bottom so dirt moves downward. Rinse often. If the car is very dirty, do a pre-rinse first to remove loose grit.
2. Dry the car fully
Use a clean microfiber drying towel or a drying aid. The surface must be dry before clay treatment and polishing. Water around trim and panel edges can also throw polish around later.
3. Remove bonded dirt with a clay bar
Even after washing, the paint may still feel rough. That roughness comes from road tar, industrial fallout, and tiny contaminants stuck to the clear coat. A clay bar or clay mitt pulls that dirt out.
Use a clay lubricant or quick detail spray, and move the clay gently over the paint. Do not press hard. If the clay sticks, add more lubricant.
A smooth surface helps the pad glide evenly and gives a better final shine. This is a non-obvious step many beginners skip, but it makes a big difference in the final result.
Inspect the paint under strong light
Before polishing, look closely at the car in bright light. Use a garage light, LED work light, or sunlight in the shade. You need to see where the defects are strongest.
Check each panel and notice:
- Swirl marks
- Holograms
- Water spots
- Light scratches
- Dull or cloudy areas
This inspection helps you choose the right pad and polish. If the paint is only lightly dull, a finishing pad and light polish may be enough. If the scratches are more visible, you may need a stronger cutting pad first.
Another smart move is to test one small area before doing the whole car. That way, you can confirm the result and avoid over-polishing the paint.
Credit: alloymantools.com
Mask sensitive areas before using the buffer
Painter’s tape is your friend. It protects plastic trim, rubber seals, badges, sharp edges, and panel gaps. Polishing product can stain textured plastic, and the buffer can catch on edges if you are not careful.
Focus on these areas:
- Black rubber window trim
- Door handles
- Emblems and badges
- Sharp body lines
- Headlight edges
- Panel gaps near mirrors and handles
One beginner mistake is skipping tape because it feels slow. In reality, taping saves time later because you avoid cleaning dried polish from trim.
Choose the right pad and polish
Pad choice affects the final finish more than many people think. The buffer is only the machine. The pad and polish do the real work.
Cutting pads are firmer and remove more paint. They are useful for stronger defects, but they leave the surface a little duller. Polishing pads are medium strength and work well for many jobs. Finishing pads are soft and help create a deep shine.
Polish also comes in different strengths. A heavier compound removes more defects. A lighter polish leaves a finer finish. The best approach is to start with the least aggressive combination that can still fix the paint.
This is another detail beginners often miss: the safest method is not the strongest product. It is the mildest setup that still gives the result you want.
Simple pad and polish matching guide
- Light haze or soft marks: finishing pad + light polish
- Moderate swirl marks: polishing pad + medium polish
- Noticeable defects: cutting pad + compound, then finish with a softer pad
How to polish a car with a buffer step by step
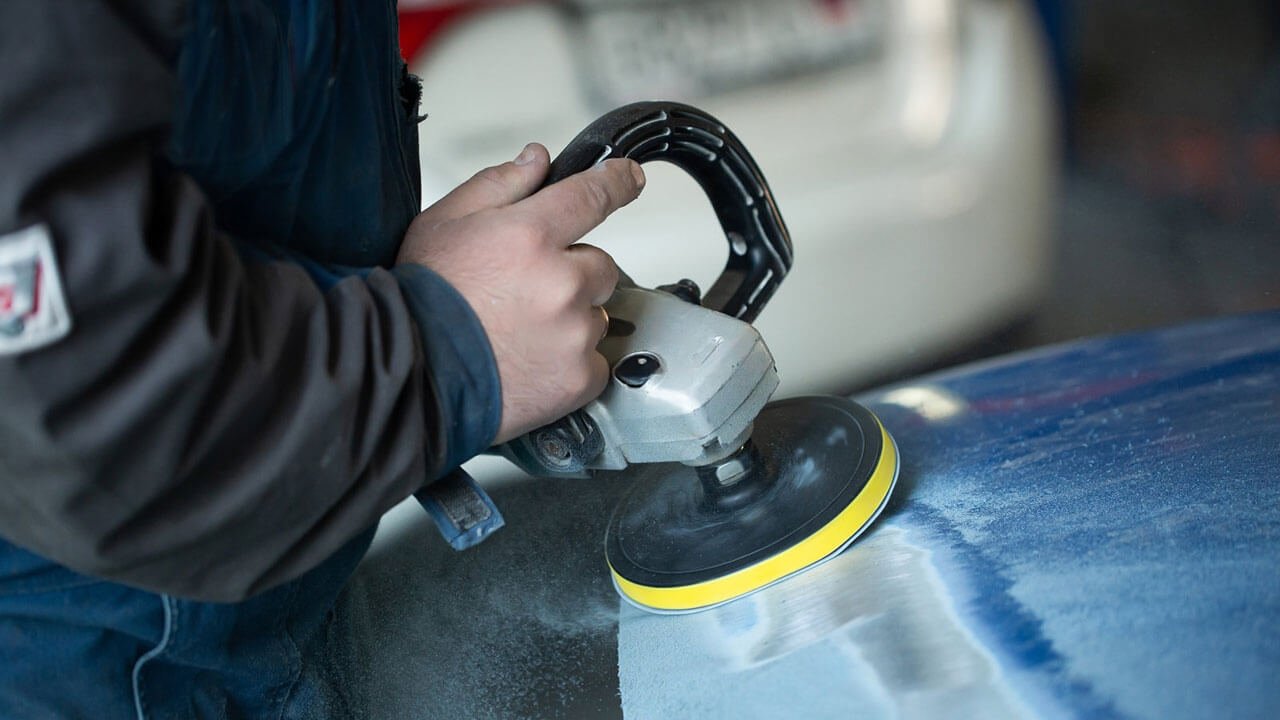
Now the main part. Work on one small section at a time. A section about 2 feet by 2 feet is a good size. This gives you control and helps the polish break down properly.
1. Prime the pad
Add a small amount of polish to the pad. If the pad is new or dry, spread the polish lightly across the face with your finger or a microfiber towel. This prevents dry buffing at the start.
Do not overload the pad. Too much polish can cause splatter and reduce cutting power.
2. Place the pad on the paint before turning the buffer on
Set the pad flat against the panel first, then start the machine at a low speed. This helps prevent polish from flying off the car.
3. Spread the polish slowly
Move the buffer at low speed over the section to spread the polish evenly. Cover the area before increasing the speed. If you start fast immediately, the product may sling and the pad may skip.
4. Work the polish with steady passes
Use slow, overlapping passes. Move left to right, then up and down. Each new pass should overlap the last one by about 50 percent. Keep the pad flat and do not tilt it too much.
Use light to moderate pressure. Let the machine do the work. Pushing too hard can create heat and reduce pad movement.
5. Watch the polish as it breaks down
Many polishes change look as they work. They may go from cloudy to clearer or thinner. This is a good sign that the product is finishing its cycle.
If the polish dries too quickly, you may be using too much speed, too much pressure, or too little product. Adjust as needed.
6. Wipe off the residue
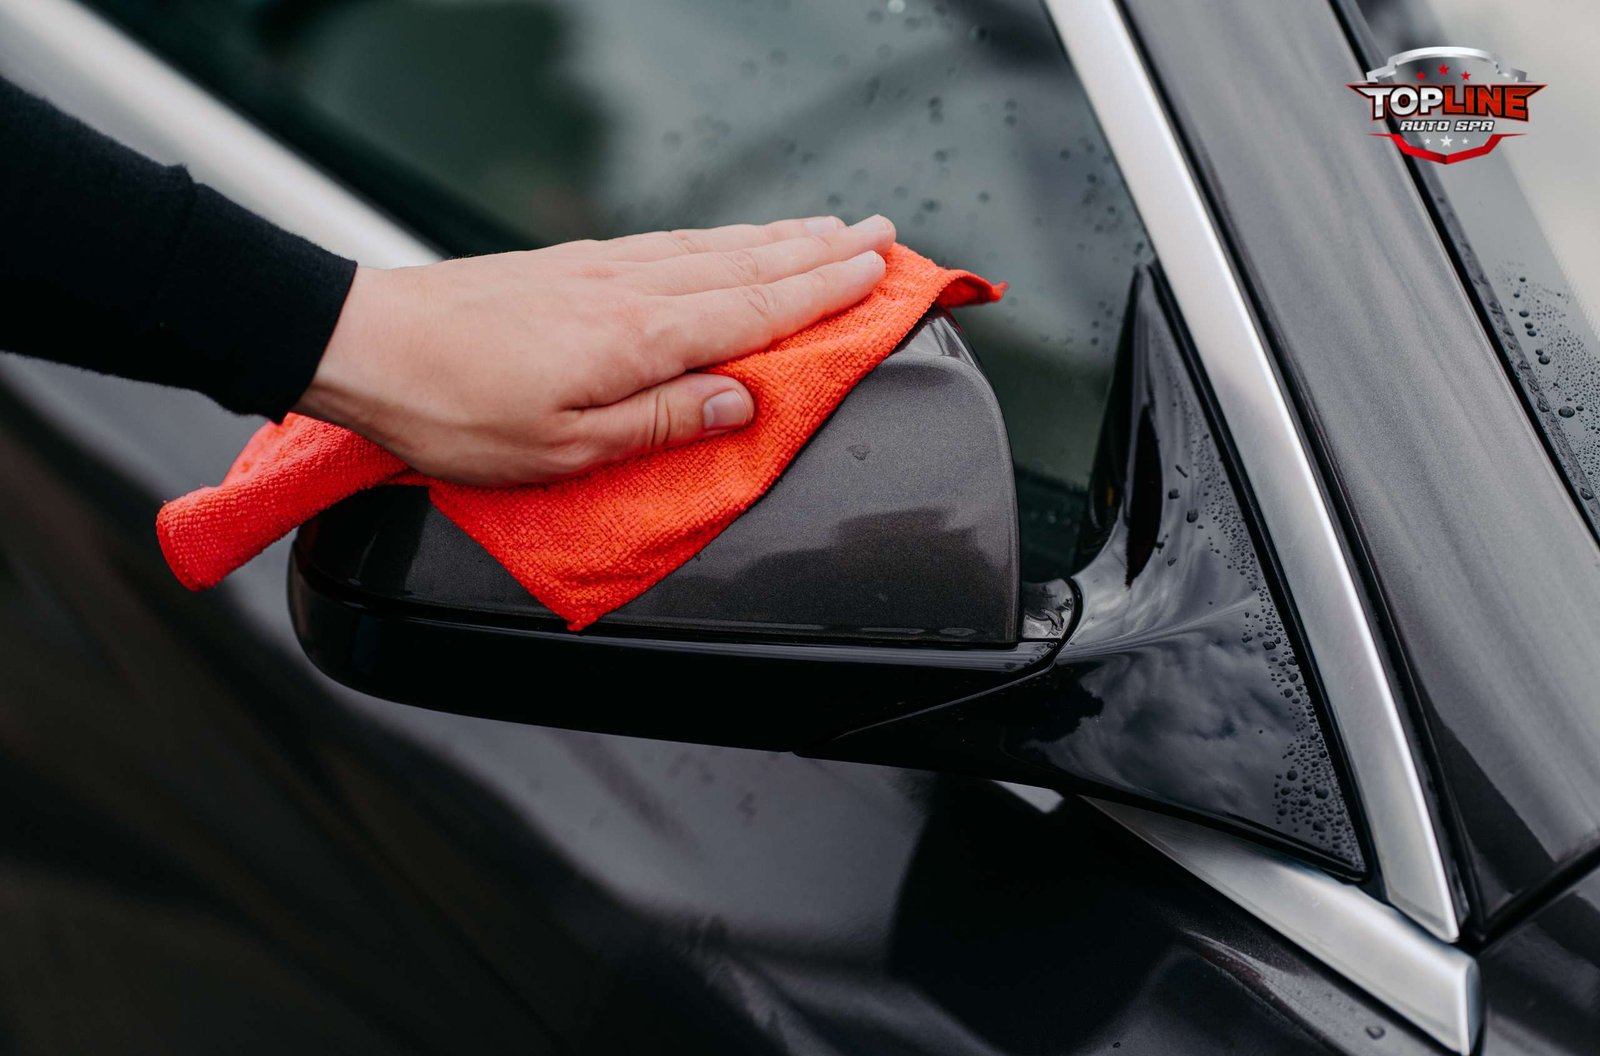
Use a clean microfiber towel to remove the polish residue. Turn the towel often so you are not dragging old polish back over the paint.
7. Inspect the panel
Look at the area under strong light. If defects remain, repeat the process with the same pad and polish or change to a stronger setup if needed. If the finish looks good, move to the next section.
Use the right buffer technique for a safer finish
The way you move the buffer matters almost as much as the products you use. Good technique gives a better finish and protects the clear coat.
Keep the pad flat. A flat pad spreads pressure evenly. A tilted pad can dig into the paint, especially on edges.
Move slowly. Fast machine movement does not mean better polishing. Slow passes help the polish work properly.
Do not hold the buffer in one place. Stopping in one spot can create heat buildup and damage the clear coat.
Use small sections. Working too large an area makes it hard to polish evenly.
Clean the pad often. A pad full of used polish and removed paint becomes less effective. Blow it out with air if possible, or clean it with a pad brush or towel.
One helpful rule is to check the pad after each section. If it looks caked, stop and clean it. A dirty pad does not polish well.
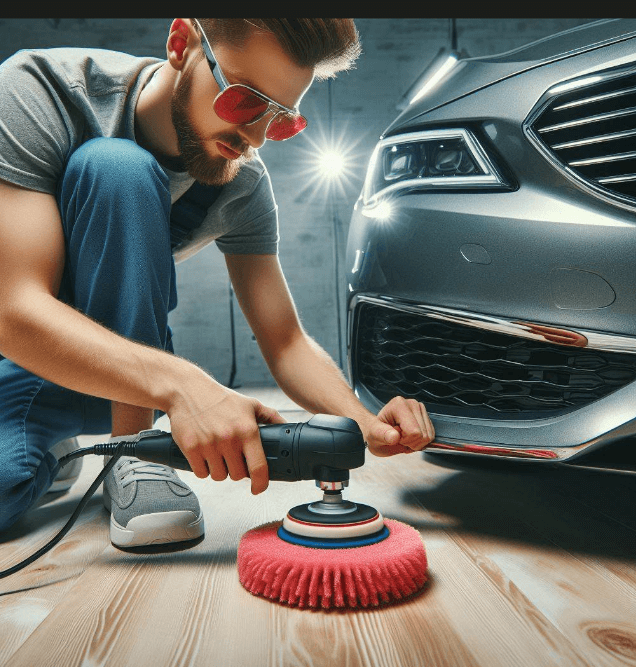
Know the common mistakes before they happen
Most polishing problems come from a few simple errors. If you understand them early, you can avoid wasted time and paint damage.
Credit: vevor.com
Using too much product
More polish does not mean better results. It can cause mess, splatter, and poor pad movement.
Working on a dirty surface
Even small dust particles can create new swirl marks. The car must be washed and clayed first.
Polishing in direct sun
Heat makes polish dry too fast. The surface becomes harder to control, and residue can stick.
Using the wrong pad for the job
A very aggressive pad on light defects can remove more clear coat than needed. Start mild, then move stronger only if necessary.
Ignoring edges and sharp body lines
Paint is thinner on edges. Reduce pressure there and move the buffer carefully. This area is easy to damage.
Not cleaning the pad
A clogged pad can haze the paint and reduce finish quality. Clean it as you go.
Finish the paint after polishing
Once polishing is done, the surface may look excellent, but the job is not complete. You still need to protect the finish.
Apply a wax, sealant, or ceramic coating after polishing. This locks in the shine and gives the paint a barrier against dirt, UV rays, and water.
If you plan to wax right after polishing, wipe the surface with a paint prep spray if your product system recommends it. Some polishes leave light oils that can affect coating bonding. Always check the product instructions.
Before protection, do one final inspection under light. If you notice a haze or streaks, gently wipe the area again with a clean microfiber towel.
How long does the process take?
Time depends on the size of the car, the paint condition, and your experience. A full first-time polish can take most of a day. A small car in fair condition may take 3 to 5 hours. A larger vehicle or a car with heavy swirl marks may take 6 to 8 hours or more.
Do not rush. The best shine usually comes from careful section-by-section work, not speed.
How often should you polish a car?
You should not polish too often. Polishing removes a very thin layer of clear coat, so doing it too frequently is not a good idea.
For many cars, once or twice a year is enough, and sometimes less. If the car is washed properly and protected well, you may not need full polishing very often. In between, regular washing and waxing help keep the finish in good shape.
This is a smart long-term habit: use polishing only when the paint really needs it, not as part of every wash routine.
When a machine polish is not the right choice
Sometimes the paint condition is beyond a home polishing job. If the clear coat is peeling, the paint is heavily oxidized, or the scratch is deep, polishing may not solve the problem.
Also, if you are dealing with a very expensive or delicate finish and you feel unsure, it may be better to get help from a professional detailer. A good detailer can measure paint, inspect damage, and choose the safest correction method.
If you want to learn more about paint care and polishing safety from an industry source, the Meguiar’s website is a helpful place to start.
A simple beginner workflow that works
If you want a clean summary, here is an easy process to follow:
- Wash the car well.
- Dry it completely.
- Clay the paint to remove stuck contamination.
- Tape trim and delicate edges.
- Choose a safe pad and polish combination.
- Test one small section first.
- Polish with slow, overlapping passes.
- Wipe off residue and inspect under light.
- Repeat if needed.
- Protect the paint with wax, sealant, or coating.
This method gives you control and reduces the chance of mistakes. It also helps you see progress panel by panel, which is useful for beginners.
Extra tips for a deeper gloss
There are a few details that can improve the final look more than people expect.
Use good lighting during the final check. A car can look glossy in shade and still have haze. Strong light reveals the true finish.
Change towels often. A dirty microfiber towel can leave light marks and reduce clarity.
Do a final finishing pass if needed. If the paint looks slightly dull after correction, a softer pad and finishing polish can refine the gloss.
Pay attention to pad condition. A fresh or clean pad works better than a clogged one, especially on darker paint.
Work in a cool place. Cooler panels are easier to polish and give more consistent results.
Credit: topline-autospa.com
Conclusion
Learning how to polish a car with a buffer is one of the best ways to improve your car’s appearance at home. The process is not hard, but it does reward patience, good prep, and careful technique. Wash the car well, choose the right pad and polish, work in small sections, and inspect your results as you go.
If you remember only one thing, make it this: start with the least aggressive method that can still solve the problem. That approach protects the paint and helps you get a clean, glossy finish without unnecessary risk.
FAQs
1. Can a beginner learn how to polish a car with a buffer safely?
Yes. A dual-action buffer is beginner-friendly and much safer than a rotary buffer. If you work slowly, keep the pad flat, and test a small area first, you can get good results without damaging the paint.
2. What speed should I use on a dual-action buffer?
It depends on the machine and product, but many people start low to spread the polish and then move to a medium speed for correction. Always check the buffer and polish instructions, because different brands work best at different settings.
3. How do I know if the paint is ready to be polished?
The car should be fully washed, dried, and clayed. The surface should feel smooth, and there should be no loose dirt. If the paint still feels rough, polish will not work as well and may leave new marks.
4. Will polishing remove all scratches?
No. Polishing removes light defects in the clear coat, such as swirl marks and minor scratches. Deep scratches, rock chips, and peeling clear coat usually need repair, not polish.
5. Should I wax the car after polishing?
Yes, in most cases. Polishing improves the surface, but protection helps keep the finish looking good. Wax, sealant, or ceramic coating can add gloss and help shield the paint from dirt and weather.
