
An electrical short can be small, hidden, and very annoying. One day a circuit works fine. The next day a fuse blows, a breaker trips, or a battery dies fast. When this happens, many people feel stuck because the problem is not always easy to see.
The good news is that you can often learn how to find electrical short with a simple, careful process. You do not need to guess. You only need to follow the right steps, use basic tools, and stay patient. The goal is to narrow the problem down one part at a time until the bad wire, device, or connection shows itself.
This guide will walk you through seven simple troubleshooting steps. You will also learn common warning signs, smart testing tips, and mistakes that make the search harder. If you work slowly and safely, you can save time, protect your equipment, and avoid replacing parts that are still good.
Start with safety and the first warning signs
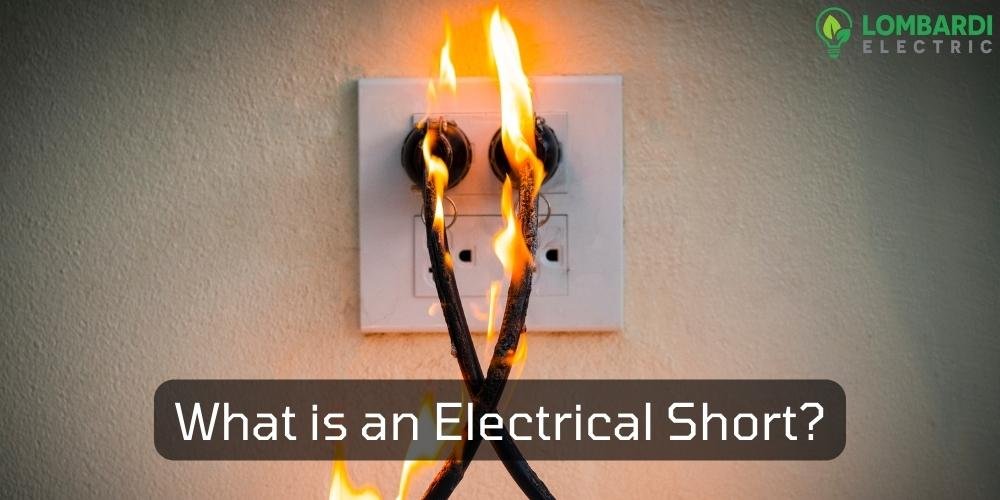
Before you test anything, stop and look at the problem from a distance. A short circuit often leaves clues. These clues help you decide where to begin. Common signs include a breaker that trips right away, a fuse that burns out fast, hot wires, a burned smell, dim lights, or a battery that drains too quickly.
If you see smoke, melting insulation, or sparks, do not keep testing the circuit with power on. Shut it off first. Safety is not just a good idea here. It is the first step in finding the fault without making it worse.
It also helps to understand one simple idea: a short is usually a path where electricity goes where it should not. That path may be direct, like a wire touching ground or another wire. Or it may be indirect, like damaged insulation that only fails when the wire moves.
What you should gather before you begin
- A flashlight
- A multimeter or continuity tester
- Insulated gloves if needed
- Basic hand tools
- Replacement fuses if the circuit uses them
If you do not have a multimeter, you can still do some visual checks. But a meter makes the job much easier because it helps you confirm whether a wire has an unwanted connection.
1. Turn the power off and isolate the circuit
The first real troubleshooting step is to cut power to the problem circuit. Then isolate it from the rest of the system as much as possible. This means removing connected devices, unplugging loads, or disconnecting sections one by one.
If you are working on a home circuit, turn off the breaker. If you are testing a car, remove the fuse or disconnect the battery when needed. If you are unsure which supply controls the problem, do not guess. Find the correct source first.
This step matters because a short can hide behind a connected device. For example, a lamp, fan, switch, motor, or charger may be the real cause. If you test the full circuit at once, the bad part and the healthy parts mix together. That makes the fault harder to locate.
Why isolation saves time
Many beginners test a whole circuit and get confusing results. Isolation breaks the problem into smaller parts. Instead of searching one big system, you are checking a few simple sections. That is much faster and much clearer.
Non-obvious insight: A fault may not be in the part that failed first. A breaker can trip because a device farther down the line is shorted. The breaker is only reacting to the symptom, not naming the real cause.
2. Look for visible damage and heat marks
Now inspect the wire path, connectors, outlets, terminals, switches, and devices. You are looking for obvious damage such as melted plastic, dark marks, cracked insulation, loose terminals, bent pins, or a smell like burned rubber.
Follow the wire route slowly. Do not only look at the place where the failure happened. Shorts often happen where wires rub against metal edges, where vibration is strong, or where a cable bends often. In many cases, the damaged spot is a few inches away from the part that stopped working.
Check any place where the wire passes through a hole, around a corner, or under a clamp. These are common trouble spots. Also inspect water exposure, corrosion, and dirt buildup. Moisture can create a path for current where none should exist.
Common visual clues that point to a short
- Blackened wire insulation
- Plastic that looks warped or melted
- Green or white corrosion on terminals
- Loose wire strands touching nearby metal
- Scorch marks around connectors or switches
Do not ignore a part just because it still looks mostly normal. A wire can be damaged inside while the outer jacket looks fine. If a section feels stiff, brittle, or warm compared with the rest, mark it as suspicious.
3. Use a multimeter to test for continuity where it should not exist
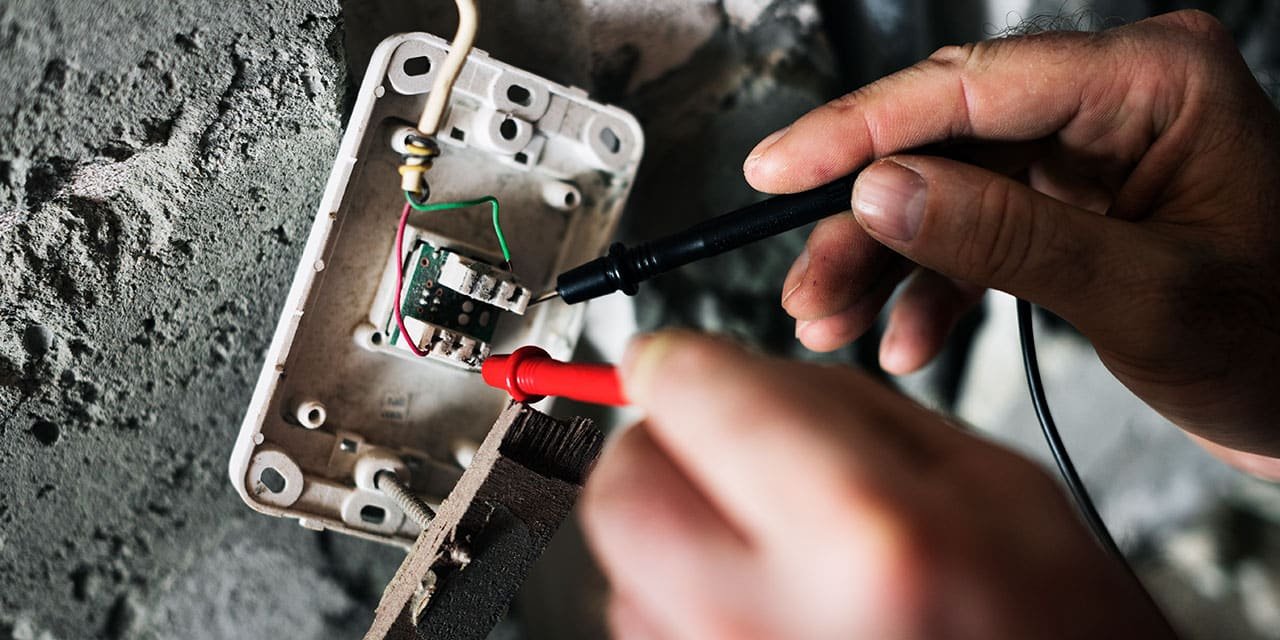
This is one of the most useful ways to learn how to find electrical short. A continuity test checks whether electricity can travel between two points. In a healthy circuit, continuity should exist only in the correct path. In a shorted circuit, continuity may appear where it should not.
Set your multimeter to continuity or resistance mode. Then test between the wire and ground, or between two conductors that should not touch. If you hear a beep or see very low resistance in a place that should be open, you may have found the problem area.
Be careful with your readings. Some parts naturally show resistance because they contain coils, motors, bulbs, or electronic components. That does not always mean a short. You need to know what normal looks like for the specific circuit you are testing.
| Reading | What it may mean | What to do next |
|---|---|---|
| Very low resistance where there should be none | Possible short circuit | Inspect that branch or component closely |
| No continuity | Open circuit or broken wire | Check for breaks, loose connectors, or blown fuses |
| Some resistance that seems normal for the part | May be healthy | Compare with the expected value for that component |
Non-obvious insight: A short to ground is often easier to find than a short between two wires. That is because ground faults usually show a direct low-resistance path. Wire-to-wire shorts can be harder because they may happen only when the harness moves.
Credit: randyselectric.com
4. Remove loads one by one and test again
If the short is not obvious, disconnect the devices connected to the circuit one at a time. After each removal, test the circuit again. When the problem disappears, the last item removed is often the cause or part of the cause.
This method is simple, but it works very well. A bad motor, failed capacitor, damaged switch, or internal wire break may only show the short when it is connected. Once you unplug it, the rest of the circuit may test normally.
Do not rush this step. Keep notes as you go. Mark each part you remove so you can put it back in the right place later. In larger systems, it is easy to forget where each wire was connected.
Good examples of loads to remove
- Light bulbs
- Appliances
- Motors
- Chargers and adapters
- Switches and control modules
If removing a device clears the short, test that device separately. Look for damaged cords, burned contacts, loose internal wires, or moisture inside the housing. Sometimes the device is fine when sitting still, but fails when it heats up or vibrates.
5. Divide the circuit into sections
When the fault is still hidden, divide the wiring path into smaller sections and test each one. This is one of the best ways to find a short in a long or complex circuit. Instead of searching the whole line, you check half of it, then half again, until the problem area becomes small.
For example, if a wire runs from point A to point D, test between A and B, then B and C, then C and D. If the short is in the first section, you keep narrowing it down there. If it is not, you move to the next part.
This method is especially helpful in walls, vehicles, outdoor systems, and equipment with wire bundles. These systems often hide the damaged spot inside tape, conduit, or panels.
A simple way to narrow the fault
- Find the middle point of the circuit.
- Test the first half.
- If the short is there, divide that half again.
- If not, test the second half.
- Repeat until the bad section is small enough to inspect closely.
This is a practical method because it reduces guesswork. Many repair jobs become easier once you stop searching the entire system and start hunting one small part at a time.
6. Wiggle, bend, and inspect weak spots
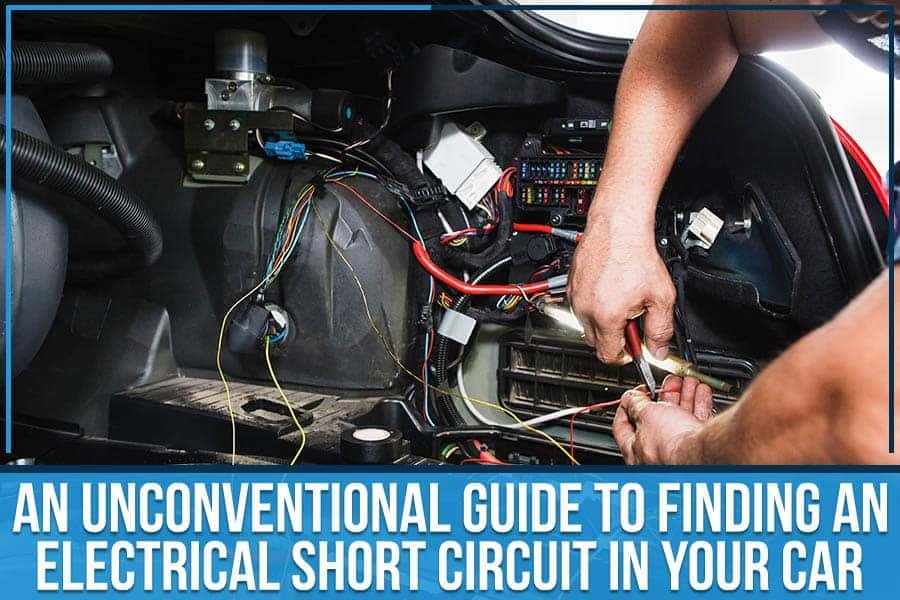
Some shorts only appear when the wire moves. That means a circuit may test fine while still sitting still, but fail when you bend a cable, open a door, move a harness, or shake a connector. This is common in cars, machines, and portable devices.
With the power off, gently move the wire and watch your meter. If the reading changes when the cable bends, you are close to the damaged area. The insulation may be cracked inside, or two conductors may touch only under pressure.
Focus on places that move a lot: door hinges, flex points, cable ends, plugs, and connectors near vibration. These are often the first places to fail.
Sometimes the bad spot is not the wire itself, but the terminal crimp. A loose crimp can look fine from the outside while creating heat and arcing inside. That heat can slowly damage nearby insulation and create a larger short later.
Credit: scottrobinsonhonda.net
7. Repair, retest, and confirm the fault is gone
Once you find the short, do not stop at a quick fix. Repair the damaged wire, connector, or component correctly. Replace burned insulation, damaged terminals, or broken parts. Use the proper connectors and insulation methods for the system you are working on.
After the repair, retest the circuit before restoring full use. Check continuity again. Make sure the short is gone and that no new issue was created during repair. Then apply power and see whether the breaker, fuse, or battery behaves normally.
This final check is important. If you only repair the visible damage but do not retest, you may miss a second fault nearby. A circuit that has been overloaded or overheated can hide more than one bad spot.
For general electrical safety guidance, you can also review trusted information from the National Fire Protection Association. It is a useful source for fire and electrical safety awareness.
Common mistakes that make short finding harder
Even careful people make the same mistakes when they try to find a short. Knowing these problems ahead of time can save you a lot of time.
- Testing with power still on: This can damage parts and create danger.
- Skipping visual inspection: Many shorts have clear signs if you look closely enough.
- Replacing parts too early: Guessing can be expensive and still not fix the fault.
- Ignoring movement-related faults: Some shorts only happen when a wire bends.
- Not isolating the circuit: Connected devices can confuse the readings.
Another mistake is trusting one meter reading without context. A meter tells you what is happening at that moment. It does not explain why. You still need to think about the circuit path, the load type, and the symptoms you saw first.
When the short may be inside a component
Sometimes the problem is not in the wire at all. The short may be inside a switch, relay, motor, capacitor, charger, or control board. If the wiring looks healthy and the fault only appears when a certain part is connected, suspect that part.
Internal shorts are tricky because the outside may look perfect. A device can fail inside from heat, age, moisture, or a power surge. If you remove it and the circuit becomes normal, that is a strong clue.
In electronic equipment, a shorted part may also cause a very low resistance reading that seems to come from the whole board. In those cases, take the board out of the circuit if possible and test sections separately. That often gives a clearer answer.
Credit: lombardielectric.co
A simple troubleshooting flow you can follow
If you want a short version of the process, use this order:
- Turn off power.
- Look for heat, smoke, burns, or damaged insulation.
- Test for unwanted continuity with a meter.
- Remove connected loads one by one.
- Divide the circuit into smaller sections.
- Move wires and connectors to find a hidden fault.
- Repair, retest, and confirm the short is gone.
This order works because it starts with the easiest checks and moves toward the harder ones. That is the best way to avoid wasted effort.
FAQs
How do I know if I have an electrical short?
Common signs include a tripped breaker, blown fuse, hot wires, burning smell, flickering lights, or a battery that drains too fast. A multimeter can confirm whether there is unwanted continuity in the circuit.
Can an electrical short happen without visible damage?
Yes. Some shorts are hidden inside cable insulation, connectors, or devices. The outside may look normal, but the inside may still be damaged. That is why testing with a meter is so helpful.
What is the fastest way to find a short circuit?
The fastest method is to turn off power, inspect for visible damage, then remove loads one by one while testing each time. If that does not help, divide the circuit into smaller sections and test each part.
Can a bad appliance cause a breaker to trip like a short?
Yes. A faulty appliance can create a short path or overload the circuit. If the breaker trips only when one device is connected, that device is a strong suspect.
When should I call a professional electrician?
Call a professional if you see smoke, repeated breaker trips, melted wiring, or if the circuit is hidden inside walls and you are not sure how to test it safely. A licensed electrician can find the fault faster and reduce risk.
