
If you weld at home, in a shop, or on a job site, the wrong cord can cause real problems. It can drop voltage, make your welder run poorly, overheat, or even become a fire risk. That is why choosing the right cord is not a small detail. It is part of welding safely and getting clean, steady results.
This welder extension cord guide will help you pick a heavy-duty cord that matches your machine, your power source, and your work area. You will learn how cord length, wire size, plug type, and amperage all work together. You will also see the mistakes many beginners make, so you can avoid them before they cost time or money.
Good welding starts with stable power. Once you understand how to choose the right cord, your welder can perform better, arc quality can improve, and your equipment may last longer too.
Why the right extension cord matters for welding
A welding machine draws a strong electrical load. If the cord is too long, too thin, or not built for heavy-duty use, the power reaching the welder drops. That drop is called voltage drop, and it can cause weak arc starts, poor penetration, and extra heat in the cord itself.
Many people assume any thick-looking cord is safe. That is not true. A cord needs the right wire gauge, the right plugs, and the right amp rating. A cord that works fine for a small tool may fail badly with a welder.
Another hidden issue is duty cycle. A welder may seem to run fine for a few minutes, then the cord warms up as heat builds inside the cable. If the insulation and copper size are not suitable, the cord can become unsafe even before it visibly fails.
For welding, the cord is not just a connector. It is part of the power system. Treat it that way.
Start with your welder’s power requirements
The first step in any welder extension cord guide is checking the machine label or manual. You need three things:
- Input voltage — usually 120V or 240V
- Input amperage — how much current the machine draws
- Plug type — the shape and rating of the plug and outlet
Some small welders run on 120V and pull 20 to 30 amps. Larger machines often use 240V and may need 40, 50, or even more amps. The higher the amperage, the more important the cord size becomes.
Do not guess based on the machine’s size or price. Two welders that look similar can have very different power needs. Always check the nameplate first.
Why input amperage matters more than output power
People often focus on output rating, such as 140 amps or 200 amps. But the extension cord must handle the input side, not the welding output. A 140-amp welder may only draw 20 amps from the wall, while a more powerful machine may draw much more.
This is one of the most common mistakes beginners miss. The cord choice is based on what the machine pulls from the outlet, not what it sends to the electrode.
Choose the right wire gauge
Wire gauge is one of the most important parts of cord selection. In the United States, lower gauge numbers mean thicker wire. Thicker wire carries current better and loses less voltage over distance.
For welding, thicker is usually safer and more efficient. But there is a balance. A very thick cord is heavier and more expensive. The right choice depends on both amperage and length.
Here is a simple guide for common welding extension cord sizes:
| Amperage | Approx. Length | Suggested Cord Size |
|---|---|---|
| Up to 20A | 25 ft | 12 AWG |
| Up to 20A | 50 ft | 10 AWG |
| 30A | 25 ft | 10 AWG |
| 30A | 50 ft | 8 AWG |
| 40A to 50A | 25 ft | 8 AWG |
| 40A to 50A | 50 ft | 6 AWG |
This is a general guide, not a universal rule. Always confirm with your welder manual and the cord manufacturer’s rating. But in practice, if you are unsure, choosing a thicker cord is often the safer move.
Why longer cords need thicker wire
Electricity loses some pressure over distance. That means a 50-foot cord does not perform like a 10-foot cord, even if both are rated for the same amperage. With welders, that pressure loss can show up as a softer arc or unstable performance.
This is a detail many buyers miss. They look only at amp rating and ignore length. A cord that is fine at 25 feet may be a poor choice at 50 feet.
Pick the right cord length without going too long
It is tempting to buy a very long cord “just in case.” But extra length creates more resistance, more voltage drop, more weight, and more clutter on the floor. In welding, longer is not better unless you truly need it.
Choose the shortest cord that still lets you move safely and comfortably. If your work area is fixed, measure the real distance from outlet to machine, then add only a little extra for routing and movement.
For many users, 25 feet is enough. For larger shops or outdoor work, 50 feet may be useful. Beyond that, you need to be much more careful with gauge size.
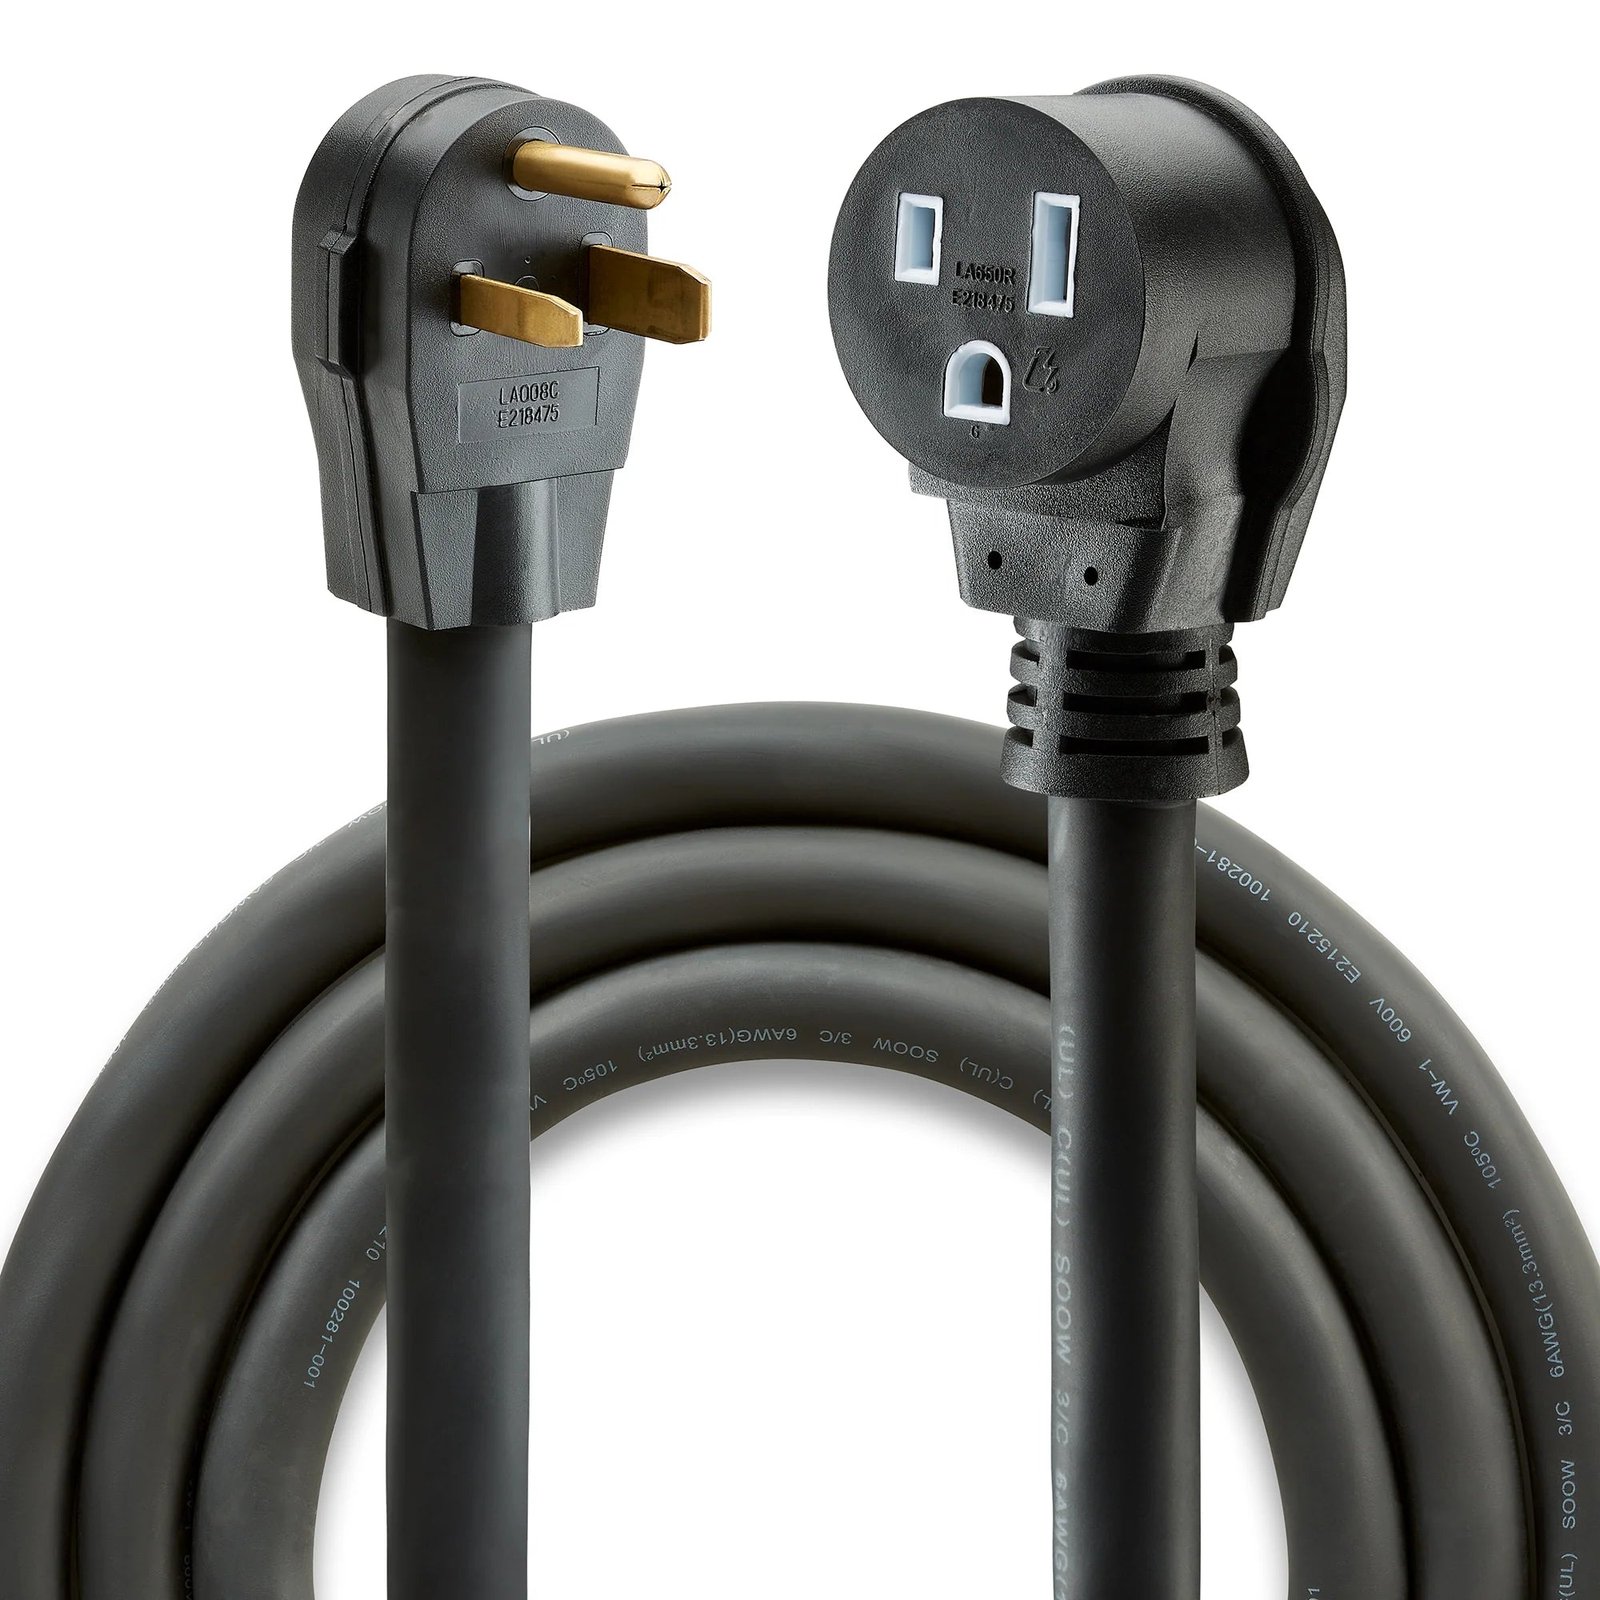
Credit: weldmongerstore.com
A practical way to choose length
- Measure the farthest point where you will place the welder.
- Add a little slack for turns and machine movement.
- Keep the cord off hot metal, sharp edges, and high-traffic paths.
- If you must choose between two lengths, pick the shorter one unless you need the longer reach.
A shorter heavy cord often performs better than a long light cord. That is a good rule to remember.
Look for cord type and jacket quality
Not all heavy-duty cords are built the same. A welding environment is rough. There may be heat, sparks, oil, abrasion, and movement. The outer jacket must handle that abuse.
Look for cords marked for heavy-duty or industrial use. Many welders benefit from cords with a tough outer jacket that resists cuts and oil. A flexible cord is also useful, because stiff cords are harder to manage and more likely to get damaged when bent sharply.
If you work in cold weather, flexibility becomes even more important. Some cords become hard in low temperatures, which makes them difficult to coil and more likely to crack over time.
What the jacket should protect against
- Heat from the welding area
- Abrasion from dragging and foot traffic
- Oil and grease in shop settings
- Moisture in damp work areas
- Repeated bending during daily use
A cord with the right jacket lasts longer and stays safer. If the insulation feels cheap or too thin, keep looking.
Match the plug and receptacle type exactly
Welders often use special plugs, especially on 240V setups. The extension cord must match both the wall outlet and the welder input plug. Do not use an adapter unless the welder manufacturer specifically allows it.
Using the wrong plug can create a poor connection. Poor connections cause heat. Heat at the plug is a warning sign you should never ignore.
Check for these details:
- Plug shape
- Voltage rating
- Amp rating
- Grounding style
If your welder needs a 50-amp connection, do not pair it with a 30-amp cord just because it “fits.” The physical fit is not enough. The rating must also be correct.
Understand voltage drop in real use
Voltage drop is one of the least understood parts of choosing a welder extension cord. It matters because your welder wants steady power. When voltage drops too much, the machine may struggle to start, maintain arc stability, or deliver consistent heat.
For welding, even a small loss can matter more than people expect. A cord may still power the machine, but the performance can feel weaker. That often leads users to turn settings higher, which is not the real fix.
Two simple ways to reduce voltage drop are:
- Use a shorter cord
- Use a thicker gauge wire
That is why a 10 AWG cord can outperform a 12 AWG cord by a large margin on the same machine and same distance.
A mistake beginners often make
Some users try to solve a weak arc by blaming the welder, the gas, or the electrode. But the real problem may be the cord. If the cord is undersized, the machine may never get the power it needs, even if everything else is set correctly.
Before changing consumables or settings, check the power path.
Safety features worth paying attention to
A good welding cord is not only about performance. It should also help protect the user and the machine. The best cords are built with grounded plugs, solid strain relief, and strong molded ends.
Strain relief is important because cord ends often fail first. The cable bends near the plug every time it is moved. A well-made relief design reduces stress at that point and helps prevent internal wire breakage.
It also helps to inspect the cord regularly for cuts, flattening, cracked insulation, or loose plug blades. If you see damage, replace the cord. Do not tape over a badly damaged cord and assume it is safe.
If you want a reliable external safety reference for electrical cords and safe use, the U.S. Consumer Product Safety Commission offers helpful general guidance at CPSC.
Credit: weldguru.com
Indoor use, outdoor use, and jobsite realities
The place where you weld changes what kind of cord you need. Indoor shop work may involve oil, metal dust, and heat. Outdoor work may involve rain, dirt, sunlight, and rough handling. A cord should match those conditions.
For outdoor welding, make sure the cord is rated for wet or damp conditions if needed, and keep all connections away from standing water. Even a heavy-duty cord should not be used carelessly in wet areas.
For jobsite work, visibility matters too. A bright-colored jacket can help others see the cord and avoid tripping. That may sound minor, but it can prevent damage and injury.
Three real-world details that matter more than price
Many buyers focus on price or brand name first. Those matter, but these three points matter more:
- Copper quality — Better conductors usually mean less resistance and better flexibility.
- Actual cord rating — Some cords look heavy but are not rated for welding-level loads.
- End quality — A strong cord with weak plugs is still a weak setup.
These are the details that separate a truly useful cord from one that only looks professional.
When an extension cord is not the best answer
There are times when the smartest choice is not an extension cord at all. If your welder is far from power, if you need to run long distances often, or if the setup is permanent, a dedicated outlet closer to the work area may be better.
That may cost more at the start, but it can improve performance and reduce clutter. It also removes one more point of failure from the system.
In some shops, using an extension cord every day is fine. In others, it is only a backup or temporary solution. Think about how often you will use it, not just whether it works today.
Common mistakes to avoid
These mistakes show up again and again when people buy a welder extension cord:
- Choosing a cord by looks instead of checking amp rating and gauge.
- Buying too long and creating extra voltage drop.
- Ignoring the plug rating and using the wrong connection style.
- Using a household cord that is not built for welding loads.
- Overheating the cord by leaving it coiled during heavy use.
The last point is especially important. A coiled cord can trap heat. If you are pulling high current for long periods, uncoil the cord fully unless the manufacturer says otherwise.
How to inspect a cord before each use
A quick inspection takes less than a minute and can prevent trouble. Before welding, check both ends of the cord and the full length of the cable.
Look for:
- Cuts or nicks in the jacket
- Burn marks or melted spots
- Loose plug parts
- Cracked insulation
- Warm or discolored ends after use
If the cord smells hot, feels soft, or shows damage, stop using it. That cord may be unsafe even if it still powers the machine.
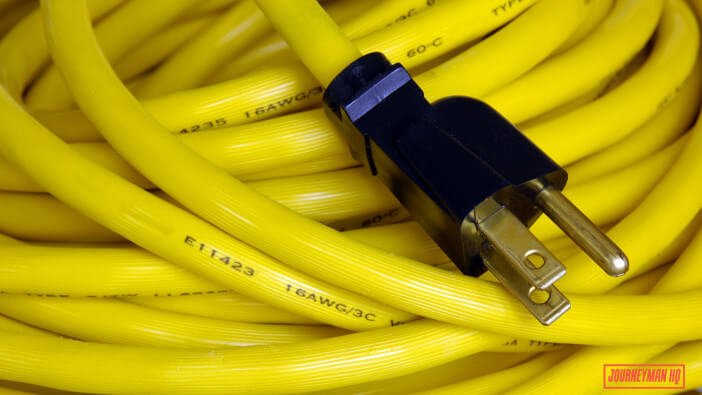
Credit: journeymanhq.com
Simple buying checklist for a safe choice
If you want a quick way to narrow your options, use this order:
- Check your welder’s input voltage and amperage.
- Match the plug type exactly.
- Choose the shortest length that fits your workspace.
- Select a wire gauge that supports the load with room to spare.
- Pick a cord made for heavy-duty or industrial use.
- Inspect the jacket, strain relief, and connectors before first use.
When in doubt, go heavier on the wire and shorter on the length. That is usually the safer and more efficient path for welding.
Final thoughts
The best welding cord is not simply the thickest or the most expensive one. It is the cord that matches your machine, your distance, and your work conditions. That is the core idea behind this welder extension cord guide.
If you focus on voltage, amperage, gauge, length, and plug rating, you can avoid most performance issues and safety risks. A proper cord helps your welder run smoother, keeps heat under control, and supports better results at the arc.
Choose carefully once, and you will save yourself a lot of frustration later.
FAQs
1. What size extension cord do I need for a welder?
It depends on your welder’s input amperage and the cord length. For many small welders, 12 AWG may work for short runs, while 10 AWG or thicker is often better for longer runs or higher amperage. Always check the machine manual first.
2. Can I use any heavy-duty extension cord with a welder?
No. The cord must be rated for the amperage, length, and plug type your welder needs. A cord that works for a power tool may still be too light for a welder.
3. Why does my welder arc feel weak with an extension cord?
The most common reason is voltage drop. The cord may be too long or too thin. A better-sized cord usually improves arc stability and machine performance.
4. Is it safe to use a 50-foot extension cord for welding?
Yes, if the cord is thick enough for the amperage and properly rated for the job. A 50-foot cord often needs a heavier gauge than a 25-foot cord to keep voltage drop low.
5. Should I leave the extension cord coiled while welding?
It is usually better to fully uncoil the cord during use. Coiled wire can trap heat, especially under heavy current, and that can reduce safety.
