
If you buy the wrong band saw blade size, the blade will not track well, cut poorly, or may not fit the machine at all. That is why knowing how to measure band saw blades is so useful. It saves time, money, and a lot of frustration in the shop.
The good news is that measuring a band saw blade is not hard. But it must be done the right way. A blade has three main dimensions: length, width, and thickness. Most buyers only think about length, but the other two matter just as much for the final cut.
In this guide, you will learn a simple step-by-step method to measure a band saw blade correctly. You will also learn common mistakes, practical tips, and a few small details that many beginners miss.
Start by understanding the three blade dimensions
Before you measure anything, it helps to know what you are looking for. A band saw blade is not measured by just one number. Different machines and cutting jobs need different blade sizes.
The three main dimensions are:
- Length — the full loop size of the blade
- Width — the distance from the teeth to the back edge
- Thickness — how thick the metal strip is
For most replacement jobs, the most important measurement is the blade length. This is the number you need to match your saw. Width matters for the type of cut and blade tracking. Thickness matters for wheel fit, blade flex, and blade life.
A common beginner mistake is to assume that all blades with the same length will work. That is not true. Two blades can have the same length but behave very differently if their width or thickness is wrong for the saw.
Why blade length is the first number to confirm
Band saws use a closed loop blade. If the loop is too short, it may not install. If it is too long, the tension system may not tighten it properly. Both problems can cause poor cutting and extra wear on the machine.
The blade length is usually the first thing printed on the package or stamped on the blade. But if the blade is old, missing a label, bent, or already installed, you may need to measure it yourself.
Gather the tools you need before measuring
You do not need special equipment for most blade measurements. Simple tools are usually enough.
- A tape measure or long ruler
- A marker or piece of masking tape
- A flat floor or workbench
- Gloves for safety
- A helper, if the blade is large
If the blade is already removed from the saw, measuring is easier. If it is still installed, you may need to release tension first. Always turn off and unplug the saw before touching the blade.
For a very accurate result, a flexible tape measure works better than a stiff ruler. For large blades, a cloth tape or steel tape can help you follow the full curve more easily.
How to measure band saw blades step by step
The easiest way to learn how to measure band saw blades is to measure the full loop length on a flat surface. This method works well for blades that are already removed from the saw.
1. Lay the blade flat and safe
Place the blade on the floor or a large bench. Make sure the teeth are facing away from your body. Band saw teeth are sharp, and old blades can still cut skin easily.
If the blade is twisted or springy, do not force it. Let it relax into a natural loop shape. If needed, ask another person to help hold it steady.
2. Measure from one point on the blade loop
Choose one point on the blade and mark it with tape or a marker. This helps you avoid measuring the same section twice. Then run your tape measure around the full loop until you return to the same point.
Because a band saw blade is flexible, the tape should follow the blade closely. Do not pull it so tight that the blade stretches. The goal is to measure the blade as it is, not to change its shape.
3. Read the total length
When the tape comes back to the starting point, note the total length. This number is the blade length. It is usually given in inches or millimeters, depending on the saw brand and country.
If the result is close to a standard size, check the next common size up or down. Many blade suppliers list sizes in exact numbers, but some saws have slight variation due to tension settings and wheel wear.
4. Measure twice to confirm
Do not trust one quick reading. Measure the same blade at least twice. If both numbers match, you can be more confident. If they differ, use the longer, more careful measurement and check it again.
This step matters because even a small mistake can lead to a blade that is too tight or too loose for the machine.
What to do if the blade is still on the saw
Sometimes the blade is worn, but you do not want to remove it right away. In that case, you can still find the size.
The first and best option is to check the saw manual. Most manufacturers list the correct blade length, width range, and thickness range.
If the manual is missing, look for a label on the machine frame, inside the cover, or near the tension adjustment. Many saws have the blade size printed somewhere on the body.
If no label is available, you may need to measure the old blade after removal. That is usually more reliable than trying to estimate while it is installed.
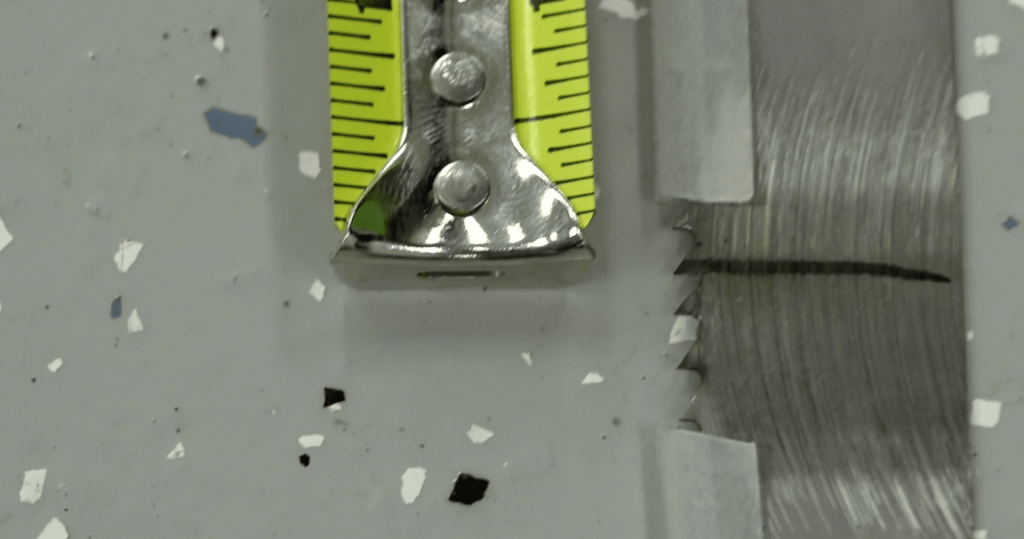
Credit: sawblade.tv
A simple installed-blade trick
If you must measure while the blade is still on the saw, mark one tooth with tape, then slowly rotate the wheels by hand while counting the travel distance around the loop. This is slower and less accurate than removing the blade, but it can help if you only need a quick check.
Still, this method is not the best choice for final buying decisions. For a replacement order, measure the removed blade or check the manual first.
How to measure blade width and thickness
Length is the main fit dimension, but width and thickness affect cutting performance. These are the details many beginners overlook.
Measure the width correctly
The width is the distance from the tip of the teeth to the back edge of the blade. Use a ruler or caliper if you have one. Common band saw blade widths are fractions of an inch, such as 1/8 inch, 1/4 inch, 3/8 inch, 1/2 inch, and 3/4 inch.
Blade width matters because it controls how well the blade can turn around small curves. Narrow blades are better for tight curves. Wider blades are better for straight cuts and resawing.
A blade that is too wide for your saw can fail to track properly. A blade that is too narrow may not hold a straight line well.
Check the thickness
Blade thickness is harder to measure by eye, but it still matters. A blade that is too thick may stress the wheels, guides, or tension system. A blade that is too thin may wear out faster or cut less cleanly.
If you do not have a caliper, you can usually find thickness in the manufacturer’s product details. For replacement blades, this is often more practical than trying to measure it by hand.
As a rule, the saw maker’s recommended thickness range is more important than guessing based on appearance.
Use the old blade size as a reference, but do not trust it blindly
Many people simply copy the size printed on the old blade package or the old blade itself. That can work, but not always.
Old blades may be stretched, bent, or incorrectly labeled. Some saw owners also install a blade that is “close enough” and forget the exact original size. If you repeat that number without checking, the new blade may not fit well.
Use the old blade size as a starting point, then compare it with the saw manual or the manufacturer’s recommendation. This is the safest approach.
One useful habit is to write the correct blade size on the saw cabinet or inside the door after you confirm it. That makes the next replacement much easier.
Common mistakes when measuring band saw blades
Even a simple task can go wrong if you rush. These are the most common errors.
Measuring the teeth path instead of the full blade loop
Some people measure only one straight side and forget the curve around the wheels. That gives a wrong result. You must measure the full loop length from end to end around the entire blade.
Stretching the blade while measuring
Do not pull the blade tight like a rope. Band saw blades are flexible, and stretching them changes the reading. Measure them in a natural relaxed shape.
Ignoring unit differences
Some saws and blades use inches. Others use millimeters. A small unit mistake can lead to a very wrong order. Always confirm the unit before buying.
Forgetting kerf and blade purpose
The blade size is not only about fit. The tooth style and blade width affect the cut. A blade for fine curves is not the same as one for resawing thick lumber. Beginners often buy the right length but the wrong blade style.
Ordering based only on machine model
Machine model numbers help, but they are not always enough. Older saws may have been modified, and some models were sold with different wheel setups. Always double-check the actual blade size.
A quick size guide for common blade choices
This simple guide can help you understand how blade width usually matches the job. It does not replace your saw manual, but it gives useful direction.
| Blade width | Best for | Common use |
|---|---|---|
| 1/8 inch | Tight curves | Small detailed cuts |
| 1/4 inch | Small to medium curves | General shaping work |
| 3/8 inch | Balanced cutting | Mixed workshop use |
| 1/2 inch | Straighter cuts | Resawing and longer cuts |
| 3/4 inch and wider | Heavy straight cuts | Thick stock and resaw work |
This chart is helpful, but remember one thing: the saw must support the width. A blade that is perfect for the cut may still be wrong for your machine if the guides or wheels cannot handle it.
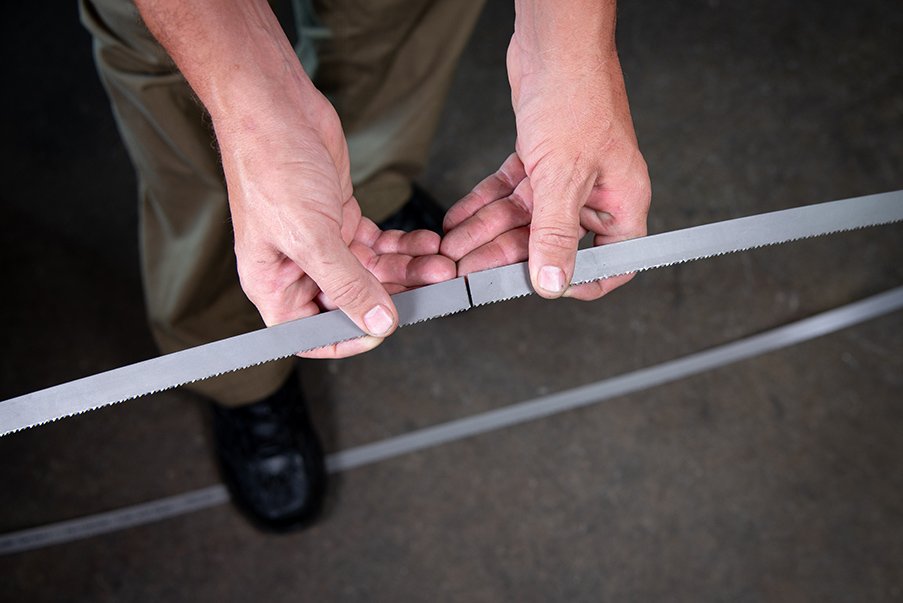
Credit: bladeserpent.com
How to verify the size before you buy a replacement
Once you have the blade measurement, check it against more than one source. This is a smart habit, especially if you are buying online.
- Check the saw manual or manufacturer website.
- Compare the old blade length with the measured result.
- Confirm blade width and thickness limits.
- Match the tooth style to your cutting job.
- Make sure the seller uses the same unit system.
If you want a reliable source for machine safety and tool knowledge, the Wood Magazine website is a helpful place to learn more about band saw setup and blade selection.
One non-obvious point: many blade problems are not caused by the wrong length alone. Poor guide setup, wheel crown issues, or a weak tension spring can make the correct blade seem “wrong.” So if the size is correct but the blade still performs badly, the machine may need adjustment.
Practical tips that save time and reduce errors
Small habits can make blade measuring much easier.
Label the correct size on the saw
After you confirm the correct size, write it down on masking tape and place it inside the saw door or near the tension knob. This saves time the next time you need a new blade.
Keep the old blade until the new one fits
If the old blade is still usable, keep it as a backup until the replacement has been tested. If the new blade turns out to be the wrong size, you will have a reference.
Measure in good light
Dim light makes it easy to misread the tape measure, especially on dark shop floors or metal blades with small marks.
Check the tension range
Even a correct-size blade can give problems if the saw cannot reach proper tension. Before buying, make sure your machine can tension the blade type you want.
When to replace the blade instead of measuring again
Sometimes measurement is not the real issue. If a blade is badly worn, cracked, missing teeth, or bent from storage, it is better to replace it than to keep measuring the same damaged piece.
A damaged blade may give a false reading if it has stretched or twisted. In that case, use the saw’s manual or a trusted replacement supplier’s size chart instead of relying on the old blade alone.
Another good rule: if the blade has already failed in use, do not assume the same size will solve the problem. Look at why it failed. The wrong blade width, poor tension, or an overworked blade can all cause early wear.
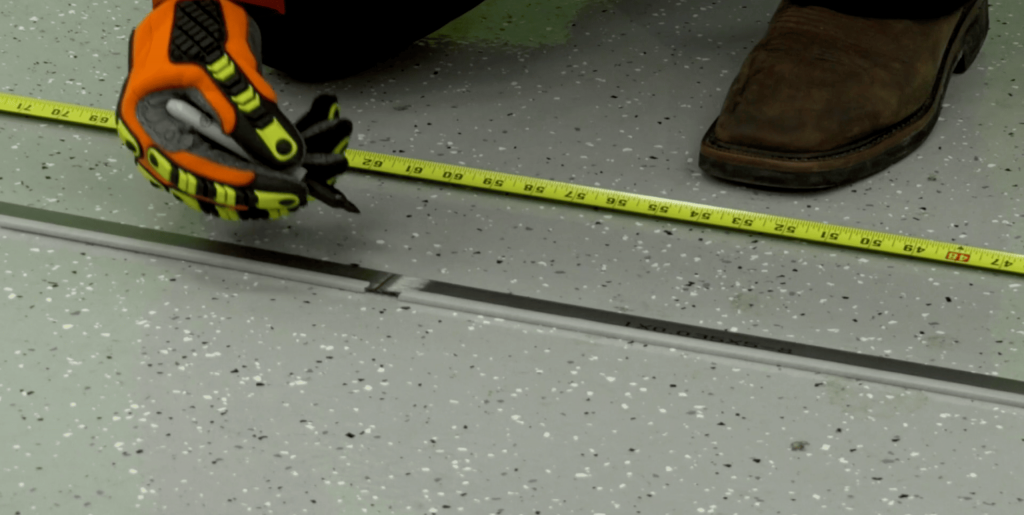
Credit: sawblade.tv
Final check before installation
Before you install the new blade, check these points one last time:
- Length matches the saw requirement
- Width fits the job and the saw guides
- Thickness is within the machine’s limit
- Tooth style suits the material you cut
- The blade is not bent or damaged in shipping
This last check takes only a minute, but it can save a full afternoon of troubleshooting.
Learning how to measure band saw blades correctly is one of those shop skills that pays off every time you change blades. Once you know the right size, your saw cuts better, your blades last longer, and your work becomes smoother and safer.
FAQs
1. How do I measure band saw blades if I do not have the manual?
Remove the old blade and measure the full loop length with a tape measure. Then check the width and thickness, and compare the result with common blade sizes for your saw type. If possible, also search the machine model online for the original size.
2. Can I use a blade that is slightly longer than the original?
Sometimes, but only if the tension system can handle it. A blade that is too long may not tighten enough. If the saw cannot reach proper tension, choose the exact recommended size instead.
3. What happens if the band saw blade is too short?
A blade that is too short may be hard or impossible to install. If it does fit, it can put too much stress on the saw and make blade changes difficult. It may also damage the tension mechanism over time.
4. Does blade width matter as much as length?
Yes, it does. Length must fit the saw, but width affects the type of cut, tracking, and guide support. A narrow blade is better for curves, while a wider blade is better for straight cuts and resawing.
5. What is the best way to remember the correct blade size?
Write the size inside the saw cabinet, on the blade storage box, or in a workshop notebook. You can also save it in your phone. This prevents guessing the next time you buy a replacement.
