
If your garage feels crowded, pegboard can change everything. It turns empty wall space into easy storage for tools, cords, garden items, and small parts. The good part is that it is not hard to install if you follow the right steps.
Learning how to hang pegboard in garage is useful because it gives you fast access to the things you use most. You do not need a fancy workshop to get started. A few simple tools, a little planning, and the right mounting method can give you a clean wall system that lasts for years.
In this guide, you will learn how to choose the right pegboard, mark and mount it safely, and avoid common mistakes that cause sagging or loose panels. You will also see practical tips that make the setup stronger and more useful in real garage conditions.
Start with the right pegboard setup
Before you drill any holes, think about what you want to store. A garage pegboard is not just a wall cover. It is a working storage system. The best setup depends on the weight of your items, the wall type, and how much space you want to cover.
Most garage pegboard installs use either standard hardboard pegboard or metal pegboard. Hardboard is cheaper and easy to cut. Metal pegboard is stronger and handles heavier items better. If you plan to hang mostly hand tools, light garden tools, and extension cords, hardboard can work well. If you want a more durable option, metal is often the better choice.
One thing many beginners miss is that pegboard needs space behind it. Hooks need room to fit through the board and lock in place. That means you should never mount pegboard flat against the wall without proper spacing. If you do, the hooks may not fit right, or the board may weaken over time.
What you need before installation
Here is the basic set of tools and supplies for a standard garage pegboard project:
- Pegboard panels
- Wood furring strips or pegboard mounting strips
- Screws and wall anchors, if needed
- Stud finder
- Level
- Measuring tape
- Drill and drill bits
- Saw, if you need to cut the pegboard
- Pencil
- Pegboard hooks and accessories
If your garage wall is concrete or brick, the process changes a little. You will need masonry screws or concrete anchors. If the wall is drywall over studs, you can usually fasten the pegboard support strips into the studs for a strong hold.
Choose the best wall area
Pick a wall that is easy to reach and not blocked by shelves, bins, or a car door. The best spot is usually above a workbench, beside a side door, or on a section of wall where tools are used often. Keep in mind that garage walls can face moisture, dust, and temperature swings, so choose a dry area if possible.
Also think about height. Your most-used tools should sit between waist level and eye level. That makes them easy to grab without stretching or bending too much. Less-used items can go higher.
Measure the wall and plan the layout
Good planning saves time and helps the board look neat. Start by measuring the wall width and height. Then decide how many pegboard panels you need. Standard pegboard sheets are often 2 x 4 feet or 4 x 8 feet, but sizes vary.
It helps to sketch your wall on paper first. Mark the workbench, electrical outlets, switches, windows, or anything else that might affect the layout. This step is simple, but it prevents many frustrating mistakes later.
Here is a useful way to think about the layout:
| Wall area | Best use | Why it helps |
|---|---|---|
| Above workbench | Hand tools, tape, screwdrivers | Keeps tools close while you work |
| Near garage entrance | Garden tools, gloves, cords | Easy grab-and-go access |
| Side wall | Seasonal or less-used items | Uses space that is often ignored |
Another small but important tip: leave a little extra room around the edges of your layout. This gives you space to cut a cleaner fit and avoids a cramped look.
Check stud locations early
Use a stud finder to locate the wall studs before you install anything. Pegboard should be supported by a solid base, and studs give you that strength. Mark each stud with a pencil. If the wall does not line up perfectly with your panel size, do not force it. You can adjust the layout or use horizontal support strips to bridge the gaps.
This is one of the most useful details beginners often overlook: the pegboard itself should not carry all the weight. The support strips and studs should carry the load, while the pegboard acts as the storage surface.
Cut and prepare the pegboard panels
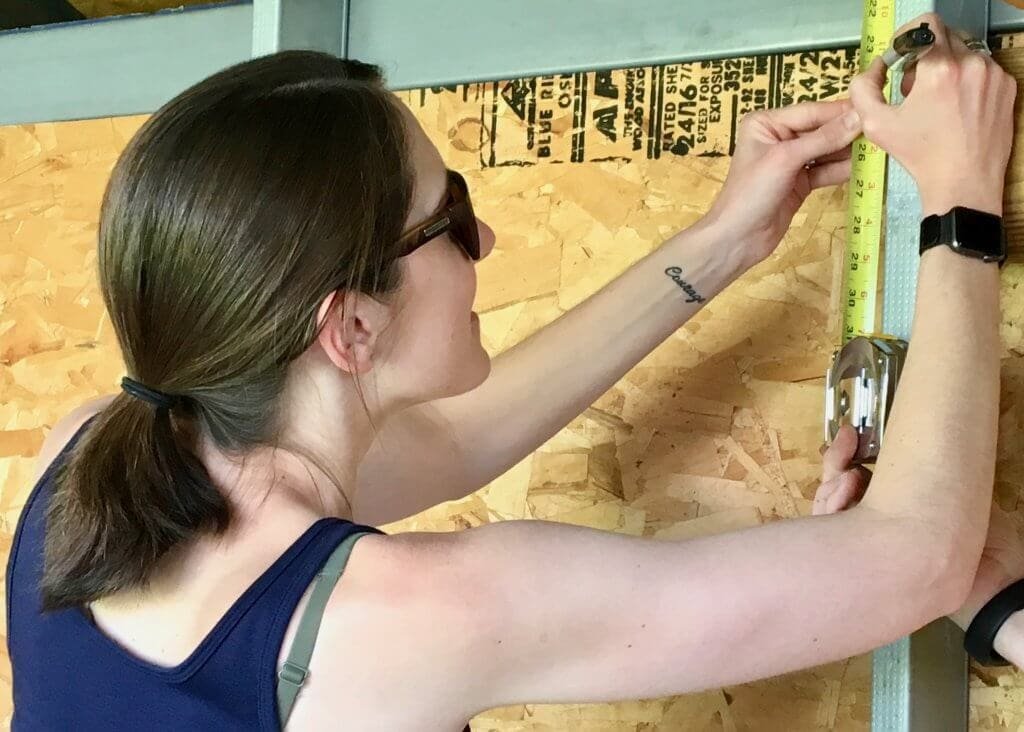
If your panels are too large for the wall, cut them before installation. Measure twice and cut once. That old advice matters here because pegboard is easy to damage if you rush. Use a fine-tooth saw for a cleaner edge, especially with hardboard.
If you are using multiple panels, check that the hole pattern lines up where needed. Try to keep seams in less noticeable places if possible. On a garage wall, a neat seam is not just about looks. It also helps hooks sit more evenly across the surface.
Credit: imbusybeingawesome.com
Why spacing behind the board matters
Pegboard hooks need clearance. Most standard hooks are designed to sit through the holes and lock behind the board. For that to work, the pegboard must be mounted with a gap behind it. Furring strips are the usual solution. They create that gap and give you a strong mounting surface at the same time.
Without that gap, the hooks may tilt, pop out, or sit too loosely. Even worse, the board can flex when you take tools on and off. That is why the mounting system matters just as much as the pegboard itself.
Install the mounting strips
This is the part that makes the whole system strong. Mounting strips, also called furring strips, are thin wood strips attached to the wall first. The pegboard then mounts to these strips. They create the space behind the board and give you a solid place to fasten screws.
Hold the strip against the wall at the height where the pegboard will sit. Use a level to make sure it is straight. Then screw it into studs whenever possible. If a section does not land on a stud, use a suitable wall anchor for support.
For most garage setups, a simple pattern works well:
- Install one strip near the top of the pegboard area.
- Install one strip near the bottom.
- Add middle strips if the wall is wide or the board will hold heavier tools.
Do not use strips that are too thin. A common choice is 1 x 2 inch lumber, but the exact size is less important than making sure there is enough space for pegboard hooks to fit properly.
Make the board sit flat and straight
Uneven mounting strips can make the pegboard twist or bend. Before you fasten everything, check the strips with a level and press them into the same plane. If one strip sticks out more than another, your board may wobble.
Another beginner mistake is skipping this step because the wall looks straight. Garage walls often have small bumps or bows. Even a small uneven spot can affect how the pegboard hangs and how the hooks work later.
Mount the pegboard to the wall
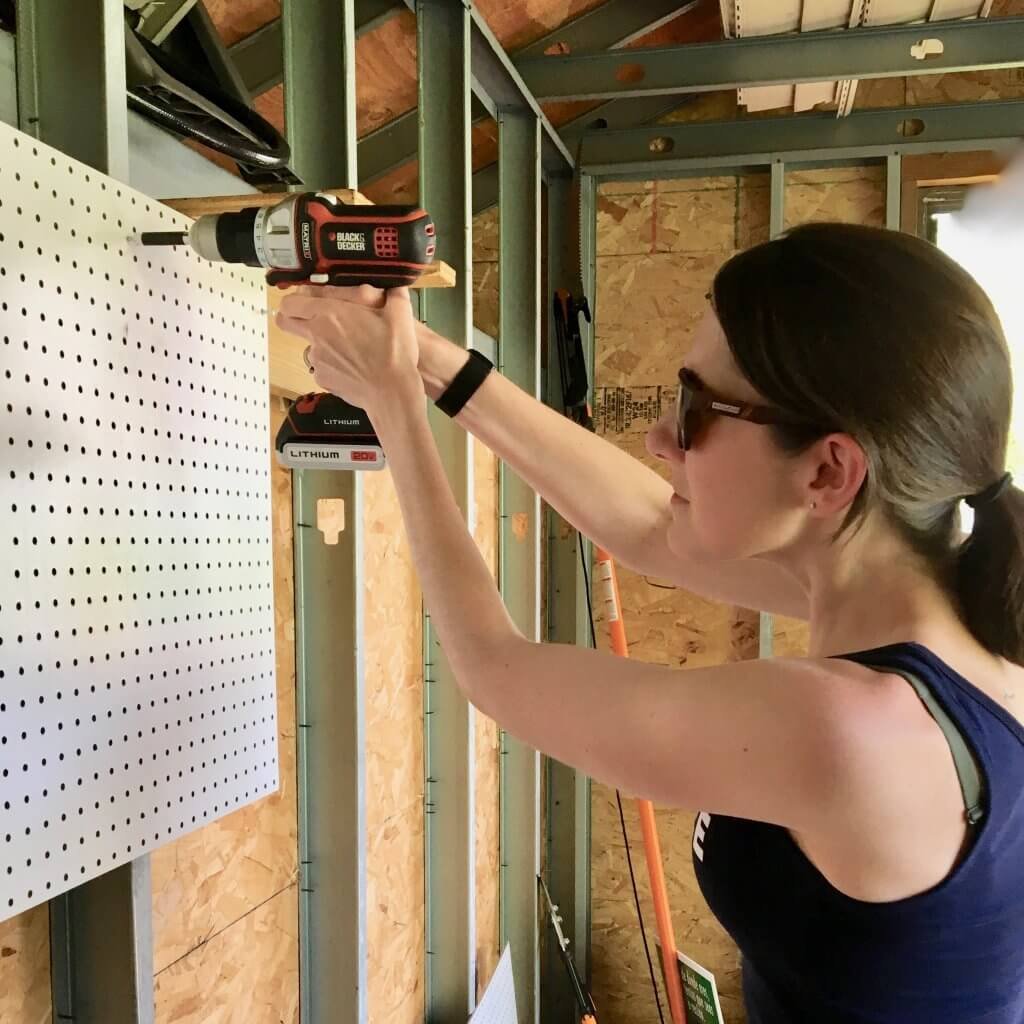
Now you can attach the pegboard panels to the mounting strips. Hold the panel in place and check that the holes are aligned the way you want them. If you are using more than one panel, make sure the seams meet neatly.
Start by driving screws through the pegboard and into the strips. Do not over-tighten the screws. Pegboard can crack or crush around the screw holes if you force it. Tight enough is enough.
If you want the pegboard to look cleaner, use washers on the screws. Washers help spread the pressure and reduce the chance of tearing the board. This is especially useful with hardboard pegboard.
Use proper spacing and support
For a large garage wall, the board may need more than just a few screws. Add fasteners around the edges and through the middle where needed. The goal is to stop flexing. A board that moves when you hang a wrench or pull off a tool will not last as long.
If you are using a large panel, ask someone to help hold it in place. One person can level the board while the other drives screws. That simple step makes the job much easier and safer.
Test the hooks before loading tools
After the pegboard is mounted, test it with a few hooks before you load heavy items. This is the best time to find problems. Insert a hook and check whether it locks properly. If the hook feels loose or slips out, the board may need more spacing or firmer support.
Begin with your light and medium tools. Try screwdrivers, pliers, scissors, tape measures, and small hand tools. Then move to heavier items such as hammers, wrenches, or spray bottles. If the board starts to flex, move those items to a stronger area or spread the weight out.
One practical insight that helps a lot: keep heavy tools close to the mounting points. Do not cluster all the weight in one small section. A balanced layout is safer and easier to use.
Credit: imbusybeingawesome.com
Arrange tools by frequency of use
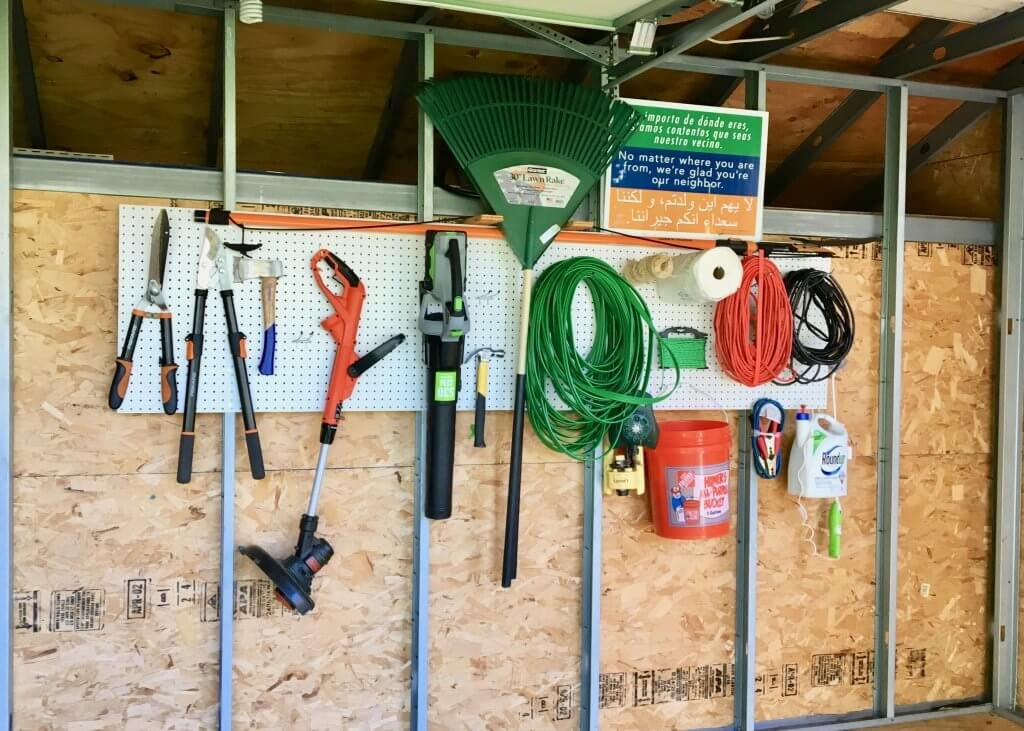
Think about your daily habits. The items you use often should be easy to reach without moving other tools out of the way. Put the most common items at the front and center. Keep duplicates, extras, and seasonal tools off to the side or higher up.
This makes the wall feel much more organized. It also saves time, because you are less likely to search through clutter when you need one specific item.
Make the garage pegboard more useful
Once the pegboard is up, the real value comes from how you arrange it. A wall storage system works best when every item has a clear place. Labels can help, but even without labels, you can group items by type.
Smart ways to organize the board
- Keep cutting tools together.
- Group screwdrivers, pliers, and wrenches in one area.
- Use small bins for screws, nails, and anchors.
- Hang cords in loose loops instead of tight coils.
- Place garden tools in a separate section from garage tools.
Try not to fill every hole. Empty space makes the board easier to use. A packed pegboard looks busy and becomes hard to rearrange later. Leaving some open spots gives you flexibility when your needs change.
Add accessories that improve the system
There are many pegboard accessories that can make storage better. Small shelves can hold tape rolls or glue. Cups and bins can hold fasteners. Tool holders can keep drills or hammers stable. Just make sure the accessory matches the board type and hole spacing.
For people who want a strong and flexible setup, the Family Handyman pegboard storage guide offers helpful ideas for real garage use. It is a good reference if you want more storage inspiration after your basic install.
Common mistakes to avoid
Many pegboard projects fail for simple reasons. The board may be fine, but the install method is weak. If you avoid these mistakes, your storage wall will last longer and work better.
- Mounting the board directly to the wall without spacing behind it.
- Skipping studs and relying only on drywall anchors for a full load.
- Over-tightening screws and damaging the board.
- Ignoring wall unevenness, which causes the board to bow.
- Loading too much weight in one area instead of spreading it out.
There is another mistake many people do not notice until later: using poor-quality hooks. Cheap hooks may bend, slide, or fall out. A stronger hook system makes the whole wall feel more secure and easier to manage.
How to keep pegboard strong over time
Pegboard is simple, but it still needs a little care. Check the screws every few months, especially if the garage changes temperature a lot. Wood can move slightly with seasonal shifts, and that can loosen fasteners over time.
If the board starts to sag, add more support strips or move heavier items closer to a stud location. If a section becomes crowded, reorganize it before the hooks and board start to wear out.
Keep the wall dry. Moisture can damage hardboard pegboard and weaken the surface around the holes. If your garage is humid, metal pegboard or coated pegboard may be a better long-term choice.
Credit: imbusybeingawesome.com
When to upgrade from basic pegboard
If you notice repeated bending, loose hooks, or broken holes, it may be time for a stronger system. That does not always mean starting over. Sometimes you can replace only one section with a better material or add a second storage zone for heavier items.
A smart garage setup often grows in stages. Start simple, learn what you use most, and improve the wall over time. That approach saves money and gives you a system that fits your real habits.
FAQ
1. What is the best way to hang pegboard in a garage?
The best way is to mount pegboard on wood furring strips that are fastened into wall studs. This creates space behind the board for hooks and gives the panel better support.
2. Can I hang pegboard directly on drywall?
You can, but it is not the best choice for a garage. Pegboard works much better when it is mounted with spacing and support strips. Direct mounting can make hooks sit poorly and may cause the board to wear out faster.
3. How far should pegboard sit off the wall?
It should sit far enough away for the hooks to fit and lock properly. In most garage installs, the support strips create the right gap. If the space is too small, the hooks may not work as intended.
4. What kind of pegboard is best for garage storage?
Hardboard pegboard is affordable and fine for light to medium use. Metal pegboard is stronger and better for heavier tools or longer-lasting performance. Your choice depends on the weight of your items and your budget.
5. How do I stop pegboard from sagging?
Use strong support strips, fasten the board into studs, and spread the weight across the wall. Also avoid overloading one section. If needed, add more mounting points to reduce flexing.
