
Pegboard looks simple, but clean cuts can be tricky if you rush. The holes can chip, the board can crack, and a small mistake can make the panel fit poorly on the wall. That is why learning how to cut pegboard the right way matters before you start.
The good news is that pegboard is easy to work with when you use the right tool and take a few careful steps. You do not need advanced carpentry skills. You only need a clear mark, a steady hand, and a method that matches the type of cut you need.
In this guide, you will learn simple ways to make straight cuts, curved cuts, and cutouts for outlets or corners. You will also see which tools work best, how to avoid common mistakes, and how to get a clean edge that looks neat after installation.
Know Your Pegboard Before You Cut
Before you start cutting, it helps to know what kind of pegboard you have. Most pegboard is made from hardboard, MDF, metal, or plastic. Each material cuts a little differently, and the best tool depends on that material.
Hardboard and MDF pegboard are the most common in home projects. They are easy to cut, but they can chip if the blade is dull or if you move too fast. Plastic pegboard is lighter and cleaner to cut, while metal pegboard needs more care and the right blade.
Also check the hole pattern before you cut. Pegboard holes are often spaced in a fixed grid, so a bad cut can remove holes you may need later. If possible, plan your cuts so you keep the most useful section of holes on the finished piece.
| Pegboard type | Cutting difficulty | Best tool | Common risk |
|---|---|---|---|
| Hardboard | Easy | Jigsaw or circular saw | Chipping |
| MDF | Easy to moderate | Jigsaw, circular saw, or utility knife for thin sheets | Dust and edge wear |
| Plastic | Easy | Jigsaw or fine-tooth saw | Melting or rough edges |
| Metal | Moderate to hard | Metal-cutting blade or tin snips for thin panels | Bending and sharp edges |
Tools and Materials That Make the Job Easier
You do not need many tools, but the right ones make a big difference. If you want a clean edge, avoid using a dull blade or a tool that is too rough for the job. That is one of the main reasons pegboard cuts come out messy.
- Measuring tape
- Pencil or fine marker
- Straightedge or framing square
- Clamps
- Plywood or foam board backing
- Jigsaw with fine-tooth blade
- Circular saw with fine blade
- Utility knife for thin plastic or light board
- Sandpaper or sanding block
- Safety glasses and dust mask
A very useful tool that beginners often skip is backing support. Place the pegboard on a sheet of plywood or foam board before cutting. This keeps the sheet flat and reduces tear-out at the edge. It also helps prevent vibration, which is a major reason holes chip near the cut line.
If you are working with MDF or hardboard, a dust mask is more important than many people realize. These boards can create fine dust. Cutting outside or in a well-ventilated area is a smart move. For official safety advice on tool use and protective equipment, you can also check the OSHA website.
The Best Way to Mark Pegboard for a Clean Cut
Good cutting starts with good marking. If your line is off, the cut will be off too. Take time here. It is faster to mark carefully than to fix a bad fit later.
Measure twice, mark once
Measure the space where the pegboard will go. Then measure the board itself. Write the numbers down if the project is large. This helps avoid simple mistakes, especially when you need more than one panel.
Use a pencil and a straightedge to draw a clear cut line. For straight cuts, a framing square helps you keep the line perfectly true. If the board will be seen after installation, mark the cut line on the back side when possible. This keeps the front surface cleaner.
Leave a little room when needed
One useful trick beginners miss is to cut slightly outside the final line, then sand down to the exact size. This works well when the pegboard must fit inside a frame, around trim, or into a tight wall space. A small extra margin gives you room to correct the fit.
How to Cut Pegboard Straight
For most projects, you will make a straight cut. This is the easiest cut to learn, and it gives the cleanest result when done carefully. A jigsaw works well for small jobs, while a circular saw is better for long cuts.
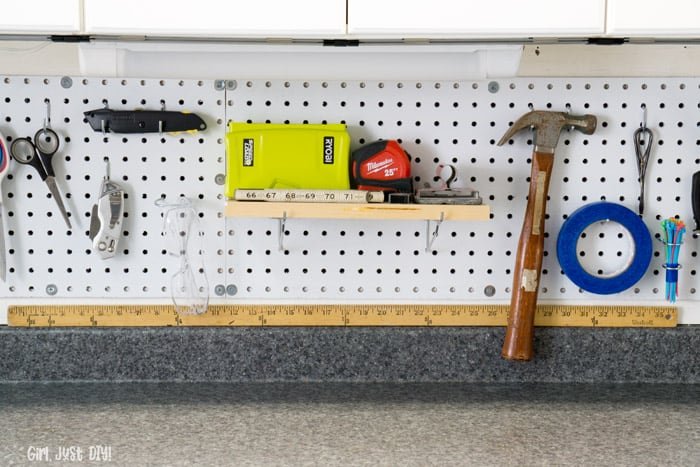
Credit: girljustdiy.com
Using a jigsaw
- Place the pegboard on a flat backing board.
- Clamp it so it cannot move.
- Draw your cut line clearly.
- Use a fine-tooth blade designed for clean wood or plastic cutting.
- Start the saw before touching the board.
- Guide the blade slowly along the line without forcing it.
- Let the blade finish the cut before lifting the tool.
A jigsaw is flexible and easy to control. It is also a good choice if the pegboard is already installed in part of a project and you need a shorter cut. The main rule is simple: move slowly. Fast cutting often causes the holes near the edge to break or flare out.
Using a circular saw
- Measure and mark the line clearly.
- Support the board on both sides of the cut.
- Set the blade depth just deeper than the board thickness.
- Use a fine-tooth blade for smoother edges.
- Cut with steady pressure and keep the saw aligned with the edge guide.
A circular saw gives a very straight edge, but it needs stable support. If the board bends during the cut, the edge may split. This happens often when someone lets the offcut hang in the air. Always support both sides so the cut stays clean until the end.
Using a utility knife on thin pegboard
Some thin plastic pegboard sheets can be scored with a utility knife. This is not for thick hardboard or MDF, but it works well on lighter materials. Score the line several times with firm pressure, then snap the board along the score if the material allows it.
This method gives a neat edge on the right kind of board. The key is to make several passes instead of trying to cut through in one stroke. A single hard pass can slip and leave a rough line.
How to Make Curves, Cutouts, and Special Shapes
Not every project is a simple rectangle. You may need to cut around a pipe, outlet, corner, or shelf support. These cuts take more patience, but they are still easy if you break them into smaller steps.
Cutting around outlets or wall fixtures
First, measure the fixture position on the wall and transfer those measurements to the pegboard. Double-check the height and distance from the edge. Then mark the opening size on the board. Drill a starter hole inside the cutout area, then use a jigsaw to finish the shape.
One helpful tip is to make the opening slightly larger than the fixture, not tight against it. A little space makes installation easier and prevents the board from catching on the wall box or trim.
Cutting corners or notches
For corner cuts, mark both sides of the notch first. Cut one line, then turn the board and cut the second line. If the notch is small, a jigsaw works well. For wider notches, a circular saw can handle the long edges, then you can finish the corner with a hand saw or file.
Many beginners try to force one long cut into a tight corner. That usually leads to a ragged end. A cleaner method is to make two simple cuts and meet them at the corner.
Making curved cuts
Curves are best done with a jigsaw. Drill a starter hole inside the waste area if needed, then follow your curve slowly. Keep the board supported close to the cutting line so it does not shake.
If the curve will be visible after installation, sand it carefully after cutting. This step makes the final shape look smoother and more professional.
How to Avoid Chipping, Splintering, and Rough Edges
If you want to know how to cut pegboard with a neat finish, this is the part that matters most. Clean cuts are not only about the saw. They are also about support, speed, and blade choice.
Use a sharp, fine-tooth blade
A dull blade pulls at the material instead of slicing it. That pulls out fibers and leaves a rough edge. Fine-tooth blades cut more gently, which is especially important for hardboard and MDF.
Support the cut line from below
Put scrap wood, plywood, or foam board under the pegboard. This helps stop the back side from tearing as the blade exits the cut. If the board is not supported well, the last few inches of the cut often look the worst.
Cut with the finished side in mind
If one side will be visible, place that side facing down for most saw cuts. Many blades cut more cleanly on the side where they exit. This small choice can save time later because you will have less sanding to do on the visible face.
Sand the edge lightly
After the cut, use medium or fine sandpaper to smooth the edge. Do not over-sand the peg holes near the edge. You want to remove rough spots, not widen the holes or weaken the board.
Another beginner mistake is sanding too aggressively around the holes. This can damage the peg pattern and make hooks fit loosely. Light, controlled sanding is enough.
Step-by-Step Process for a Clean Pegboard Cut
If you want a simple process you can follow from start to finish, use this approach. It works for most pegboard projects and helps reduce mistakes.
- Choose the right tool for the pegboard material.
- Measure the space carefully.
- Mark the cut line with a pencil and straightedge.
- Place the board on a supportive backing surface.
- Clamp the board so it does not move.
- Cut slowly and steadily along the line.
- Finish the edge with light sanding.
- Test-fit the board before mounting it.
That final test-fit is worth the extra minute. It lets you catch a small error before the board is nailed or screwed into place. Once a pegboard is mounted, fixing a bad cut is much harder.

Credit: diamondlifegear.com
Common Mistakes People Make When Cutting Pegboard
Even a simple project can go wrong if you rush. Here are the mistakes that cause most problems.
Using the wrong blade
A rough blade may cut fast, but the edge will look torn. Use a blade that suits the material. Fine-tooth blades are usually the safest choice for clean results.
Skipping support under the board
When the board flexes, the cut edge can split. This is a common problem when the pegboard hangs off a table or workbench. Always support it fully.
Cutting too fast
Fast cutting feels productive, but it usually makes the edge worse. A steady speed gives you more control and a better finish.
Measuring only once
Even a small measuring mistake can shift the pegboard out of position. Measure the wall space, then measure again. If the board will fit between cabinets, shelves, or trim, check the space at more than one point because walls are not always perfectly square.
That last point is easy to miss. A wall opening may be wider at one end than the other. If you assume it is perfectly straight, the pegboard may fit at the top but not at the bottom.
Finishing the Pegboard After the Cut
Once the pegboard is cut, take a few minutes to finish it properly. This small step improves both the look and the life of the board.
First, wipe away dust. Then inspect the edge for chips or rough spots. Sand gently until the edge feels smooth to the touch. If the pegboard will be painted, this is also the time to prime or paint the cut edge so it matches the rest of the panel.
For hardboard and MDF, sealing the cut edge can help reduce moisture damage later. Cut edges are often the weakest part of the panel, so a little protection goes a long way.
Best Practices for Installing a Cut Pegboard
A clean cut is only part of the job. The board also needs to sit flat and line up well with the wall. If you cut accurately but mount the board poorly, the finished result can still look uneven.
Leave small gaps where needed for expansion, especially with wood-based pegboard. Do not force the board into a space that is too tight. That pressure can bow the panel or crack the edge over time.
If the pegboard is part of a tool wall, check the hole alignment before final mounting. The panel should sit straight so hooks, bins, and holders hang properly. A tilted board can make storage items slide or sit crooked.
Quick Answers About Cutting Different Pegboard Materials
Different materials need slightly different handling. This short guide can help you choose the right method faster.
- Hardboard pegboard: Best cut with a jigsaw or circular saw using a fine blade.
- MDF pegboard: Cut slowly and wear a dust mask because it creates fine dust.
- Plastic pegboard: Use a fine-tooth blade or utility knife for thin panels.
- Metal pegboard: Use metal-cutting tools and protect the edges after cutting.
The main idea is simple: match the tool to the material. This saves time, reduces waste, and gives a cleaner finish.
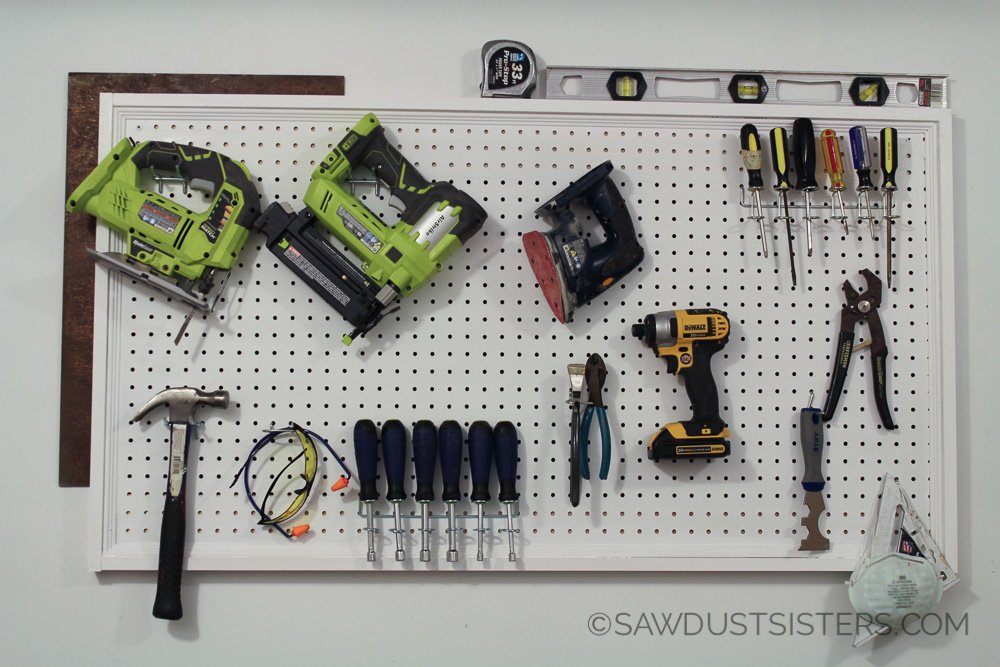
Credit: sawdustsisters.com
Final Thoughts
Learning how to cut pegboard is mostly about patience and support. Measure carefully, use the right blade, and keep the board steady while you cut. When you follow those basics, pegboard becomes an easy material to work with.
For the cleanest result, remember three things: use a sharp blade, support the sheet from below, and finish the edge with light sanding. Those small details make a big difference in how professional the final project looks. With the right method, your pegboard will fit well, look neat, and last longer on the wall.
FAQs
1. What is the easiest tool for how to cut pegboard?
For most home projects, a jigsaw is the easiest tool. It is simple to control and works well for straight cuts, curves, and small openings. If you are cutting a long, straight line, a circular saw may be faster.
2. Can I cut pegboard with a utility knife?
Yes, but only on thin plastic pegboard or very light material that scores well. It is not a good choice for hardboard or MDF pegboard because those boards are too thick and dense for clean knife cuts.
3. How do I stop pegboard from chipping when I cut it?
Use a sharp fine-tooth blade, support the board with plywood or foam board, and cut slowly. It also helps to place the finished side facing down during saw cuts so the cleaner edge is on the visible side.
4. Do I need to sand pegboard after cutting?
Yes, light sanding is usually a good idea. It removes rough spots and makes the edge smoother. Be careful not to sand too much around the holes, or they may become too loose for hooks.
5. Can I cut pegboard after it is installed on the wall?
Yes, but it is harder to get a clean result. If possible, cut the pegboard before installation. If you must cut it on the wall, use a careful layout, a smaller cutting tool, and protect the wall surface behind it.
