
If you want more storage in a metal shed, pegboard is one of the smartest upgrades you can make. It keeps tools visible, saves floor space, and makes the shed easier to use every day. But metal walls are not like wood walls. You cannot just grab screws and start drilling without a plan.
That is why many people search for how to attach pegboard to metal shed and then feel stuck. The good news is that the job is very doable. You just need the right mounting method, the right hardware, and a few simple steps to avoid rust, rattling, or bent panels.
In this guide, you will learn a clean, practical way to mount pegboard on a metal shed wall. You will also see which method works best for different shed types, what mistakes to avoid, and how to make the board strong enough for real use.
What to know before you start
Before you buy materials, take a close look at your shed wall. Most metal sheds have thin steel panels, and that changes everything. Thin metal cannot hold pegboard well by itself. The board needs a solid support behind it, or a strong frame in front of the wall.
The best result usually comes from one of these two methods:
- Mounting pegboard on wooden furring strips fixed to the shed frame or wall supports
- Building a simple wood frame that stands slightly off the metal wall
If your shed has visible studs, ribs, or framing members, that is helpful. You want to anchor into structure, not just into sheet metal. If you screw only into the metal skin, the pegboard may wobble or fail over time.
Also, think about what you plan to hang. Light hand tools need less support than heavy garden tools, extension cords, or battery chargers. This matters because pegboard is useful, but it is not magic. The wall behind it must carry the weight.
Best places to install pegboard in a metal shed
Most people place pegboard where they reach often, such as near the door or above a workbench. Avoid areas where water can drip from the roof edge or where metal walls sweat during cold weather. Damp spots can damage tools and weaken fasteners over time.
If your shed gets hot in summer, leave a little air gap behind the pegboard. That space helps reduce moisture buildup and gives the wall room to breathe.
Tools and materials you will need
Having the right supplies makes the job much easier. Do not skip this part. A weak mounting setup usually starts with weak materials.
| Item | Why you need it |
|---|---|
| Pegboard sheet | Main storage surface for hooks and accessories |
| 1×2 or 1×3 wood strips | Create a strong mounting base and space behind the board |
| Wood screws or self-tapping screws | Attach the strips to the shed frame or support points |
| Washers | Help spread pressure and reduce pull-through |
| Drill and drill bits | Used for pilot holes and screw installation |
| Level | Keeps the pegboard straight |
| Measuring tape | Helps plan placement and spacing |
| Stud finder or magnet | Finds metal framing or support points |
| Safety glasses and gloves | Protect your hands and eyes while drilling |
For most shed projects, hardboard pegboard is a fine choice for light to medium use. If your shed is humid, consider a moisture-resistant version. Standard hardboard can warp if the shed gets damp for long periods.
If you want a deeper reference on fastening and corrosion basics, the Family Handyman site is a useful authority for practical home and workshop projects.
The easiest way to attach pegboard to a metal shed
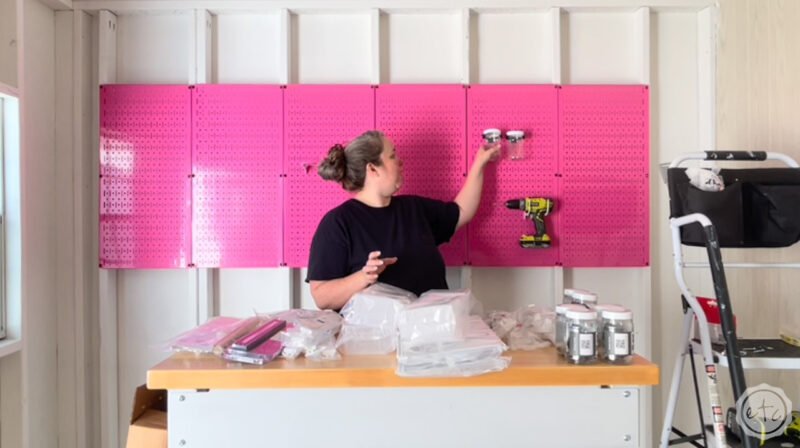
The most reliable method is to mount wooden furring strips to the shed’s structural points, then screw the pegboard into those strips. This gives the board a firm base and creates a small gap behind it. That gap is helpful because it keeps hooks from scraping the wall and helps air move behind the panel.
This method also gives you a clean, flat surface. Many metal sheds are not perfectly flat, so pegboard mounted directly to the wall can flex or warp. A wooden subframe solves that problem.
Credit: happilyeverafteretc.com
Step 1: Choose the wall area
Pick a wall section that is dry, easy to reach, and close to the tools you use most. Measure the space carefully. Make sure there is enough room for the pegboard sheet and for hooks to hang without hitting shelves or corners.
If possible, place the board where the shed wall has vertical ribs or framing members. That will make anchoring easier and stronger.
Step 2: Mark the layout
Hold the pegboard against the wall and mark the top and side edges lightly. Use a level so the board does not end up tilted. If you plan to use more than one panel, mark each panel location before drilling anything.
Non-obvious tip: leave a small gap between pegboard sheets if you are using more than one. Metal sheds expand and contract with temperature. A tiny gap reduces the chance of buckling later.
Step 3: Locate strong attachment points
Use a magnet or stud finder to find screw points, ribs, or internal framing. Do not rely on thin sheet metal alone unless the pegboard is very small and very light. Strong attachment points are the key to a stable installation.
If you cannot find enough support in the wall itself, build a free-standing wooden frame inside the shed. This is often the best choice for very thin or older sheds.
Step 4: Cut and fit the furring strips
Cut 1×2 or 1×3 wood strips to fit the pegboard edges and, if needed, the center area. At minimum, install strips along the top, bottom, and side edges. For large boards, add one or two vertical strips in the middle.
The strips should create a flat plane. If the shed wall is uneven, use small spacers or washers behind the strips where needed. This prevents the pegboard from twisting.
Step 5: Pre-drill the holes
Mark the strip locations on the shed wall, then drill pilot holes through the wood and into the support points. Pre-drilling makes the screws easier to drive and lowers the chance of bending the metal or splitting the wood.
Another useful detail: if you are drilling near thin sheet metal, use slow speed and steady pressure. Fast drilling can grab the metal and make the hole messy or oversized.
Step 6: Secure the furring strips
Attach the strips using screws with washers. Tighten them firmly, but do not crush the metal wall. The strips should feel solid and should not move when you push on them by hand.
If your shed frame is steel, self-tapping screws may work well. If it is wood-framed, use wood screws long enough to bite deeply into the framing.
Step 7: Attach the pegboard
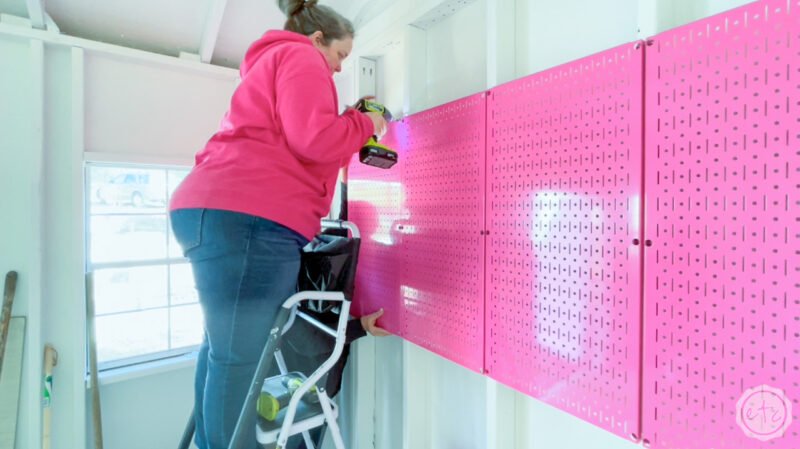
Place the pegboard over the mounted strips and check the fit. Make sure the holes line up the way you want. Then screw the pegboard into the strips using short screws and washers if needed. Start at the corners, then move to the center areas.
Do not over-tighten the screws. Pegboard can crack or deform if you force the fasteners too hard. Tighten until it feels secure and flat.
Step 8: Add hooks and test the load
Before loading the board fully, hang a few light items first. Check for flex, movement, or rattling. If the board shifts, add more fastening points. If a specific area feels weak, reinforce that section before hanging heavier tools.
Once the board feels stable, arrange tools by weight. Put lighter items higher up and heavier items lower down. This keeps the pegboard easier to use and reduces stress on the top fasteners.
If your shed has no easy framing points
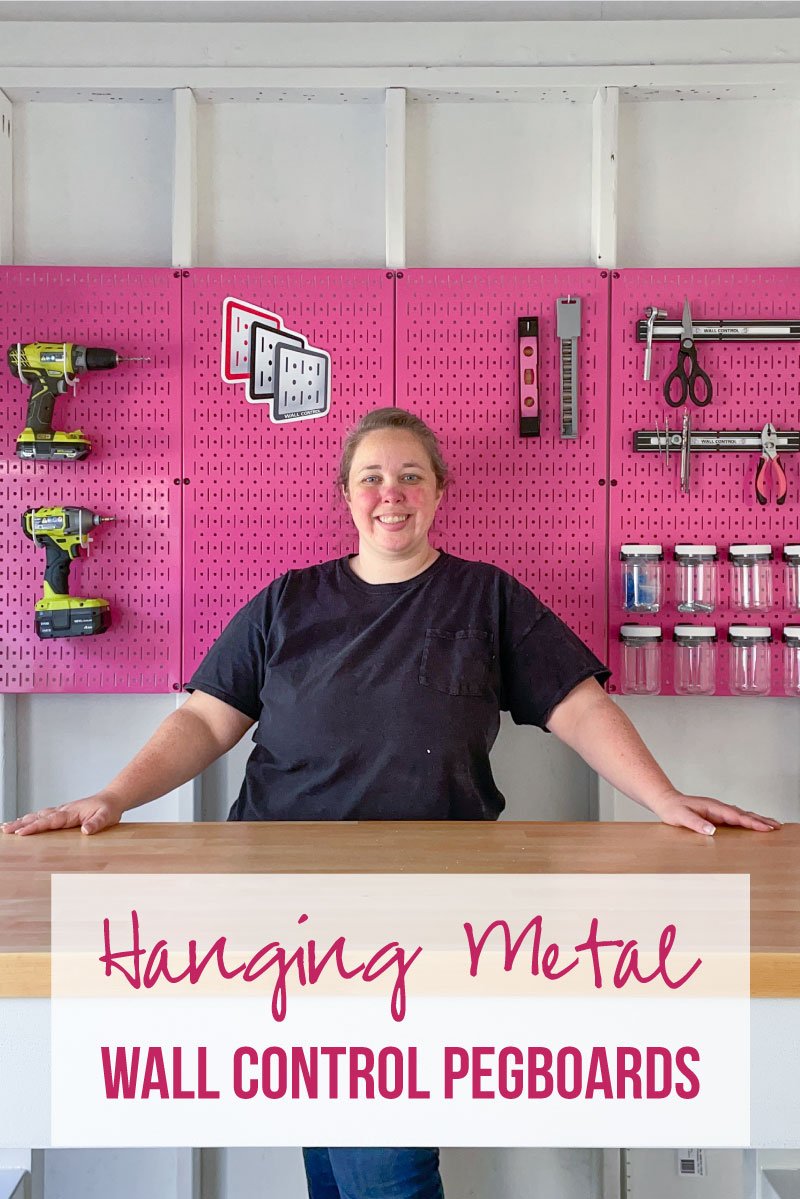
Some metal sheds are built with very little internal support. In that case, direct mounting is risky. A simple wood frame is the better answer. You can build a rectangular frame from 1×2 lumber, attach it to the floor and side supports, and then fasten the pegboard to the frame.
This method takes a little more time, but it gives you better control over the final shape. It is especially useful if the shed wall is curved, dented, or uneven. A frame also makes future upgrades easier because you can remove or replace the pegboard without disturbing the shed wall.
Credit: happilyeverafteretc.com
When a free-standing frame is the best choice
- The shed wall is very thin
- There are few or no wall studs to screw into
- You want to store heavier tools
- The wall has bends, dents, or panel movement
- You want a cleaner, more finished look
Important mistakes to avoid
Many people get a pegboard installed, but it does not last because of a few common errors. Avoid these and your project will hold up much better.
1. Screwing pegboard directly into thin metal
This is the biggest mistake. Thin metal sheet alone usually cannot carry the load, especially once hooks and tools are added. The result is wobble, torn holes, or bent panels.
2. Using the wrong screws
Short or weak screws can pull out quickly. Very long screws can damage the wall or hit hidden parts behind the panel. Choose fasteners based on the wall type and the thickness of your strips or frame.
3. Skipping the gap behind the board
A little space behind pegboard is more useful than many beginners think. It improves airflow and prevents the board from rubbing directly on metal. That small gap also makes hook placement easier.
4. Hanging too much weight too soon
Pegboard is best for tools that are easy to remove and replace. It is not a good choice for very heavy items unless the base is strongly reinforced. Test the board first, then add weight slowly.
5. Ignoring moisture
Metal sheds often collect condensation. If your shed gets damp, choose rust-resistant screws and check the board from time to time. A dry installation lasts far longer than a tight but neglected one.
How to make the installation stronger
If you want a setup that lasts, think beyond the first day of installation. A few extra steps can make a big difference.
- Use thicker wood strips if you plan to hang heavier tools
- Add center support strips for large pegboard panels
- Use washers under screw heads to spread pressure
- Seal cut wood edges if your shed gets damp often
- Keep the board off the floor to reduce moisture contact
One detail people often miss is tool placement. Put the heaviest items near support points, not in the open middle of a large sheet. That small change lowers stress and helps the board stay flat.
Choosing the right pegboard hooks
Not all hooks are equal. Some cheap hooks bend too easily and fall out when the board moves. Choose hooks with a good fit and enough depth for the tool you are hanging. For garden tools, look for strong J-hooks or coated steel hooks. For hand tools, smaller standard hooks are fine.
If the holes in your pegboard are loose or the hook fit feels weak, do not force it. A bad hook fit can make the whole wall feel unreliable.
What to do if the pegboard starts sagging
If the board bows over time, do not ignore it. Sagging usually means the board needs more support. Add another fastener, another strip, or a center brace. If the pegboard itself has warped from moisture, replacing the panel may be better than trying to flatten it.
Also check the screws. Sometimes the problem is not the board, but the fasteners loosening from vibration or temperature changes. A quick retightening can solve the issue.
Maintenance tips for long-lasting results
Once the board is installed, a little care keeps it useful for years. Wipe dust off the pegboard now and then. Check for rust on screws or hooks. Make sure no water is leaking from the roof or collecting near the wall.
If the shed is humid, open the door from time to time to let air move through. This helps protect both the pegboard and the tools. It also reduces the chance of mold or musty smells.
Every few months, test a few hooks by gently lifting them and checking the board behind them. If anything feels loose, fix it before it grows into a bigger problem.
Credit: happilyeverafteretc.com
A simple final setup plan
If you want the shortest path to a strong installation, use this plan: find the shed framing, install wood furring strips, mount the pegboard to the strips, and then load it lightly at first. That is the safest and most practical answer to how to attach pegboard to metal shed.
This approach gives you a tidy wall, better support, and less chance of future repairs. It also works for most common metal sheds without special tools or advanced skills.
Once the pegboard is up, your shed becomes much easier to use. Tools stop getting buried in boxes. Small items stay visible. And your floor finally gets some breathing room.
FAQs
Can I attach pegboard directly to a metal shed wall?
You can in some cases, but it is usually not the best idea. Thin metal sheets do not hold screws well on their own. A wood strip or frame gives much better support and helps the pegboard last longer.
What is the best pegboard for a metal shed?
Moisture-resistant hardboard or coated pegboard is usually the safest choice. If your shed gets damp, avoid untreated boards that may warp. A strong mounting frame matters just as much as the board itself.
Do I need a gap behind the pegboard?
Yes, a small gap is helpful. It improves airflow, reduces rubbing against the metal wall, and gives hooks more space to sit properly. Even a small air gap can make the setup better.
What screws should I use for a metal shed?
That depends on the shed structure. Use self-tapping screws for steel framing or wood screws for wooden supports. Add washers when possible to spread pressure and reduce pull-through.
How much weight can pegboard hold in a metal shed?
It depends on the wall support, the size of the pegboard, and the quality of the hooks. Light hand tools are fine, but heavier tools need stronger support strips or a frame. Never rely on the metal skin alone for heavy storage.
