
Choosing the right heat gun temperature settings can save time, protect your material, and give you a cleaner result. The problem is that many people start with one setting for everything. That often leads to burned paint, warped plastic, weak adhesive removal, or wasted effort.
A heat gun looks simple, but temperature control is the real skill. The right heat is not the hottest heat. It is the heat that matches the job, the material, and the distance from the surface. Once you understand that, a heat gun becomes much safer and far more useful.
In this guide, you will learn how to choose the right heat gun temperature settings for common projects, how different materials react to heat, and how to avoid the mistakes that damage workpieces. You will also get practical temperature ranges, signs that heat is too low or too high, and tips that help you work with more control.
Why temperature control matters more than power
Many buyers focus on watts, airflow, or brand first. Those things matter, but heat gun temperature settings often matter more. A powerful heat gun with poor temperature control can still ruin a project. A simpler model with a stable setting can do excellent work if you know how to use it.
Heat changes materials in different ways. Paint softens. Glue loosens. Plastic bends. Shrink tubing contracts. Wood finishes can blister. Metal can hold heat longer than expected. The same tool can help or harm, depending on how much heat you apply and for how long.
One thing beginners often miss is that airflow and distance change the real heat at the surface. A setting of 600°F does not always mean the material itself gets 600°F. If you hold the gun far away, move quickly, or use strong airflow, the surface may stay much cooler. If you hold it too close, the surface can overheat fast even on a medium setting.
Another important point is that heat works with time. A lower temperature used for a little longer can be safer than a high temperature used for a few seconds. That is why good control matters so much.
How heat gun temperature settings work
Most heat guns have at least two settings: low and high. Better models may offer a dial or digital control that lets you choose a specific range. Some also include airflow control. This makes the tool more flexible for delicate and heavy-duty tasks.
Here is the basic idea:
- Low heat is best for delicate work, gentle warming, and tasks where you want more control.
- Medium heat works well for many general projects, such as paint removal and adhesive softening.
- High heat is useful for fast paint stripping, heavy shrinking, bending, and some industrial jobs.
If your heat gun has a temperature dial, do not assume higher is always better. A large part of using the tool well is starting lower and increasing heat only when needed. That gives you more room to adjust before damage happens.
The external surface, the material thickness, and even room temperature can affect results. A thick metal part may need more heat than a thin vinyl wrap. A cold garage may slow your work. These small details matter more than many beginners expect.
Typical temperature ranges and what they mean
The exact numbers vary by brand, but many heat guns fit into these common ranges:
| Temperature range | Typical use | Best for |
|---|---|---|
| 100°F to 250°F | Gentle warming | Drying, thawing, delicate plastic work |
| 250°F to 400°F | Low to medium heat | Shrink tubing, vinyl, light adhesive softening |
| 400°F to 700°F | General-purpose heat | Paint stripping, decal removal, bending some plastics |
| 700°F to 1000°F+ | High heat | Heavy-duty stripping, industrial tasks, welding support |
Do not treat these numbers as fixed rules. Different materials react differently. Always test on a hidden area first when possible.
Choosing the right heat for common projects
The best way to choose heat gun temperature settings is to match them to the project. Here is how to approach the most common uses.
Paint stripping
Paint removal is one of the most common heat gun jobs. Most people use medium to high heat here, usually around 400°F to 700°F. The goal is to soften the paint until it lifts easily, not to burn it.
Move the gun slowly and evenly. Keep it in motion to avoid scorching the surface. When the paint starts to bubble or wrinkle, scrape it gently with a putty knife or scraper.
Common mistake: using maximum heat right away. This can char wood, blister old layers, or spread soft paint instead of lifting it cleanly.
Removing stickers, decals, and labels
For stickers and adhesive labels, lower heat is usually enough. A range of 250°F to 400°F works well for most jobs. The goal is to soften the glue, not melt the surface underneath.
Hold the gun a short distance away and warm the edge first. Once the adhesive loosens, peel slowly. If the sticker resists, add a little more heat rather than pulling harder.
Non-obvious insight: adhesive often weakens faster when heated from the edges inward. Many people heat the center first, but that can trap the bond at the edges and make peeling harder.
Heat shrink tubing
Heat shrink tubing usually needs controlled, moderate heat. A setting around 250°F to 350°F is often enough. Too much heat can split the tubing, burn the wire insulation, or create uneven shrinkage.
Rotate the cable or move the heat gun around it so the tubing shrinks evenly. Do not hold the nozzle too close. Let the tubing tighten gradually.
If you work on electrical projects often, a heat gun with stable low settings is more useful than one that only blasts hot air.
Thawing frozen pipes or metal parts
For thawing, use lower to medium heat, usually around 200°F to 400°F. Slow and steady heat is safer than intense heat. Concentrated high heat can damage pipes, especially plastic ones, or create stress in metal fittings.
Move along the frozen section and keep the gun in motion. Never heat one spot for too long. If the pipe is near walls or insulation, use extra caution.
One useful habit is to start with the coldest visible section near the blockage and work outward. This helps the melt path open more naturally.
Bending plastic
Plastic bending depends on the type of plastic. Many thermoplastics soften in the 300°F to 600°F range, but some need less heat and some need more. Always check the material if possible.
Heat the plastic evenly and slowly. When it becomes flexible, bend it gently and hold it in place until it cools. If you see bubbling, glossy patches, or smoke, the temperature is too high.
Important note: not every plastic is heat-friendly. Some plastics release harmful fumes when overheated. If the material is unknown, work in a well-ventilated area and test carefully.
Removing floor tiles or vinyl
Tile adhesive and vinyl usually need medium to high heat, around 400°F to 700°F. The goal is to soften the bond beneath the material so it lifts with less force.
Work in small sections. Heat a patch, then lift it while it is still warm. If you wait too long, the adhesive may cool and harden again.
Beginner mistake: heating too large an area at once. This wastes time and makes the material harder to control.
Drying paint, filler, or damp surfaces
If you are drying something, use the lowest safe setting possible. Often 100°F to 250°F is enough. The goal is to gently speed up drying, not bake the surface.
Heat can help in small repair jobs, but do not use it as a shortcut for curing products that need natural drying time. Some fillers, primers, and coatings can crack if heated too aggressively.
How material type changes the setting you need
Not all materials react the same way. This is one of the biggest reasons people struggle with heat gun temperature settings. A setting that works on one surface can ruin another.
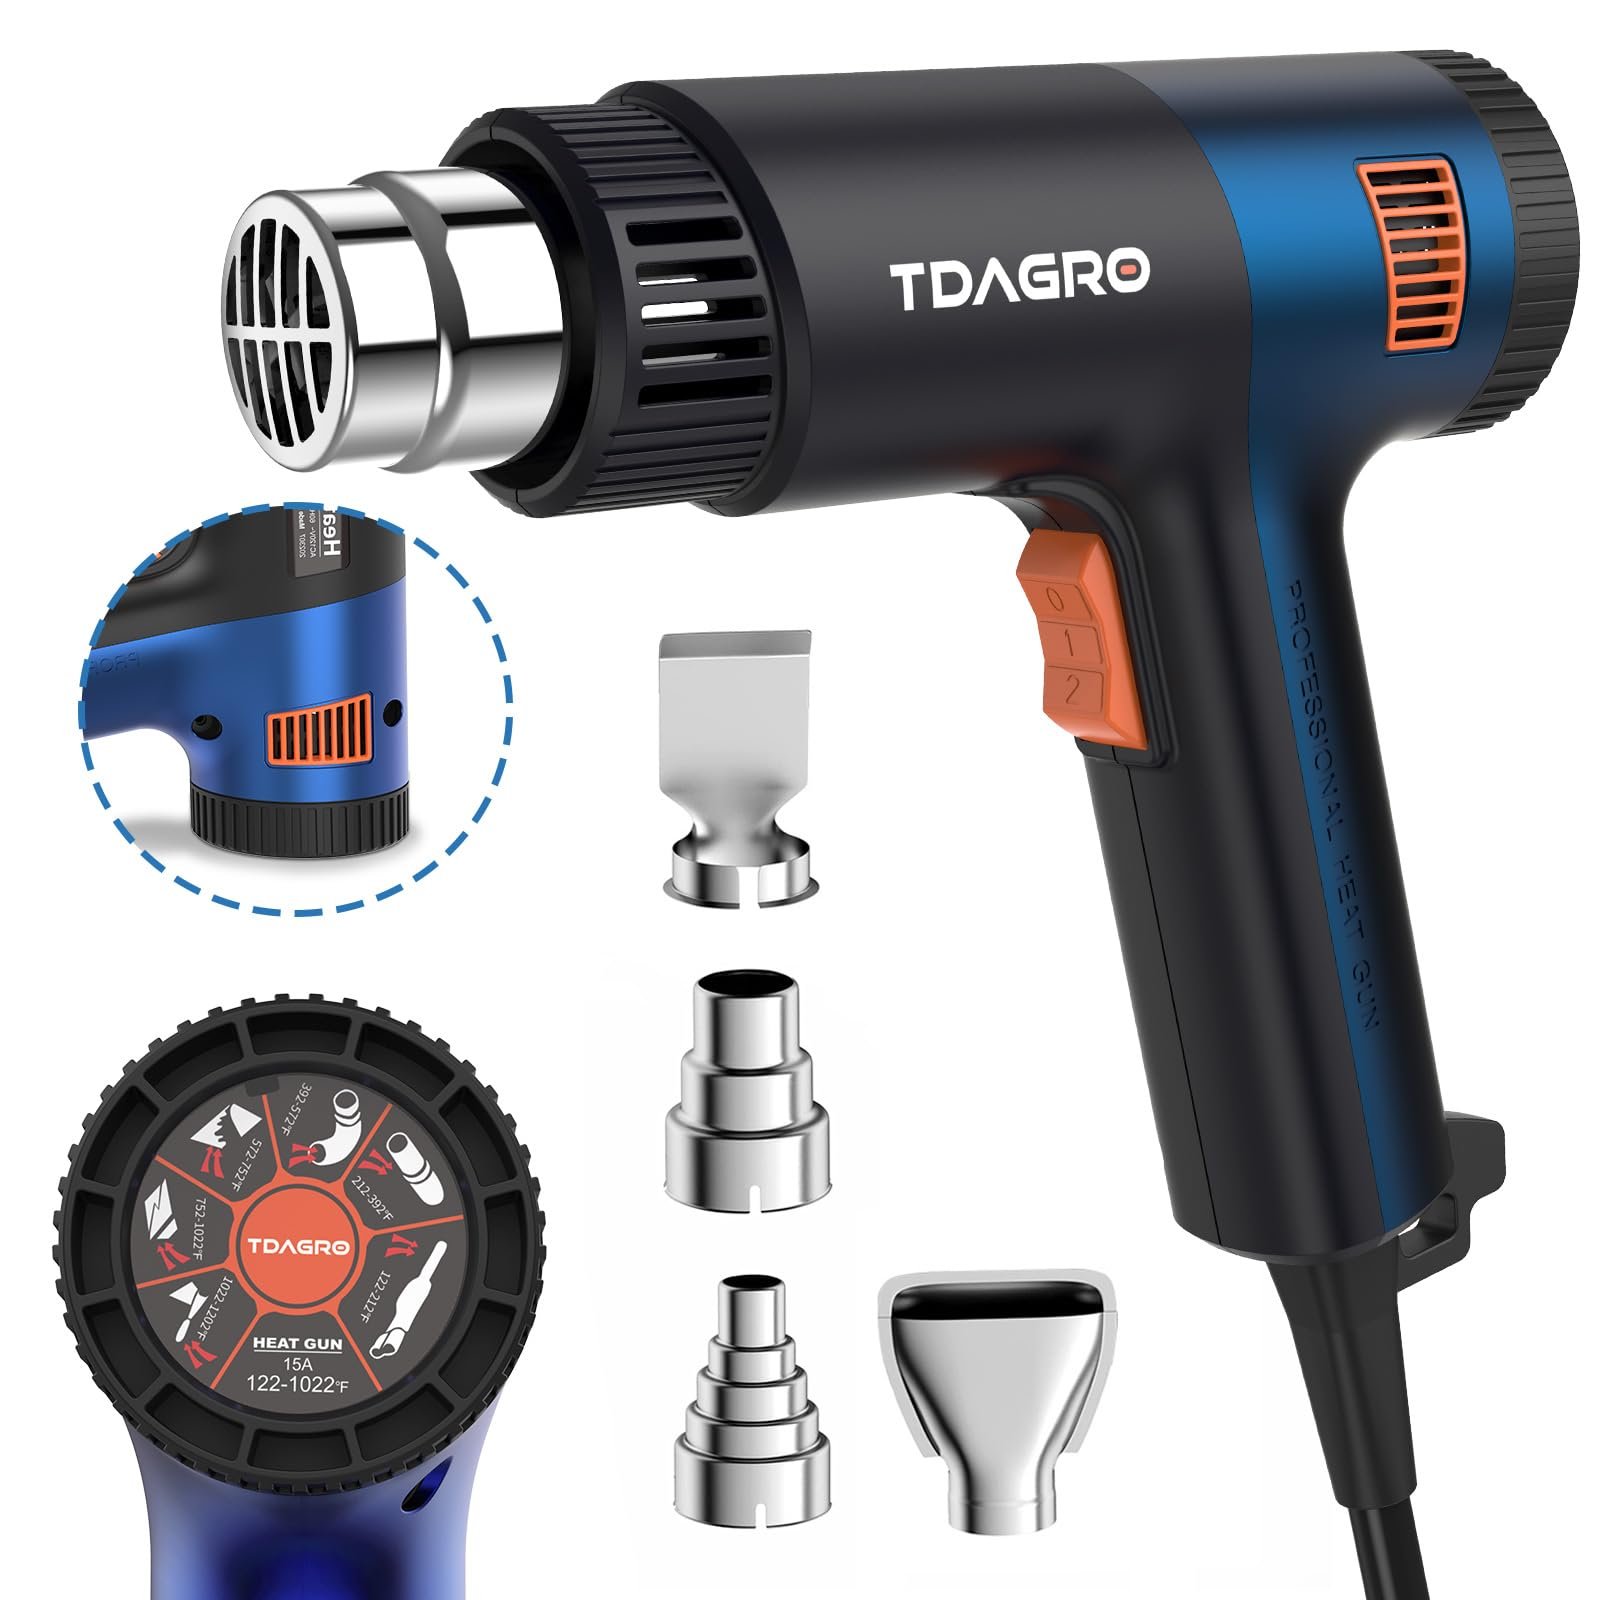
Credit: amazon.com
Wood
Wood can scorch, darken, or crack if overheated. Use medium heat and keep the gun moving. Older paint on wood may strip well, but bare wood needs more care. If the surface starts to look dry or dark, reduce the temperature.
Plastic
Plastic is sensitive because different types soften at very different temperatures. Some plastics bend nicely, while others warp or melt quickly. Use the lowest setting that does the job and test first. If you are unsure, stop and check often.
Metal
Metal can handle higher heat than many other materials, but it also holds heat longer. That means it can surprise you. A piece may look safe and still be extremely hot. Use gloves and allow cooling time after work.
Glass
Glass can crack from sudden temperature changes. If heat is needed near glass, use a low setting and avoid direct, focused heating. Never force fast heating on cold glass surfaces.
Painted surfaces
Painted surfaces require balance. Too little heat makes the job slow. Too much heat burns paint and damages the base material. Medium heat with steady movement is usually the safest starting point.
A simple way to pick the right setting
When you are unsure, use this practical method:
- Start with the lowest setting that could reasonably work.
- Hold the heat gun farther away at first.
- Move it in slow, even passes.
- Watch for softening, bubbling, or movement in the material.
- Increase heat only if the material is responding too slowly.
This approach lowers the chance of damage. It also helps you learn how your specific heat gun behaves. Two tools with the same temperature label may feel different in real use because of airflow, nozzle shape, and heat recovery speed.
Non-obvious insight: a lower temperature with a focused nozzle can sometimes outperform higher heat with a wide nozzle. The way heat is directed often matters as much as the number on the dial.
Credit: blackanddecker.com
Signs your heat is too low
- The material barely changes after several passes.
- Paint does not bubble or soften.
- Adhesive stays hard and sticky.
- You keep working much longer than expected.
Signs your heat is too high
- The surface turns dark or shiny.
- Plastic bends too quickly or collapses.
- You see smoke or smell burning.
- The material becomes brittle, warped, or blistered.
Distance, speed, and angle matter too
Heat gun temperature settings are only part of the result. The way you hold the gun changes everything.
Distance: Closer means stronger heat on the surface. Farther away means gentler heat. If you are unsure, begin farther away and move in slowly.
Speed: Moving too fast gives weak results. Moving too slowly can damage the surface. Use smooth, controlled motion.
Angle: A slight angle often helps direct heat without concentrating it too much. Straight-on heat can be useful, but it is easier to overheat one spot.
Try to think of heat as a moving zone, not a fixed point. That mindset helps you avoid hot spots and gives better results.
Safety steps you should never skip
Heat guns are useful, but they can also cause burns, fire, and fumes if used carelessly. Follow basic safety every time.
- Work in a well-ventilated area.
- Keep the nozzle away from cords, paper, cloth, and solvents.
- Wear heat-resistant gloves when needed.
- Use eye protection for scraping and debris.
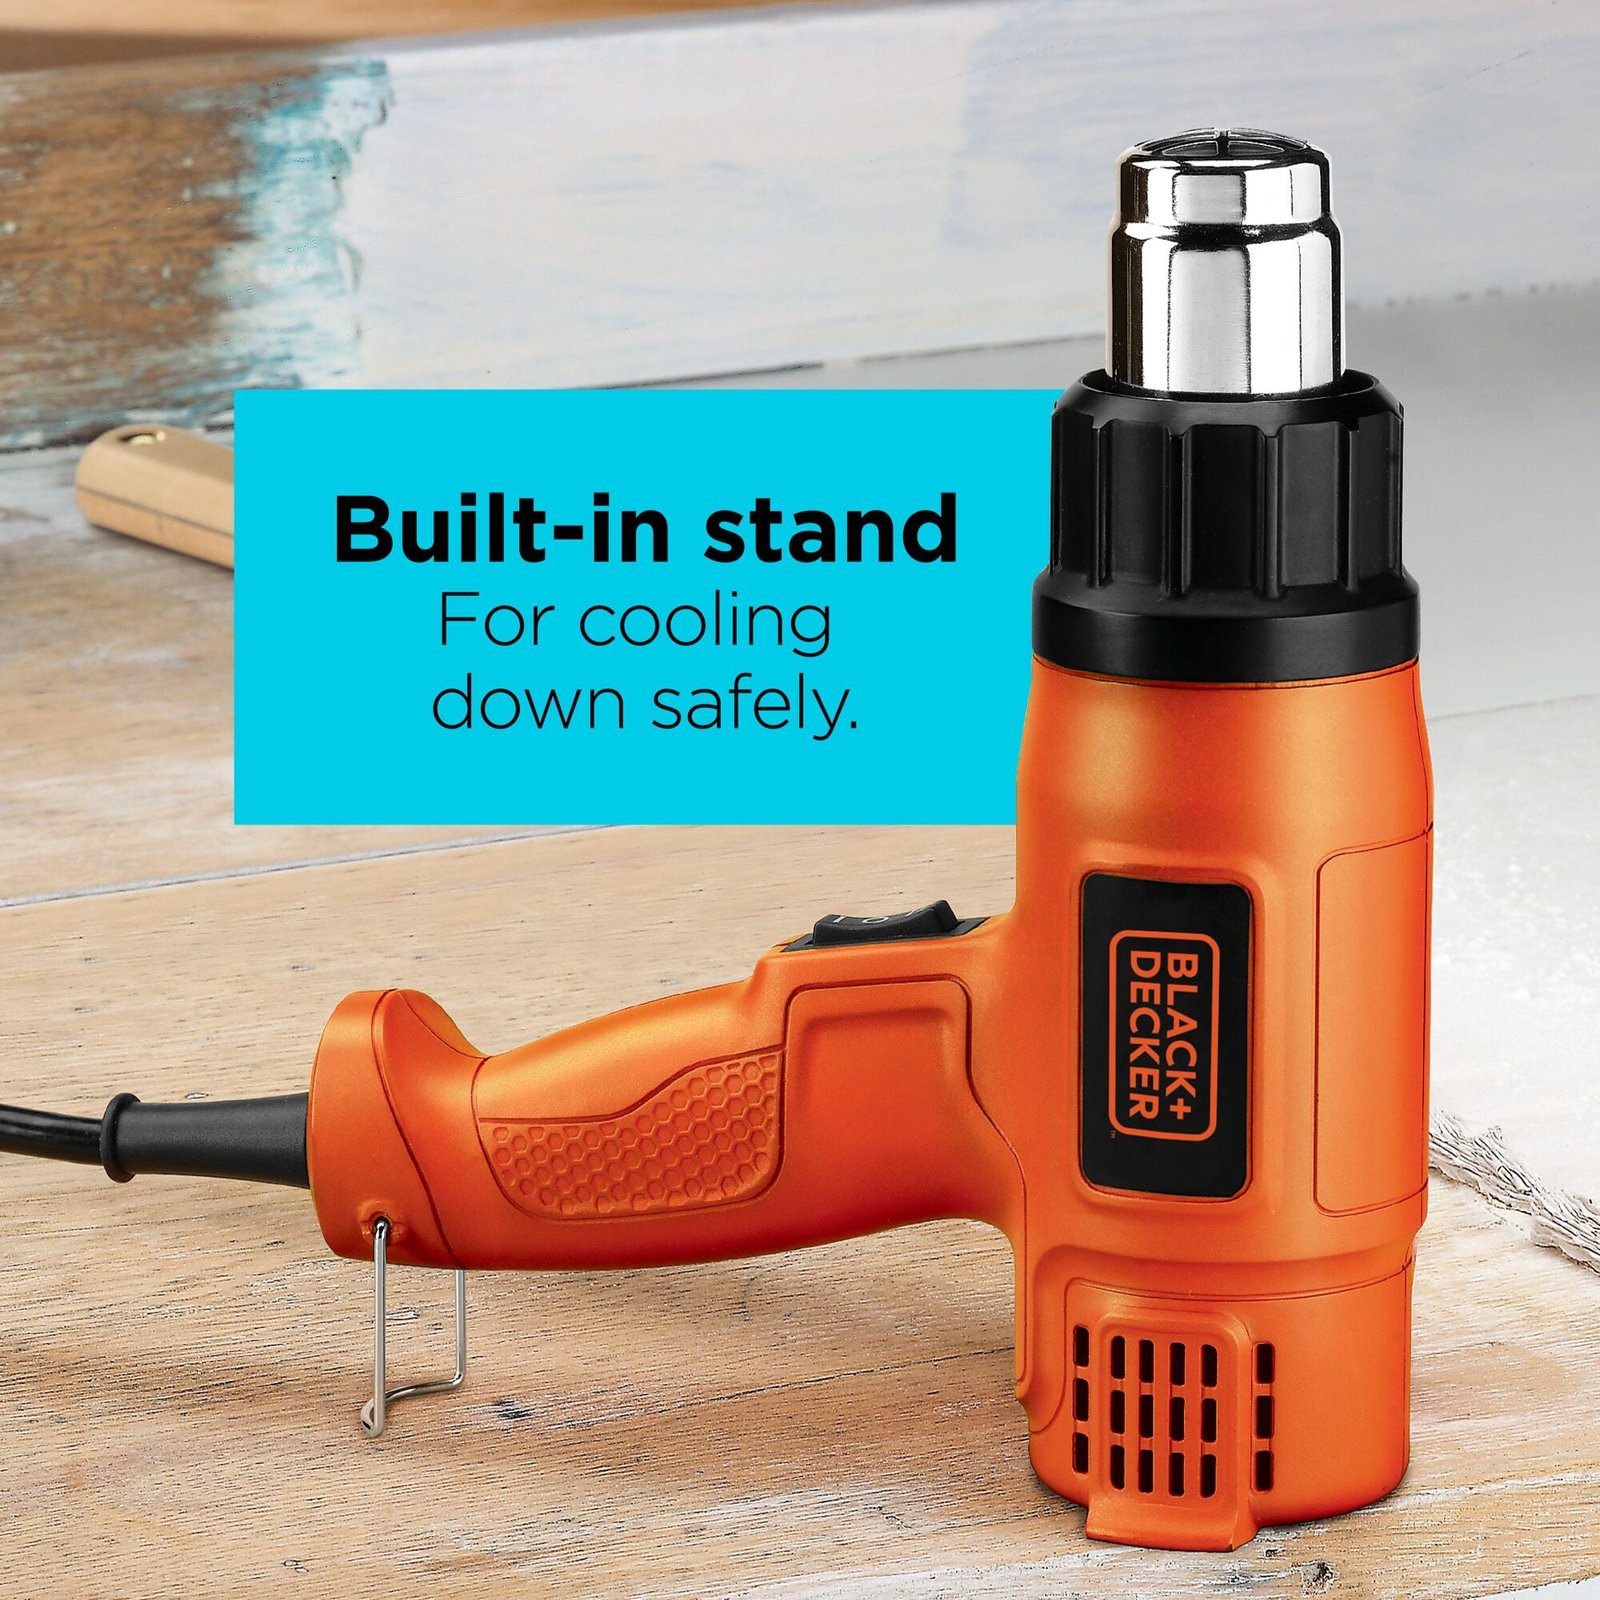
- Set the gun on a safe stand when not in use.
- Let the tool cool before storage.
If you are working near old paint, be careful about dust and fumes. For safety guidance on lead-based paint and home renovation, see the U.S. Environmental Protection Agency’s lead safety information.
Another important insight: the nozzle can stay dangerously hot even after the fan sound changes or the tool is switched off. Many burns happen during cleanup, not during the main job.
How to match heat gun settings to real-world projects
Here is a quick practical view of how the settings often map to real jobs:
| Project | Suggested starting range | Best approach |
|---|---|---|
| Paint stripping | 400°F to 700°F | Start medium, increase if needed, keep moving |
| Sticker removal | 250°F to 400°F | Warm edges first, peel slowly |
| Heat shrink tubing | 250°F to 350°F | Use steady, even airflow |
| Thawing frozen parts | 200°F to 400°F | Heat gradually and avoid one spot |
| Plastic bending | 300°F to 600°F | Test carefully and watch for softening |
| Drying small areas | 100°F to 250°F | Use the lowest useful heat |
This kind of range-based thinking helps you work faster because you do not start from zero each time. Over time, you will build a feel for what each material needs.
Choosing the right heat gun for better control
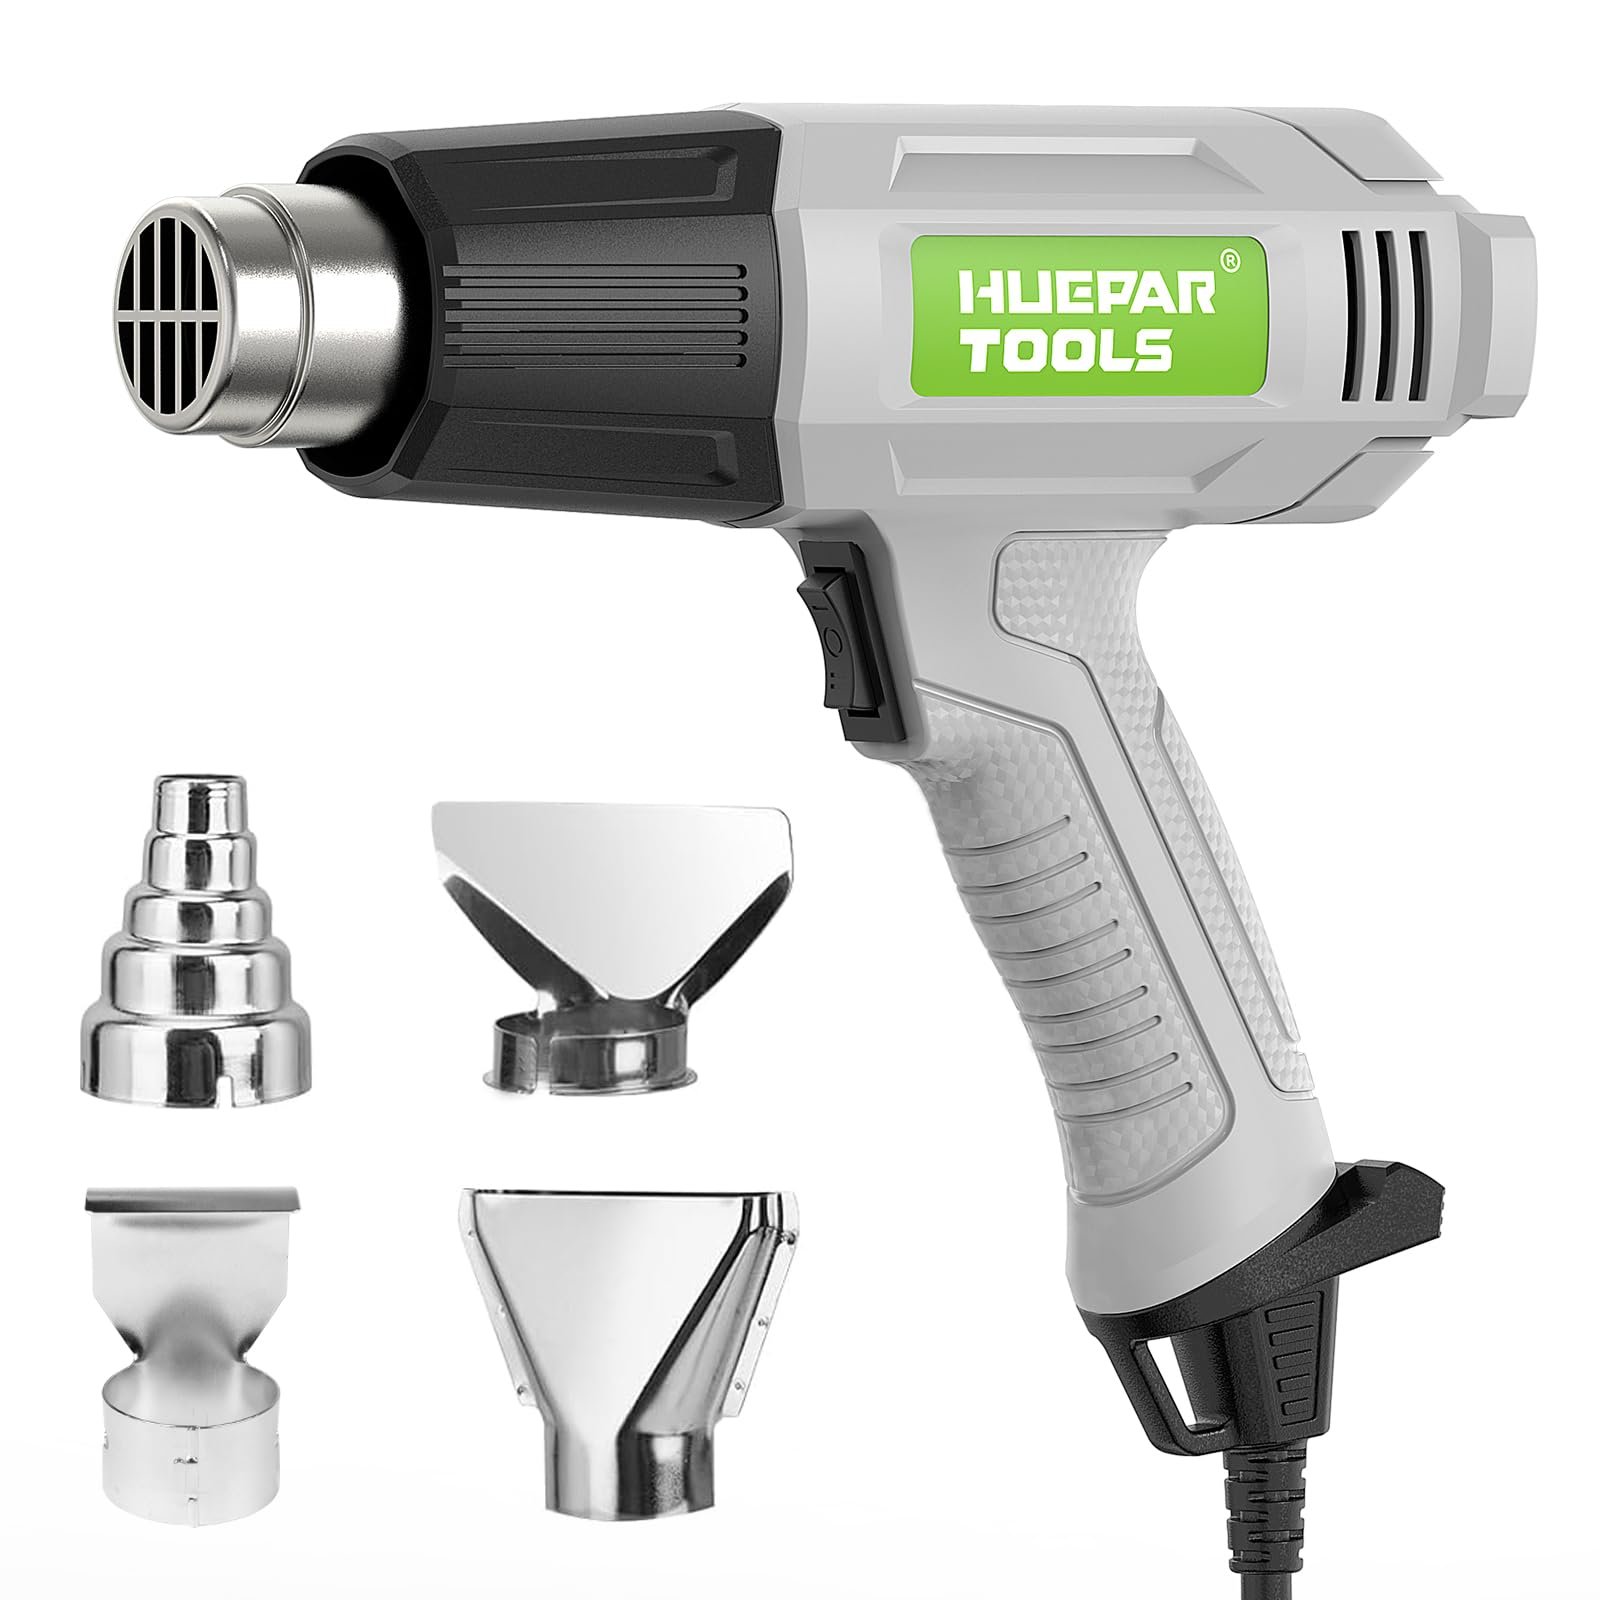
If you use a heat gun often, look for features that improve temperature control, not just power. A good variable-temperature model can be much more useful than a basic two-setting tool.
Credit: amazon.com
Helpful features to look for
- Variable temperature dial: Gives more precise control for different jobs.
- Multiple airflow settings: Helps control how strongly heat reaches the surface.
- Digital display: Makes it easier to repeat the same setting later.
- Stable stand: Useful for hands-free work and safer cooling.
- Cool-down mode: Helps protect the tool after heavy use.
One common buyer mistake is choosing the hottest model available and assuming it is the best. In reality, a wide temperature range and steady control matter more than raw heat. Most people do not need extreme heat for daily projects. They need flexibility.
Final advice for better results
Good results come from control, not force. When you choose heat gun temperature settings carefully, your work looks cleaner, your material stays safer, and the job usually takes less effort in the end.
Start low. Watch the surface. Move the gun steadily. Adjust only when needed. These simple habits make a huge difference, especially on delicate or expensive materials.
If you remember just one thing, make it this: the best heat is the least amount that still gets the job done. That mindset will help you avoid the most common mistakes and get better results on almost every project.
FAQs
1. What are the best heat gun temperature settings for beginners?
Beginners should start with low to medium heat, often around 250°F to 400°F. This range is safer for testing and works for many simple jobs like labels, shrink tubing, and light adhesive removal.
2. Can I use the highest heat setting for everything?
No. High heat can damage plastic, wood, paint, and even electrical insulation. It is best used only when a project truly needs it, such as heavy paint stripping or certain industrial tasks.
3. How far should I hold a heat gun from the surface?
A common starting point is several inches away, then move closer if needed. The exact distance depends on the material, airflow, and temperature setting. Start farther away for delicate surfaces.
4. Why does my material burn even when the setting is not very high?
This usually happens because the gun is too close, held in one spot too long, or used with too much airflow concentration. Surface damage is not only about temperature. Distance and movement matter too.
5. Do all heat guns show the same temperature in the same way?
No. Two heat guns with the same rated temperature can perform differently because of nozzle design, airflow, and internal heating systems. Always test the tool on a small area before starting the main project.
