
Drilling into drywall sounds simple. In many cases, it is. But small mistakes can leave you with torn paper, loose anchors, hidden cable damage, or a hole that is too large to fix cleanly. If you are new to home projects, the safest approach is to slow down and follow a clear process.
This guide explains how to drill into drywall step by step, using plain language and practical tips. You will learn how to find the right spot, choose the correct drill bit, control the drill, and avoid common problems beginners often miss. The goal is not just to make a hole. The goal is to make a clean, safe, useful hole that supports what you want to hang.
Before you start, remember one important thing: drywall is not the same as a wall stud. Drywall is a soft surface layer. What is behind it matters just as much as the hole you make in it. That is why a careful check before drilling can save you time, money, and stress.
What you should know before drilling
Drywall is usually made of gypsum pressed between two sheets of paper. It looks solid, but it can break or crumble if you push too hard. That is why drilling into it needs light pressure and the right tool speed. A slow, steady method gives cleaner results than trying to force the bit through quickly.
The other big concern is what hides behind the wall. In many homes, drywall covers electrical wires, plumbing pipes, HVAC lines, and wooden studs. Some spots are safe. Some are not. Never assume a wall is empty just because it looks plain. A simple wall check can prevent serious damage.
If you want a basic safety reference for hidden utilities, the Occupational Safety and Health Administration has useful safety guidance for home and work projects.
What makes drywall different from wood or concrete
Drywall is soft and brittle compared with wood. Concrete is hard and dense. Wood gives more grip when a screw goes in. Drywall does not. That is why many wall items need anchors, not just screws. Beginners often make the mistake of using a screw alone and then wonder why the item falls later.
Another difference is surface damage. With drywall, a bit that is too large or too sharp can tear the paper facing. Once the paper tears, the area around the hole becomes weaker. This is why the drilling method matters just as much as the tool.
Tools and materials you need
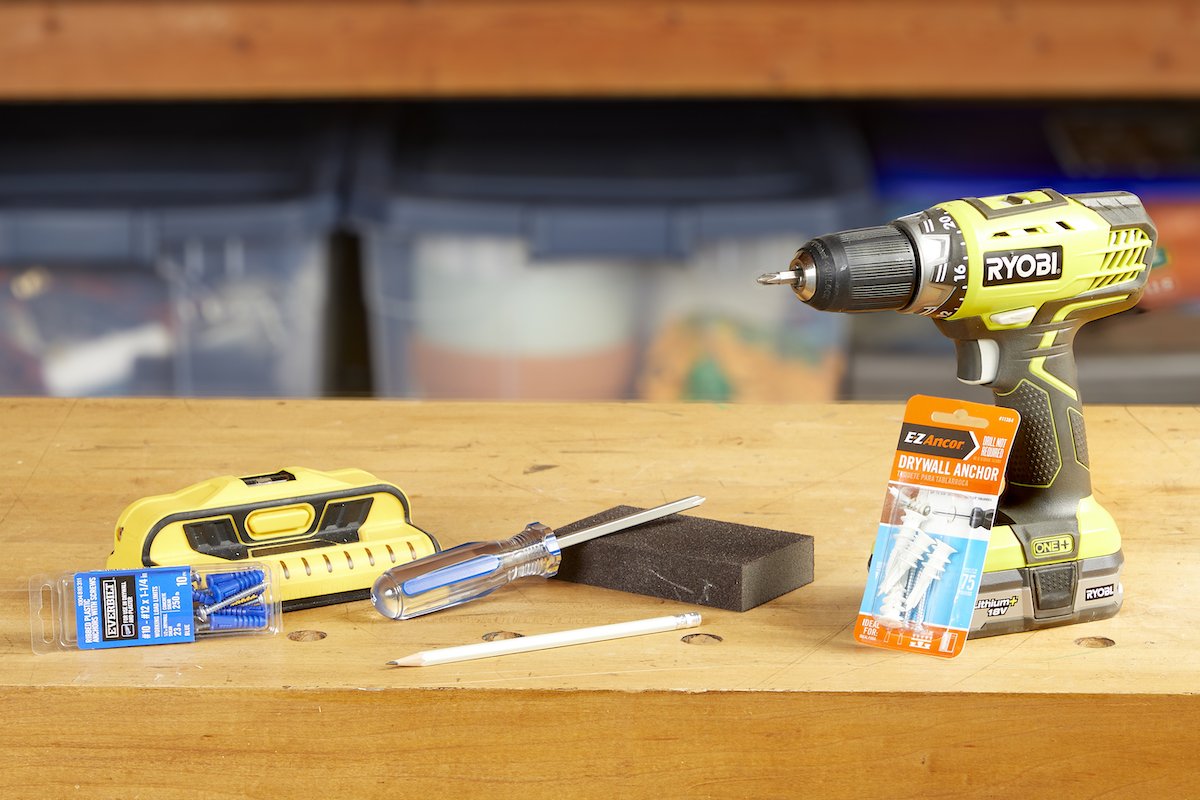
You do not need a large tool kit to drill a safe hole in drywall. A few basic items are enough for most small jobs. Choosing the right ones will make the work easier and cleaner.
| Tool or material | Why it helps |
|---|---|
| Drill | Makes the hole quickly and evenly |
| Drywall bit or standard twist bit | Creates the right size hole for the anchor or screw |
| Stud finder | Helps locate wood studs and hidden services |
| Painter’s tape | Reduces surface tearing around the hole |
| Pencil | Marks the exact spot |
| Wall anchor | Adds support when you are not drilling into a stud |
| Safety glasses | Protects your eyes from dust and small debris |
| Vacuum or cloth | Cleans dust after drilling |
If you are hanging something light, such as a small frame, the tools may be very simple. For heavier items, you may need a stud finder and strong anchors. The weight of the object should decide your setup, not guesswork.
Bit choice matters more than many beginners think
One of the most useful tips in how to drill into drywall is this: do not use a large bit first. Start with the size that matches the anchor or fastener. A hole that is too big weakens the wall, while a hole that is too small can crack when you force the screw in.
For most small jobs, a standard twist bit works fine. If you want a cleaner entry point, a drywall bit can help. The key is not the brand. The key is matching the bit size to the job and keeping the drill under control.
Step 1: Check the wall before you drill
Never drill blindly into drywall. The safest first step is to check what is behind the wall. Use a stud finder to scan the area. Many modern stud finders can also detect live wires or metal. That feature is useful, but do not rely on it alone.
Look at nearby outlets, switches, sinks, radiators, and vents. These clues can tell you where wires or pipes may run. For example, wires often travel vertically from outlets and switches. Pipes often run near kitchens, bathrooms, and laundry areas. If you are drilling near any of these zones, be extra careful.
When possible, choose a spot that is away from electrical fixtures and plumbing lines. If you are unsure, stop and get more information before making the hole. A few extra minutes of checking is far better than repairing a damaged wire or pipe.
Find a stud if the object is heavy
If you are hanging a shelf, mirror, TV bracket, cabinet, or other heavy item, try to drill into a stud. A stud gives stronger support than drywall alone. In many homes, studs are spaced about 16 inches apart, but this is not always exact.
Use the stud finder to locate the edges of the stud, then mark the center. If you drill into the center of the stud, the screw will hold much better. This is one of the simplest ways to improve safety and strength at the same time.
Step 2: Mark the exact spot
Once you know the area is safe, mark the drilling point with a pencil. If you are hanging something with more than one hole, measure carefully so the item stays level. Small marking errors can make a frame crooked or a shelf uneven.
A small piece of painter’s tape over the spot can help too. The tape gives the bit a little extra grip at the start and can reduce paper tearing. This is a small step, but many beginners notice cleaner holes when they use it.
Credit: bobvila.com
Simple trick for better accuracy
If you are nervous about the drill slipping, make a tiny dimple first with a nail or sharp awl. This gives the drill bit a starting point. Use light pressure only. Do not punch hard into the wall. The goal is a small guide mark, not a damaged surface.
Step 3: Set up the drill correctly
Choose a drill speed that gives you control. For drywall, slower is usually better than fast. High speed can chew up the paper facing and make the hole look rough. A steady, medium-low speed is a safe starting point.
Hold the drill with both hands if possible. Keep your body balanced, and stand so the drill is straight against the wall. If the drill enters at an angle, the hole may become too wide or irregular. A straight hole is easier to use later with screws or anchors.
Check the drill bit before starting. It should be secure in the chuck and not wobble. A loose bit can damage the wall and make the drill harder to control.
Use the right pressure
Let the drill do the work. Many beginners push too hard, thinking it will make the job faster. In drywall, that often causes tearing. Gentle, steady pressure is enough. As soon as the bit breaks through the paper layer, lighten your force even more.
This is one of the less obvious parts of how to drill into drywall. The surface looks soft, but the paper layer can tear if you rush the first few seconds. After the bit enters, the wall often drills very easily. The tricky part is the start and the finish.
Step 4: Drill the hole slowly and cleanly
Place the bit on your mark and start drilling. Keep the drill steady. Do not twist your wrist. Do not force the bit side to side. Stay patient and let the bit make a clean path through the drywall.
As the bit goes through, you may feel less resistance. That is normal. When the bit is about to break through the back side of the drywall, reduce pressure slightly. This helps prevent a larger-than-needed hole or a rough exit edge.
If you are drilling only through drywall and not into a stud, the wall thickness is usually not very deep. So the hole may form quickly. That is why beginners should keep the drill under control from the first second. A short job can still go wrong if the drill slips.
What to do if the bit starts to tear the paper
If the paper begins to fray, stop for a moment. Pull the bit out. Check whether your speed is too high or your bit is too large. In many cases, switching to lower speed and using painter’s tape on the next attempt helps. A clean hole is easier to use and looks better after the job is finished.
Step 5: Choose the right anchor if needed
Drywall alone does not hold weight well. If the item is light, a simple screw may be enough only when it goes into a stud. If you are not drilling into a stud, use a drywall anchor that matches the weight of the item.
Beginners often make a quiet but costly mistake here: they focus on the hole and forget the load. A hole can be perfect, but if the anchor is weak, the object still falls. Always think about the final weight, including anything that may be added later.
Here is a simple guide:
- Very light items: small frames, light decorations, cable clips
- Medium items: medium mirrors, small shelves, towel bars
- Heavy items: large shelves, TVs, cabinets, large mirrors
For heavier items, a stud is usually best. If you cannot hit a stud, use a strong anchor rated for the load. Do not guess. Check the packaging and stay within the limit.
Another beginner mistake: mixing up anchors and screws
A drywall anchor is not the same thing as a screw. The anchor expands or grips inside the wall. The screw locks into the anchor. If the hole size is wrong, the anchor may spin or fall through. That is why bit size should match the anchor size carefully.
Step 6: Insert the anchor and fastener
If your project needs an anchor, push it into the hole gently. Some anchors press in by hand. Others need light tapping with a hammer. Do not hit hard. The goal is a snug fit, not a crushed wall.
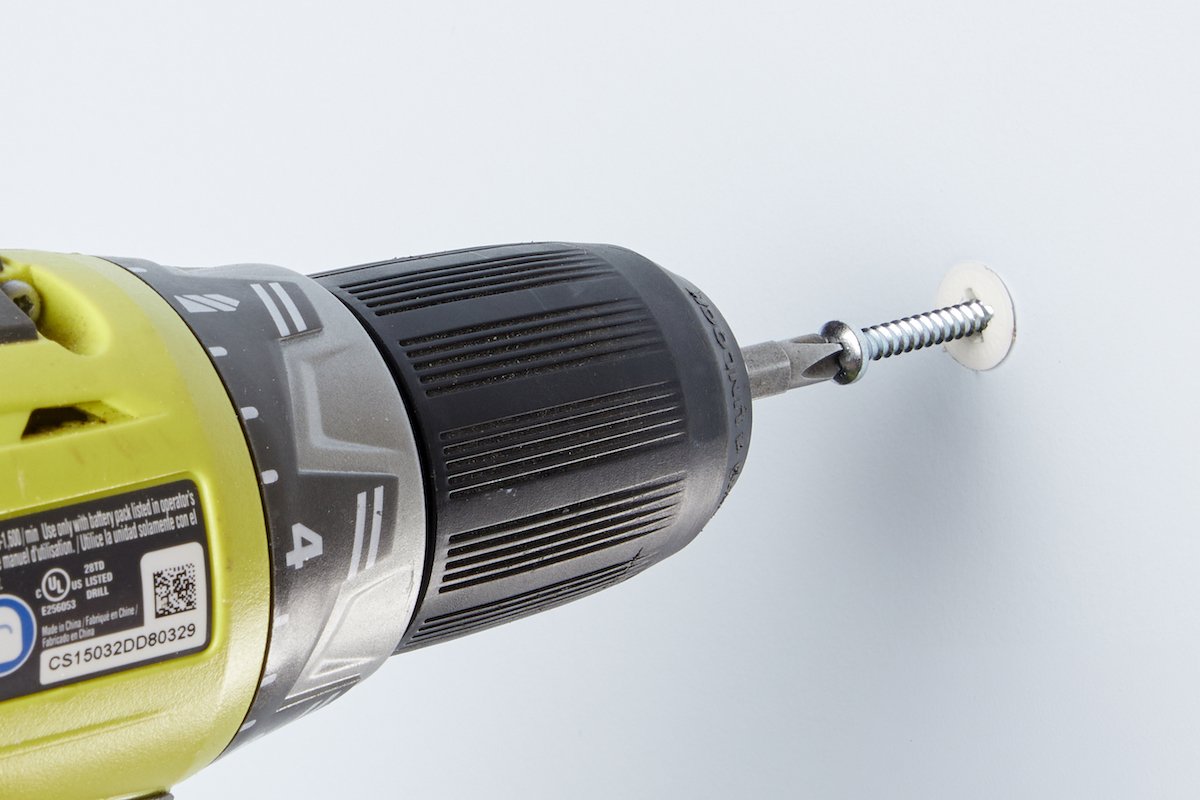
Once the anchor is seated, insert the screw. Turn it slowly at first. If it feels too tight, stop and check the hole. Forcing a screw can strip the anchor or crack the drywall around it.
If you are drilling into a stud, you may not need an anchor at all. In that case, use a screw of the right length and thickness for the object you are hanging. A screw that is too short will not hold well. A screw that is too long may go too deep or hit something behind the wall.
Credit: bobvila.com
Step 7: Clean up and check the result
After the hole is made and the screw or anchor is in place, wipe away dust. Drywall dust spreads easily and can settle on floors, furniture, and nearby surfaces. A small vacuum with a brush attachment works well. A dry cloth can help too.
Then check the item you installed. Does it sit level? Does it feel firm? Does the screw turn freely or feel secure? If the item moves too much, stop and review the support. A loose fit usually means the anchor is wrong, the hole is too big, or the item is too heavy for the wall type.
Do not ignore a hole that seems slightly damaged. Small problems often become larger later. Fixing them early is much easier than repairing a torn section after the anchor fails.
Common mistakes beginners should avoid
Learning how to drill into drywall safely is partly about what not to do. These mistakes cause many of the problems people run into on their first try.
- Skipping the wall check — This is the biggest risk. Hidden wires and pipes can be damaged easily.
- Using the wrong bit size — A bit that is too large weakens the wall. A bit that is too small can crack the paper or anchor.
- Drilling too fast — Speed often creates rough holes and surface tearing.
- Pushing too hard — Light pressure is usually enough. Too much force can break the drywall surface.
- Using no anchor for a load that needs one — Drywall alone is not strong enough for many items.
- Ignoring weight limits — Every anchor has a limit. Stay within it.
One more subtle mistake is not thinking about future use. For example, a light hook today may become a heavy bag holder tomorrow. If you expect the load to change, choose a stronger support from the start.
How to fix small drywall drilling problems
Even careful beginners sometimes make a minor mistake. The good news is that small drywall issues are often easy to repair.
If the hole is a little too big
If the hole is only slightly oversized, use a larger anchor that fits the opening. If the hole is too large for any anchor, you may need to patch the area and drill again in a better spot. Do not try to force a small anchor into a loose hole. It will not hold well.
If the paper around the hole tears
Trim loose paper carefully. For very small damage, a patch compound may help smooth the area before reinstalling the fastener. If the tear is larger, repair it before hanging anything heavy.
If you hit something unexpected
Stop immediately. Do not keep drilling. If you hit metal, wood, or another hard object, inspect the area before going further. You may have found a stud, a plate, or another hidden element. If you suspect a wire or pipe, do not continue until the area is checked properly.
Extra tips that make the job easier
Some small habits make a big difference when drilling into drywall. These are the kinds of details beginners often miss:
- Work with good lighting so your mark is easy to see.
- Keep one hand ready to catch dust or support the drill body.
- Use a short level if you are drilling multiple holes for one item.
- Store spare anchors nearby so you do not rush the job.
- Test the hold before hanging valuable items.
Another useful insight is to think about the final look, not just the hole itself. A neat drill point, a clean anchor, and a level item make the result look professional even if the project is small. That is often what separates a careful home project from a messy one.
Credit: condomounts.com
When to call a professional
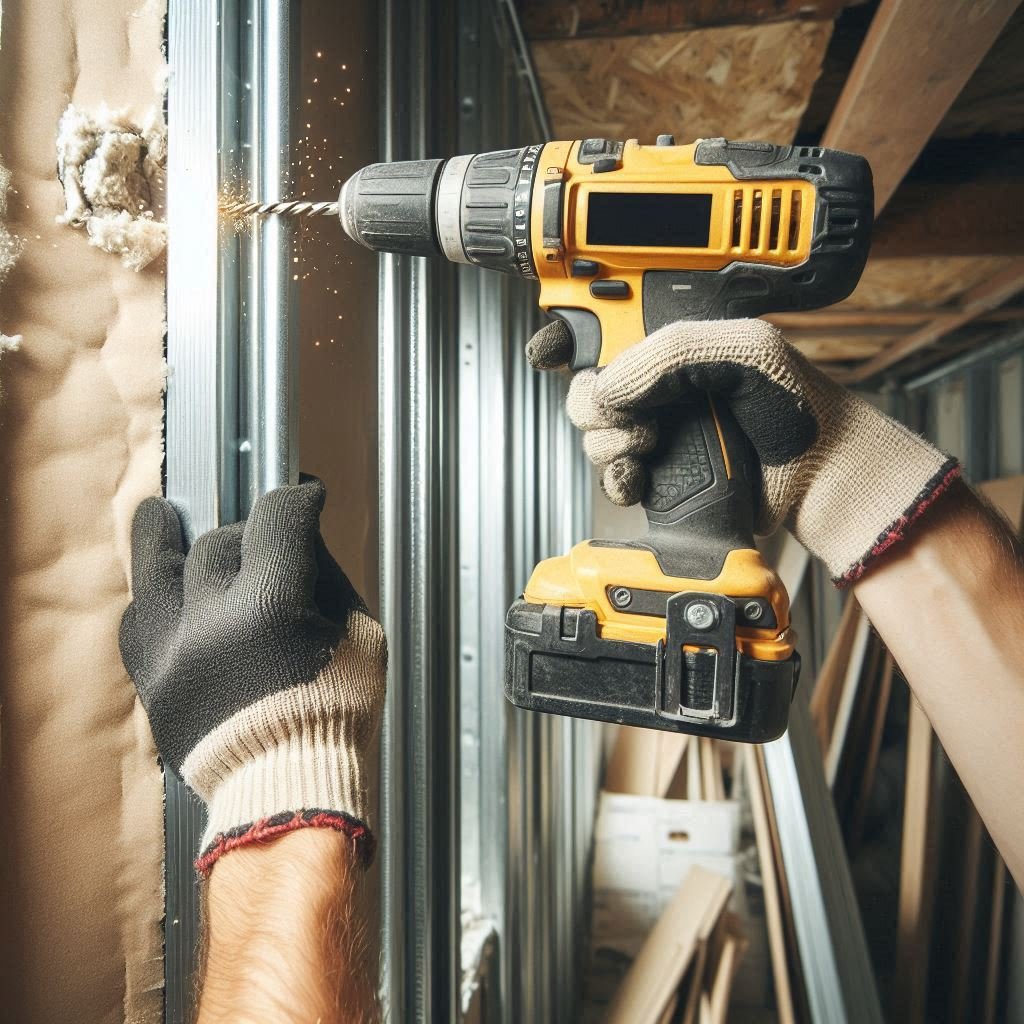
Some situations are better left to an expert. If you are drilling near electrical wiring, plumbing, or gas lines, and you are not sure what is inside the wall, pause and get help. The same is true for heavy installations such as large cabinets, wall-mounted TVs, or structural fixtures.
If the wall is damaged, swollen, soft, or already repaired many times, it may not hold new fasteners well. In that case, a professional can inspect the wall and suggest the safest option. Knowing when to stop is part of doing the job safely.
Final thoughts
Drilling into drywall is simple only when you respect the wall and prepare properly. The safe method is straightforward: check the wall, mark the spot, choose the right bit, use light pressure, and pick the correct anchor or stud support for the load. Once you follow that pattern, the process becomes much easier.
For beginners, the biggest lesson is this: the hole is only one part of the job. Safety, wall checking, and correct support matter just as much. If you follow the steps in this guide, you can handle small drywall drilling projects with much more confidence and far fewer mistakes.
FAQs
1. Can I drill into drywall without a stud?
Yes, you can drill into drywall without a stud if the item is light enough and you use the right drywall anchor. For heavier items, a stud is still the better choice because it gives much stronger support.
2. What size drill bit should I use for drywall?
Use a bit that matches the anchor or fastener you plan to install. The correct size depends on the anchor type. Always check the packaging so the hole is neither too small nor too large.
3. How do I know if it is safe to drill in a wall?
Use a stud finder, look for nearby outlets or plumbing fixtures, and avoid areas where wires or pipes may run. If you are unsure, do not drill until you have checked the wall more carefully.
4. Why does my drywall tear when I drill?
Drywall often tears when the drill speed is too high, the bit is too large, or you push too hard. Painter’s tape, slower speed, and light pressure usually help create a cleaner hole.
5. Do I need an anchor for every drywall hole?
No, not for every hole. If you are drilling into a stud, you may not need one. If the screw goes only into drywall, an anchor is usually needed to hold the weight safely.
