
If you have an old pegboard in a garage, workshop, craft room, or closet, you may be wondering: can you paint pegboard and make it look better without ruining the holes or reducing its use? The short answer is yes. You can paint pegboard, and when it is done the right way, it can look much cleaner and last for years.
The key is not just picking any paint. Pegboard has many small holes, so the surface needs special care before and during painting. If you skip the right steps, paint can fill the holes, chip fast, or leave a rough finish that looks messy. But with the right prep, tools, and drying time, you can get a smooth, durable result.
In this guide, you will learn how to paint pegboard the right way, what paint works best, how to avoid common mistakes, and how to make the finish strong enough for daily use.
What Makes Pegboard Hard to Paint
Pegboard is not a normal flat board. It has a grid of holes across the surface, and that changes everything. The holes are useful because they hold hooks, baskets, and tool hangers. But they also make painting more difficult.
Paint can collect inside the holes, which may block accessories from fitting properly. Thin boards can also warp if they absorb too much moisture from the paint. Some pegboards are made from hardboard, while others are metal or plastic. Each type reacts differently to paint.
This is why the surface prep matters so much. If you understand the material first, you can choose the best paint and method for a clean finish that still works well.
Common pegboard materials
- Hardboard pegboard: The most common type. It is fiber-based and easy to paint, but it can swell if over-saturated.
- Metal pegboard: Strong and durable, but it needs a primer made for metal before painting.
- Plastic pegboard: Lightweight and moisture-resistant, but paint may not stick well unless you use the right bonding primer.
If you are painting a standard workshop pegboard, you are usually dealing with hardboard. That is the easiest version to work with, but it still needs proper prep.
Can You Paint Pegboard Without Ruining the Holes?
Yes, you can paint pegboard without ruining the holes. The trick is to use thin coats and protect the openings from excess paint. You do not want thick layers that clog the holes or make the board uneven.
A common beginner mistake is trying to cover the board in one heavy coat. That often leads to drips, blocked holes, and a bumpy texture. A better method is to use light coats, let each one dry fully, and check the holes as you go.
If the pegboard is already installed on the wall, you can still paint it. But for the best result, remove it first if possible. Painting it flat on a work surface gives you more control and helps prevent drips from running into the holes.
Best Paint and Primer for a Durable Pegboard Finish
The best paint for pegboard is usually a high-quality latex or acrylic paint. These dry well, clean up easily, and offer a good balance of durability and low smell. For extra strength, many people use a primer first, especially if the pegboard is raw, stained, or a dark color.
If you want a finish that lasts, do not skip primer on wood-based pegboard. Primer seals the surface and helps the topcoat stick. Without it, the board may soak up paint unevenly, which can leave patchy spots.
For the most durable result, choose a paint finish that can handle wear. Satin and semi-gloss usually work well because they are easier to wipe clean than flat paint.
Recommended options
| Product type | Best use | Why it helps |
|---|---|---|
| Latex paint | Most hardboard pegboard projects | Easy to apply and simple to clean up |
| Acrylic paint | General indoor use | Dries fairly fast and resists light wear |
| Bonding primer | Plastic or slick surfaces | Helps paint stick better |
| Metal primer | Metal pegboard | Protects against peeling and rust issues |
| Water-based topcoat | Indoor pegboard used often | Creates a smooth finish and easier cleanup |
For more detailed paint safety and product guidance, you can check the U.S. Environmental Protection Agency’s indoor air quality resource. It is especially useful if you are painting in a garage, basement, or small room with limited ventilation.
How to Prepare Pegboard Before Painting
Preparation is the part that makes the biggest difference. Even good paint will fail if the board is dusty, greasy, or rough. Pegboard often collects dust in the holes, so clean it well before you start.
Before painting, inspect the board for dents, loose fiber, old screws, or broken edges. If the surface is damaged, fix it first. Paint will not hide deep damage, and rough spots can become more visible after the finish dries.
Credit: jennaburger.com
Step 1: Remove dust and dirt
Use a vacuum with a brush attachment to remove dust from the front, back, and inside the holes. Then wipe the board with a slightly damp cloth. Let it dry fully before moving on.
Step 2: Lightly sand the surface
Use fine-grit sandpaper, such as 180 or 220 grit. You do not need to sand hard. The goal is to smooth rough spots and help the primer stick better. After sanding, remove all dust again.
Step 3: Fill damage if needed
If there are small dents or broken edges, use wood filler on hardboard pegboard. Let it dry, then sand the repaired area smooth. Do not overfill holes that need to stay open for hooks and accessories.
Step 4: Protect the holes
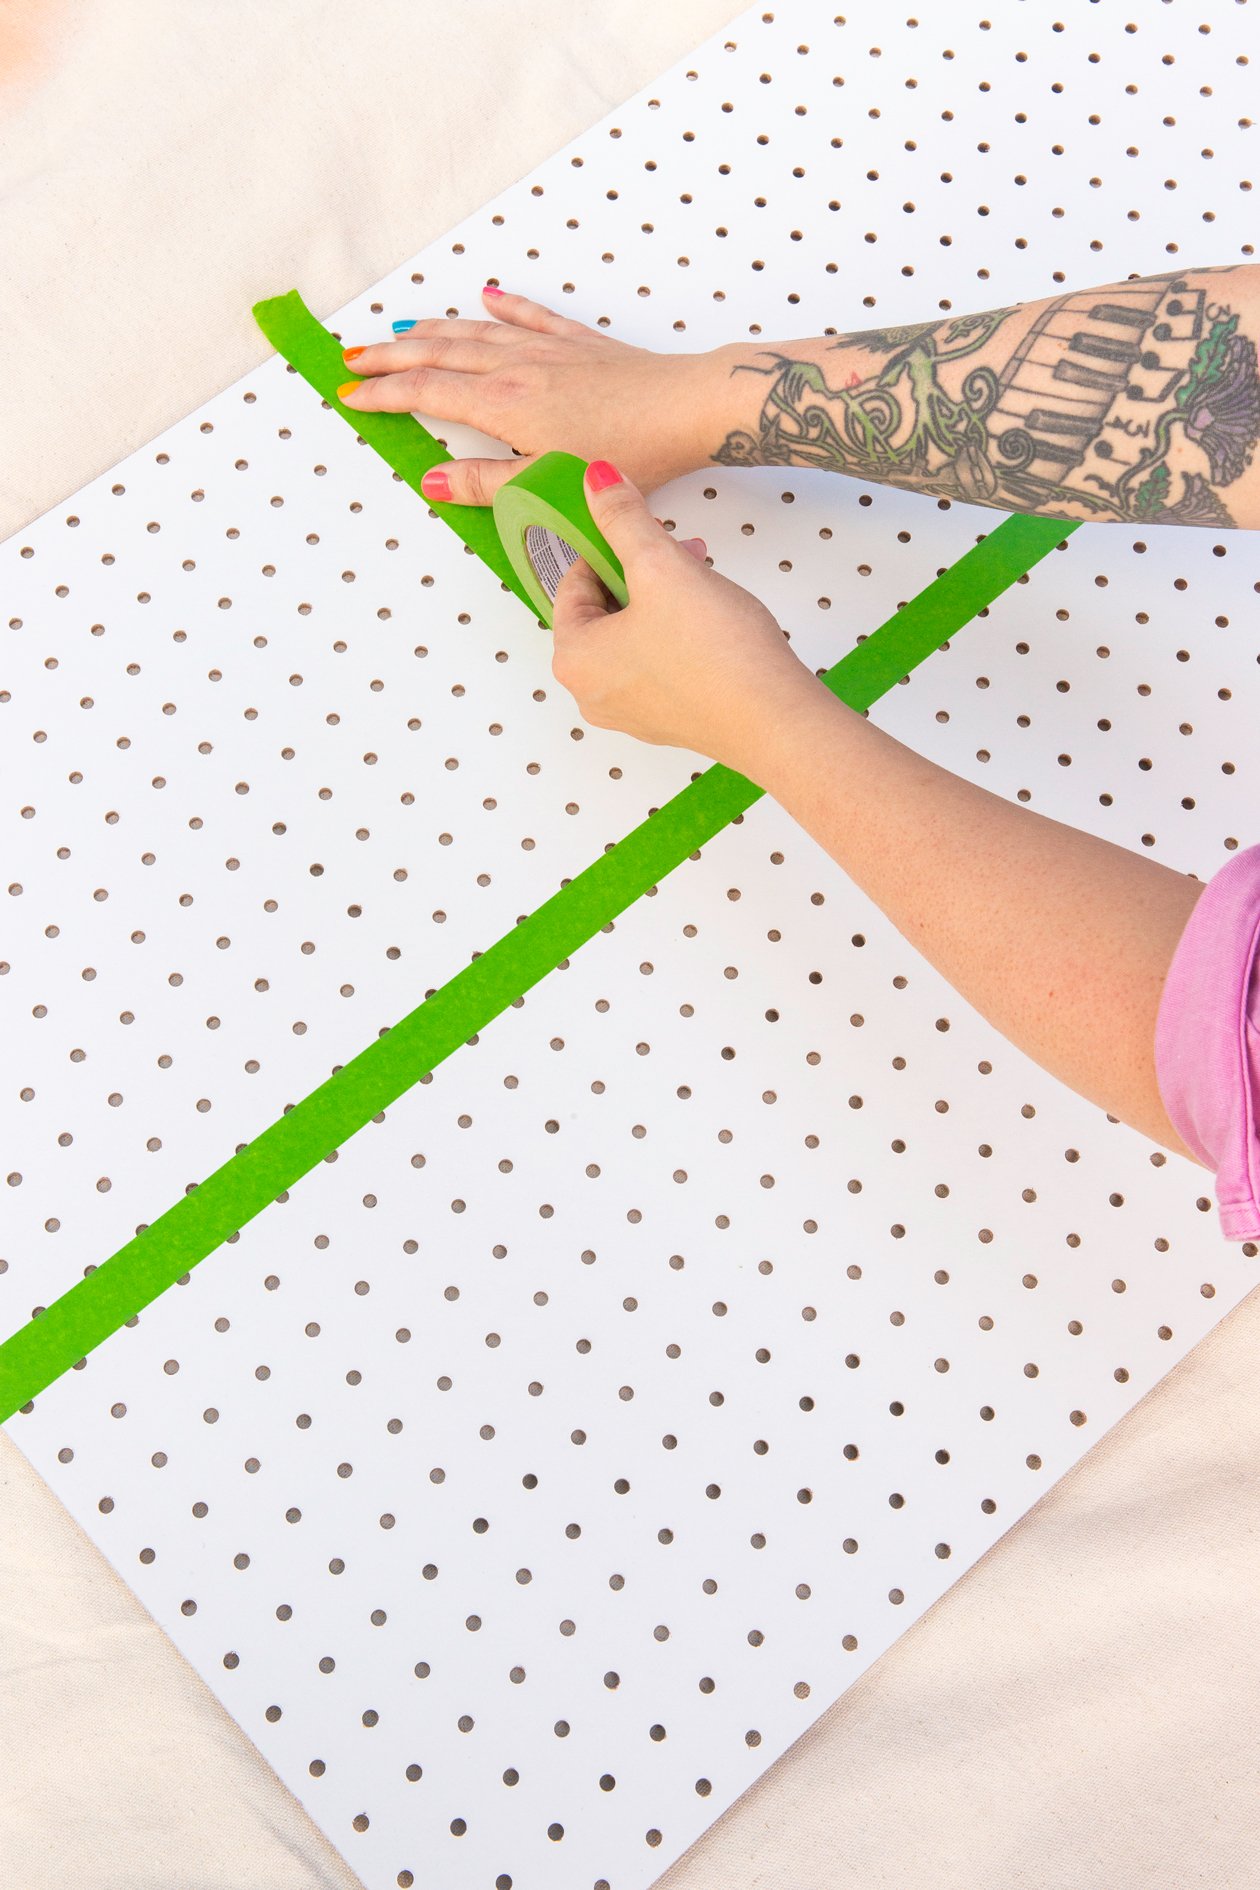
Here is one detail many beginners miss: you do not need to tape every single hole, but you do need to watch paint build-up carefully. If the board is especially important for precise hook fit, you can test a few holes before painting the whole piece.
Best Way to Paint Pegboard for a Smooth Finish
The smoothest result usually comes from primer plus thin paint coats. You can use a roller, brush, or spray paint, but each method has trade-offs. A small foam roller often gives the most even finish on hardboard pegboard. A brush works for edges and touch-up areas. Spray paint can be fast, but it needs very careful control to avoid overcoating the holes.
Whatever method you choose, keep the coats light. Two thin coats are better than one thick coat. If needed, apply a third light coat only after the surface is fully dry and you have checked the holes.
Using a roller
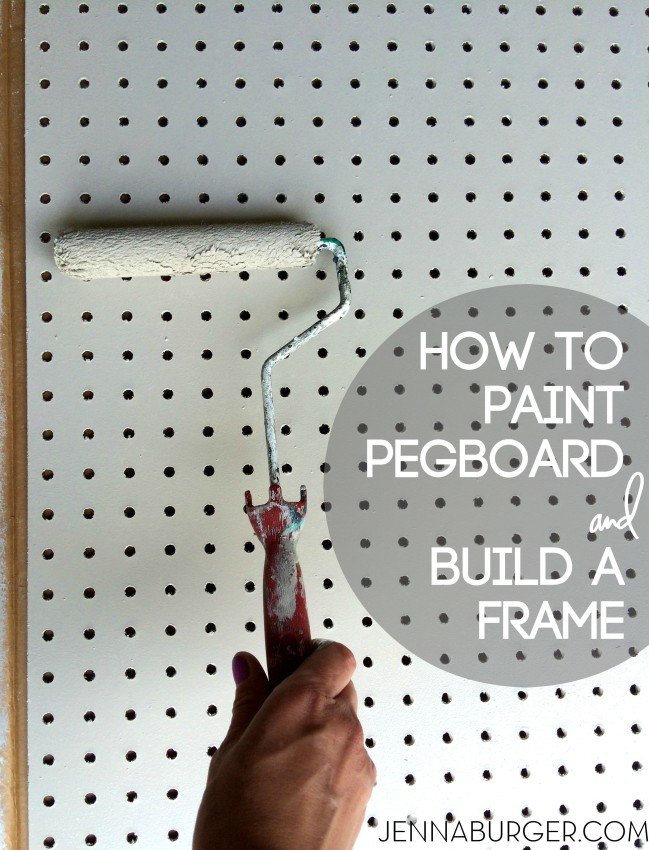
A foam roller is a strong choice for flat pegboard. It lays down an even coat and reduces brush marks. Roll in one direction, then go back lightly to level the paint. Avoid pressing too hard, because that can push paint into the holes.
Using a brush
A brush is useful for edges, corners, and small areas. Choose a high-quality synthetic brush if you are using latex or acrylic paint. Keep the brush loaded lightly and do not overwork the surface.
Using spray paint
Spray paint can give a very smooth look, especially on smaller boards. Still, it is easy to use too much. Keep the can moving, spray from the recommended distance, and use multiple light passes. This is one of the best methods for metal pegboard if you use the right primer first.
Simple painting order
- Clean and dry the pegboard.
- Sand lightly and remove dust.
- Apply primer in a thin, even coat.
- Let the primer dry fully.
- Apply the first paint coat lightly.
- Let it dry, then check the holes.
- Add a second thin coat if needed.
- Allow full curing before hanging tools or accessories.
How to Keep Paint Out of Pegboard Holes
This is one of the most important parts of the job. If paint fills the holes, the pegboard loses its main function. The solution is not complicated, but it does require attention.
Use a light hand with both primer and paint. Do not flood the surface. If paint starts to pool in a hole, stop and clear it right away with a small tool, a cotton swab, or the tip of a paperclip wrapped in cloth.
Another useful trick is to test a few hooks or pegs before the final coat fully cures. That way, if a hole is starting to clog, you can fix it while the paint is still soft.
One smart but often overlooked tip: paint the board before installing accessories, but after pre-testing the fit of your most-used hooks. Some hooks have slightly different thicknesses, and a hole that seems open may still be too tight after paint dries.
Drying and Curing Time Matter More Than People Think
Many people think paint is done when it feels dry to the touch. That is not true. Drying and curing are different. Drying means the surface is no longer wet. Curing means the paint has fully hardened. For pegboard, curing is important because you will be pushing hooks in and out of the holes.
If you use the board too early, the finish may scratch or peel around the holes. Give the paint enough time before hanging heavy items. The exact time depends on the paint brand, room temperature, humidity, and number of coats.
As a simple rule, wait at least 24 hours before light use and longer if the room is humid or the paint feels soft. For full strength, many paints need several days to cure completely.
Credit: thecraftedlife.com
Conditions that slow drying
- High humidity
- Low room temperature
- Thick paint coats
- Poor airflow
- Painting over an unprimed surface
Good airflow helps a lot. Open windows if possible, or use a fan that does not blow dust directly onto the wet board.
How to Make Painted Pegboard More Durable
If you want the finish to last, think beyond color. Pegboard gets touched often, and the holes take repeated wear from hooks. A durable finish needs strong prep, proper drying, and the right paint sheen.
One of the best ways to improve durability is to choose a washable finish. Satin and semi-gloss are usually better than flat paint because they resist scuffs and are easier to wipe clean. They also help the board look brighter in utility spaces.
You can also add a clear topcoat, but only if it is compatible with your primer and paint. Always test on a small area first. Some clear coats can change the look or make the holes slightly tighter.
Practical durability tips
- Use primer on bare hardboard or metal.
- Apply thin coats instead of heavy coats.
- Allow full curing before heavy use.
- Choose a paint finish that can be wiped clean.
- Touch up chips quickly before they spread.
Here is a beginner mistake many people miss: if you hang very heavy tools on freshly painted pegboard, the hook pressure can damage the edges of the holes even if the surface looks dry. Waiting a little longer can save you from extra repair work later.
What Colors Work Best for Pegboard
The best pegboard color depends on where you use it. In a garage or workshop, white, gray, or black can look clean and professional. In a craft room or child’s room, brighter colors can make the space feel more fun and organized.
Light colors make tools and accessories easier to see. Dark colors can hide small marks better, but they may show dust more clearly. If the room has weak lighting, a lighter shade is usually the safer choice.
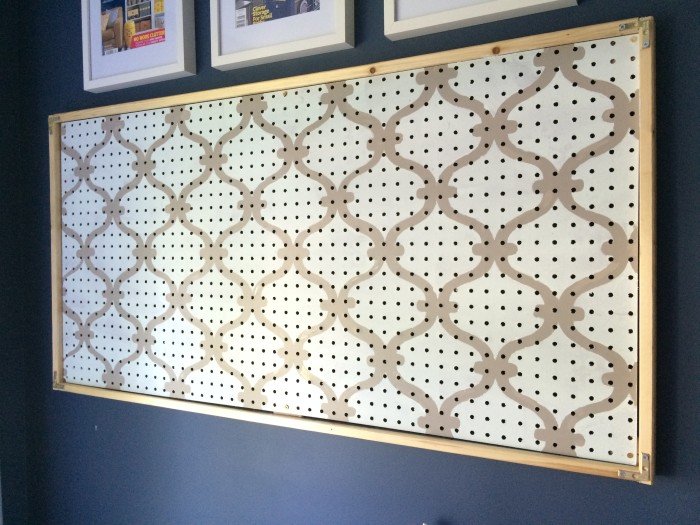
For a modern look, many people use a neutral pegboard with color-coded hooks or bins. That keeps the board practical while still looking neat.
Common Mistakes to Avoid
Painting pegboard is simple once you know the right steps, but a few mistakes can ruin the result. Most problems happen because people rush the job or use too much paint.
These are the most common issues:
- Skipping primer: This can lead to poor adhesion and uneven color.
- Using thick coats: Thick paint clogs holes and creates drips.
- Not cleaning the board: Dust and grease can stop paint from sticking.
- Using the board too soon: Hooks can scratch soft paint.
- Choosing the wrong paint type: Some surfaces need bonding primer or metal primer first.
Another common mistake is painting in a humid room. The finish may seem fine at first, but it can dry slowly and stay soft longer than expected. That weakens the final result.
When It May Be Better Not to Paint
Not every pegboard should be painted. If the board is badly warped, weak, or already damaged by moisture, painting will not fix the problem. In that case, replacing it may be the better choice.
If your pegboard is a specialized plastic or coated surface, test a small hidden area first. Some surfaces resist paint, even with primer. If adhesion is poor, you may need a different product or a replacement board.
Also, if you rely on very tight-fitting accessories, adding paint may slightly change how the hooks fit. In that case, a thin coat or a clear refresh may be better than a heavy color change.
Credit: jennaburger.com
Final Thoughts
So, can you paint pegboard? Yes, and you can do it well if you prepare the surface, use the right primer, apply thin coats, and give it enough time to cure. The best results come from patience, not speed.
A painted pegboard can look cleaner, brighter, and more organized. It can also match the rest of your room or workspace. Just remember that the holes are the whole point of the board, so protect them carefully while painting.
If you want a smooth, durable finish, focus on prep, light coats, and proper drying time. That simple approach will give you a pegboard that looks good and still works the way it should.
FAQs
1. Can you paint pegboard without primer?
Yes, but it is usually not the best idea. Primer helps the paint stick better and gives a more even finish. On raw hardboard or metal pegboard, primer is strongly recommended for better durability.
2. What kind of paint is best for pegboard?
Latex or acrylic paint works well for most pegboard projects. For a tougher finish, choose satin or semi-gloss. If the pegboard is metal or plastic, use the right primer first so the paint can bond properly.
3. Can you spray paint pegboard?
Yes, spray paint can work very well, especially on smaller boards or metal pegboard. The key is to use several light coats and keep the can moving so the holes do not get clogged.
4. How long should painted pegboard dry before use?
Let it dry for at least 24 hours before light use, and longer if the paint feels soft or the room is humid. Full curing can take several days, which is better if you will hang heavy tools on it.
5. Will paint make pegboard holes too small for hooks?
It can if you apply thick coats. That is why light coats are important. If you paint carefully and check the holes as you go, most standard hooks should still fit properly.
