
If you have ever squeezed a rivet gun and wondered what is happening inside the tool, you are not alone. A rivet gun looks simple from the outside, but it does an important job with a very smart mechanical action. It pulls one part of a rivet while holding another part in place, so two materials can stay tightly joined together.
This guide explains how does a rivet gun work in clear, easy English. You will learn the parts of the tool, the basic working principle, the difference between hand and pneumatic rivet guns, and why rivets are used in so many jobs. You will also see common mistakes, practical tips, and a few details beginners often miss.
By the end, you will understand not only how the tool works, but also how to use it more safely and more effectively. If you want a deeper technical reference on fasteners, the NASA website has useful engineering material on joining methods used in real structures.
What a rivet gun actually does
A rivet gun is a tool used to install a rivet. A rivet is a small fastener that joins two or more materials together. Unlike a screw, a rivet does not come apart easily. Once installed, it creates a strong, permanent joint.
The tool works by gripping the mandrel or stem of the rivet and pulling it through the rivet body. This pulling action makes the back side of the rivet expand and clamp the materials tightly together. When the correct force is reached, the mandrel breaks off on blind rivets, leaving a finished joint.
This is the heart of how does a rivet gun work: one side of the rivet is held steady, while the other side is pulled or hammered to form a tight connection. The tool does not “glue” the materials. It mechanically locks them together.
Why rivets are used instead of screws or bolts
Rivets are often chosen when the joint must stay secure under vibration, movement, or repeated stress. They are common in aircraft, sheet metal work, gutters, signs, appliances, and repairs where access is possible from only one side.
They are also useful when:
- the materials are thin
- the back side is hard to reach
- a smooth finish is preferred
- the joint must resist loosening from vibration
A beginner often thinks a rivet is just a “metal pin.” In reality, the rivet is designed to deform in a controlled way. That controlled deformation is what makes the joint strong.
Main parts of a rivet gun and rivet
To understand the tool, it helps to know the main parts involved in the process. A rivet gun may look different depending on the type, but most models share the same basic idea.
The rivet itself
A blind rivet usually has two main parts:
- Rivet body — the outer shell that stays in the joint
- Mandrel — the inner stem that gets pulled during installation
The mandrel is the key to the setting process. It creates the force needed to expand the rivet body.
The gun body and nosepiece
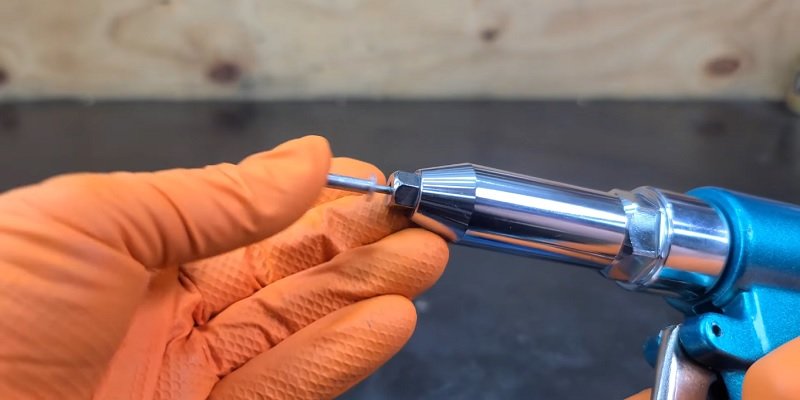
The rivet gun has a body that houses the pulling mechanism. At the front is the nosepiece, which holds the rivet in the correct position. The nosepiece size must match the rivet size. If it is too large or too small, the tool may not grip the rivet well.
Handle, trigger, or squeeze mechanism
Depending on the type of tool, force comes from a hand squeeze, a lever pull, compressed air, or battery power. That force is sent into the mandrel, pulling it through the rivet body.
Collection area for broken mandrels
Many modern rivet guns have a place where the broken mandrel piece falls after installation. This is a small feature, but it matters. If the broken stems pile up, they can jam the tool or make the work area messy.
How does a rivet gun work step by step
The process is simple, but each step matters. If one step is wrong, the rivet may set poorly or fail later.
-
The materials are drilled
A hole is made through the parts that need to be joined. The hole must match the rivet size closely. If the hole is too large, the rivet may fit loosely and weaken the joint.
-
The rivet is inserted
The rivet body goes into the hole. The head of the rivet stays on the outside surface, while the mandrel sticks out.
-
The gun grips the mandrel
The nosepiece holds the mandrel firmly. This grip is important because the tool must pull with enough force to deform the rivet body.
-
The mandrel is pulled
When the gun is activated, the mandrel is drawn backward. This pulling action compresses the rivet body and causes it to flare on the blind side of the material.
-
The joint clamps tight
The expanded back side of the rivet presses against the hidden surface. The two materials are now locked together between the rivet head and the expanded tail.
-
The mandrel breaks off
At a set point, the mandrel snaps. That break means the rivet has reached its correct setting force. The finished rivet stays in place, and the broken stem is discarded or collected by the tool.
The important idea is this: the gun does not fasten by pushing the rivet in. It fastens by pulling the mandrel so the rivet body changes shape and creates pressure.
What happens inside the rivet during installation
This is where the tool’s action becomes more interesting. Many people see only the outside movement, but the real work happens inside the rivet body.
As the mandrel is pulled, the shank of the rivet is forced to collapse and expand. The softer metal bends in a controlled way. This creates a bulge or expanded tail on the blind side. That bulge is what holds the materials together.
There are two forces at work here:
- Tension from the mandrel being pulled
- Compression from the rivet body clamping the materials together
This combination creates a secure joint. A good rivet is neither too loose nor too crushed. If the pull is too weak, the rivet may not expand enough. If the pull is too strong, it can damage the hole or the material.
One detail beginners often miss is that the rivet should set while keeping firm contact between the material layers. If there is a gap between the sheets, the joint may seem installed but still move later. That movement can lead to wear, noise, or failure.
Credit: thesprucetools.com
Different types of rivet guns and how they work
Not all rivet guns work the same way, even though the final result is similar. The source of force changes, and that affects speed, effort, and use.
Hand rivet guns
Hand rivet guns use human force. You squeeze the handles to pull the mandrel. These tools are simple, affordable, and good for light work. They are common in home repairs and small metal projects.
The downside is that they need more physical effort. For large jobs, hand tools can become tiring. They also may not deliver enough consistent force for larger rivets.
Lever rivet guns
Lever tools use longer handles to give more mechanical advantage. Because of the longer arms, less effort is needed to create strong pulling force. These tools are useful when you need more power without switching to air or battery tools.
Pneumatic rivet guns
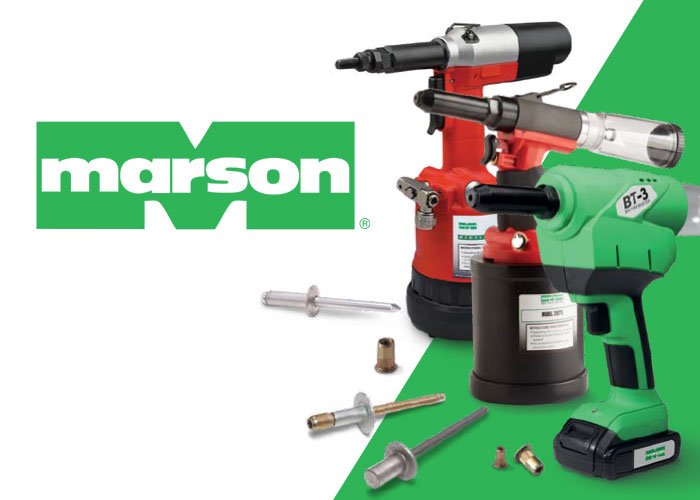
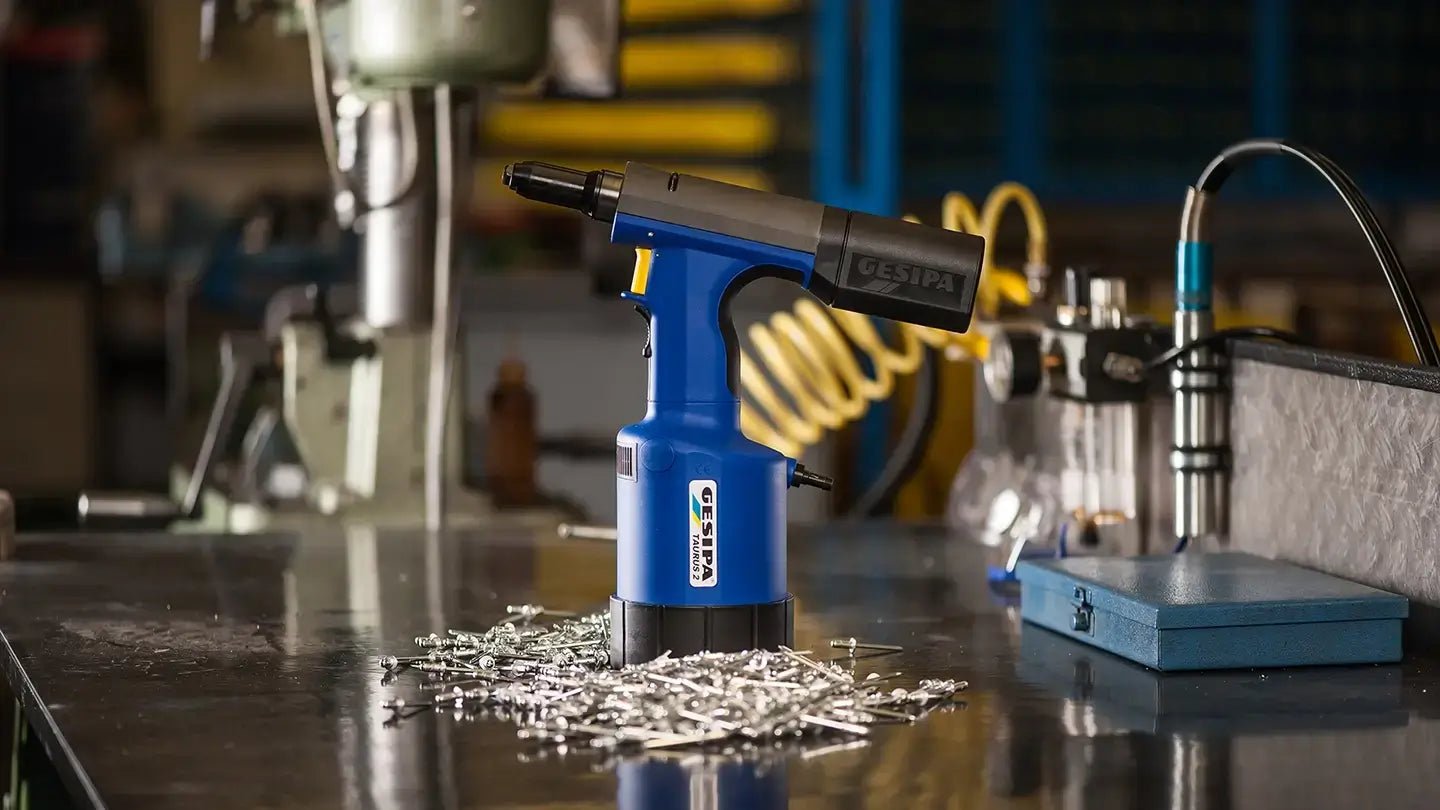
Pneumatic rivet guns use compressed air. They are fast, powerful, and ideal for repeated work. In industrial settings, they save time and reduce hand fatigue. The air pressure drives the pulling mechanism, which makes the action smoother and more consistent.
These tools are very efficient, but they require an air compressor and proper maintenance. For high-volume work, that trade-off is often worth it.
Battery-powered rivet guns
Battery models use an electric motor and internal mechanism to pull the mandrel. They offer mobility and less effort than manual tools. Many users like them because they do not need an air line.
They are especially useful for construction, field work, and jobs where moving around matters more than maximum speed.
Hammer-style rivet guns
Some older or special rivet systems use a hammering method rather than a pull-setting method. These are different from modern blind rivet guns. They are still used in certain metalworking jobs, but they are less common for general repair work.
Why the mandrel matters so much
The mandrel is not just a disposable piece. It controls the setting process. Its design helps the rivet grip, pull, and break at the right point. If the mandrel is weak, bent, or poor in quality, the rivet may fail to set correctly.
There are a few useful things to know about mandrels:
- They must fit the tool and rivet size correctly
- They should break cleanly at the designed point
- They help transfer force evenly into the rivet body
A non-obvious point many beginners miss is that not all broken mandrels are equal. Some tools perform better with certain rivet brands because the break force and grip area are better matched. If a tool keeps slipping or failing, the rivet quality may be part of the problem, not just the gun.
How the tool creates a strong joint
The strength of a riveted joint comes from a few simple mechanical effects working together.
| Factor | What it does | Why it matters |
|---|---|---|
| Head on the front side | Holds one surface in place | Prevents the rivet from pulling through |
| Expanded tail on the back side | Grips the hidden surface | Creates the locking action |
| Clamping force | Compresses the materials together | Reduces movement between parts |
| Material deformation | Shapes the rivet body during setting | Makes the joint permanent |
The result is a connection that resists vibration well. This is one reason rivets are so important in transport equipment and sheet metal assemblies.
Credit: jbtools.com
Common mistakes when using a rivet gun
Even simple tools can be misused. These are the mistakes that cause weak or ugly joints most often.
Using the wrong rivet size
If the rivet is too small, it may not fill the hole correctly. If it is too large, it may not fit or may damage the material. Size matching is not optional. It is one of the most important parts of the job.
Drilling a sloppy hole
A hole that is too big, uneven, or rough can make the rivet sit badly. Good drilling gives the rivet a clean seat and helps the joint stay strong.
Not placing the materials tightly together
If the sheets are loose or separated, the rivet may clamp only part of the stack. This can create movement later. Always make sure the parts are aligned and held firmly before setting the rivet.
Pulling before the nosepiece is seated
The gun should be square and fully seated on the rivet. If it is tilted, the mandrel may bend or slip. That can weaken the setting force and waste the rivet.
Ignoring tool wear
Worn jaws, a damaged nosepiece, or poor air pressure can all change performance. A rivet gun that used to work well can become unreliable over time if it is not maintained.
One practical insight: if rivets start setting at different depths or break unevenly, do not assume the job is wrong first. Check the tool condition and the rivet batch. A small tool fault can look like a material problem.
How to choose the right rivet gun
If you are buying a rivet gun, think about the work you actually do. The right tool depends on volume, material thickness, and access.
- For light home repairs: a hand rivet gun is usually enough
- For repeated shop use: a pneumatic tool can save time and effort
- For mobile work: a battery-powered tool offers more freedom
- For stronger pull force: a lever-style gun may help
Do not buy only based on price. A cheap tool may work for a few jobs, but poor grip strength or weak jaws can make the process frustrating. The best choice is the one that matches the rivet sizes you use most often.
Also check the maximum rivet size the tool can handle. A gun rated for small aluminum rivets may not be suitable for larger steel rivets. This is a very common mistake for beginners.
Safety and good working habits
Riveting is usually safe, but there are still a few things to watch.
- Wear eye protection, especially when mandrels snap
- Keep fingers away from the moving jaw area
- Hold the materials firmly so they do not shift
- Use the correct drill size and rivet size
- Clear broken mandrels from the work area regularly
Eye protection is especially important because the broken mandrel can fly or drop in an unexpected direction. That small part is sharp enough to cause injury.
Credit: rivetlab.com
Why riveting stays important today
Even with modern adhesives, screws, and welding methods, riveting still has a place. It is fast, dependable, and useful in situations where heat or disassembly is a problem. It also performs well on thin materials that do not suit welding.
Rivets are often chosen when engineers want a permanent joint with simple installation. In many cases, the answer to how does a rivet gun work matters because it explains why the method is so reliable. The tool creates a connection through controlled force, not heat or chemical bonding.
That makes riveting especially useful in places where speed, consistency, and access matter more than later removal.
Simple summary of the working principle
Here is the shortest clear explanation: a rivet gun pulls the mandrel of a rivet, which causes the rivet body to expand and clamp the materials together. When the mandrel reaches the correct force, it breaks off. The result is a permanent joint.
This is why the tool is so effective. It turns a small pulling action into a strong mechanical lock. Once you understand that idea, the whole process becomes easy to picture.
FAQs
1. How does a rivet gun work in simple words?
A rivet gun grips the metal stem inside a rivet and pulls it. This makes the rivet expand on the hidden side of the material. The expanded part holds the pieces together tightly.
2. What is the difference between a rivet gun and a pop rivet gun?
A pop rivet gun is a type of rivet gun made for blind rivets. It pulls a mandrel until it breaks. People often use “pop rivet gun” and “blind rivet gun” to mean the same thing.
3. Can a rivet gun be used on thick metal?
Yes, but only if the gun and rivet are strong enough for the material thickness. Thicker metal may need a larger rivet, a stronger tool, or a different fastening method.
4. Why do rivet mandrels break off?
The mandrel breaks at a planned point when the rivet has been set correctly. This shows that enough pulling force has been applied and the rivet is now holding the materials together.
5. What is the most common mistake when using a rivet gun?
The most common mistake is using the wrong rivet or drilling the wrong hole size. If the fit is poor, the joint may be weak even if the tool works correctly.
