
If your multimeter suddenly shows no reading, acts strange on the ohms range, or stops working after a mistake, the problem is often a blown fuse. This is common and usually easy to fix. In many cases, you do not need a new meter. You only need a correct multimeter fuse replacement.
The key is to use the right fuse, open the meter safely, and install it the correct way. A wrong fuse can give poor protection and may damage the meter or create a safety risk. A rushed repair can also lead to broken clips, stripped screws, or missed internal damage.
This guide walks you through the full process in simple steps. You will learn how to check for a blown fuse, choose the right replacement, install it safely, and test your multimeter after the repair.
What a blown fuse means in a multimeter
A multimeter fuse protects the meter, the user, and the circuit being tested. If too much current flows through the meter, the fuse breaks first. This is a good thing. It stops damage from spreading to the internal parts of the tool.
Most meters have one or more internal fuses. The most common fuse is for the current input, often used with the 10A, mA, or µA ranges. If you place the probes in the wrong jack or measure current the wrong way, the fuse may blow immediately.
A blown fuse does not always mean the meter is ruined. In fact, fuse failure is often the reason the meter is still safe to use after a mistake. The repair is simple when you use the correct part and follow the right steps.
Common signs of a blown fuse
- The meter turns on, but current measurements do not work.
- The display shows OL or zero when measuring current.
- The ohms or continuity range seems dead after a current accident.
- The meter works on voltage, but not on one current jack.
- The fuse inside looks dark, broken, or cloudy.
One important detail many beginners miss: a multimeter can still look normal even with a blown fuse. That is why a visual check alone is not always enough. You should test the fuse with the meter’s continuity or resistance function if possible.
Before you begin the repair
Do not open the meter immediately. First, make sure the problem really is the fuse. In some cases, the test leads are damaged, the battery is weak, or the internal switch has dust or wear. A quick check saves time and prevents unnecessary work.
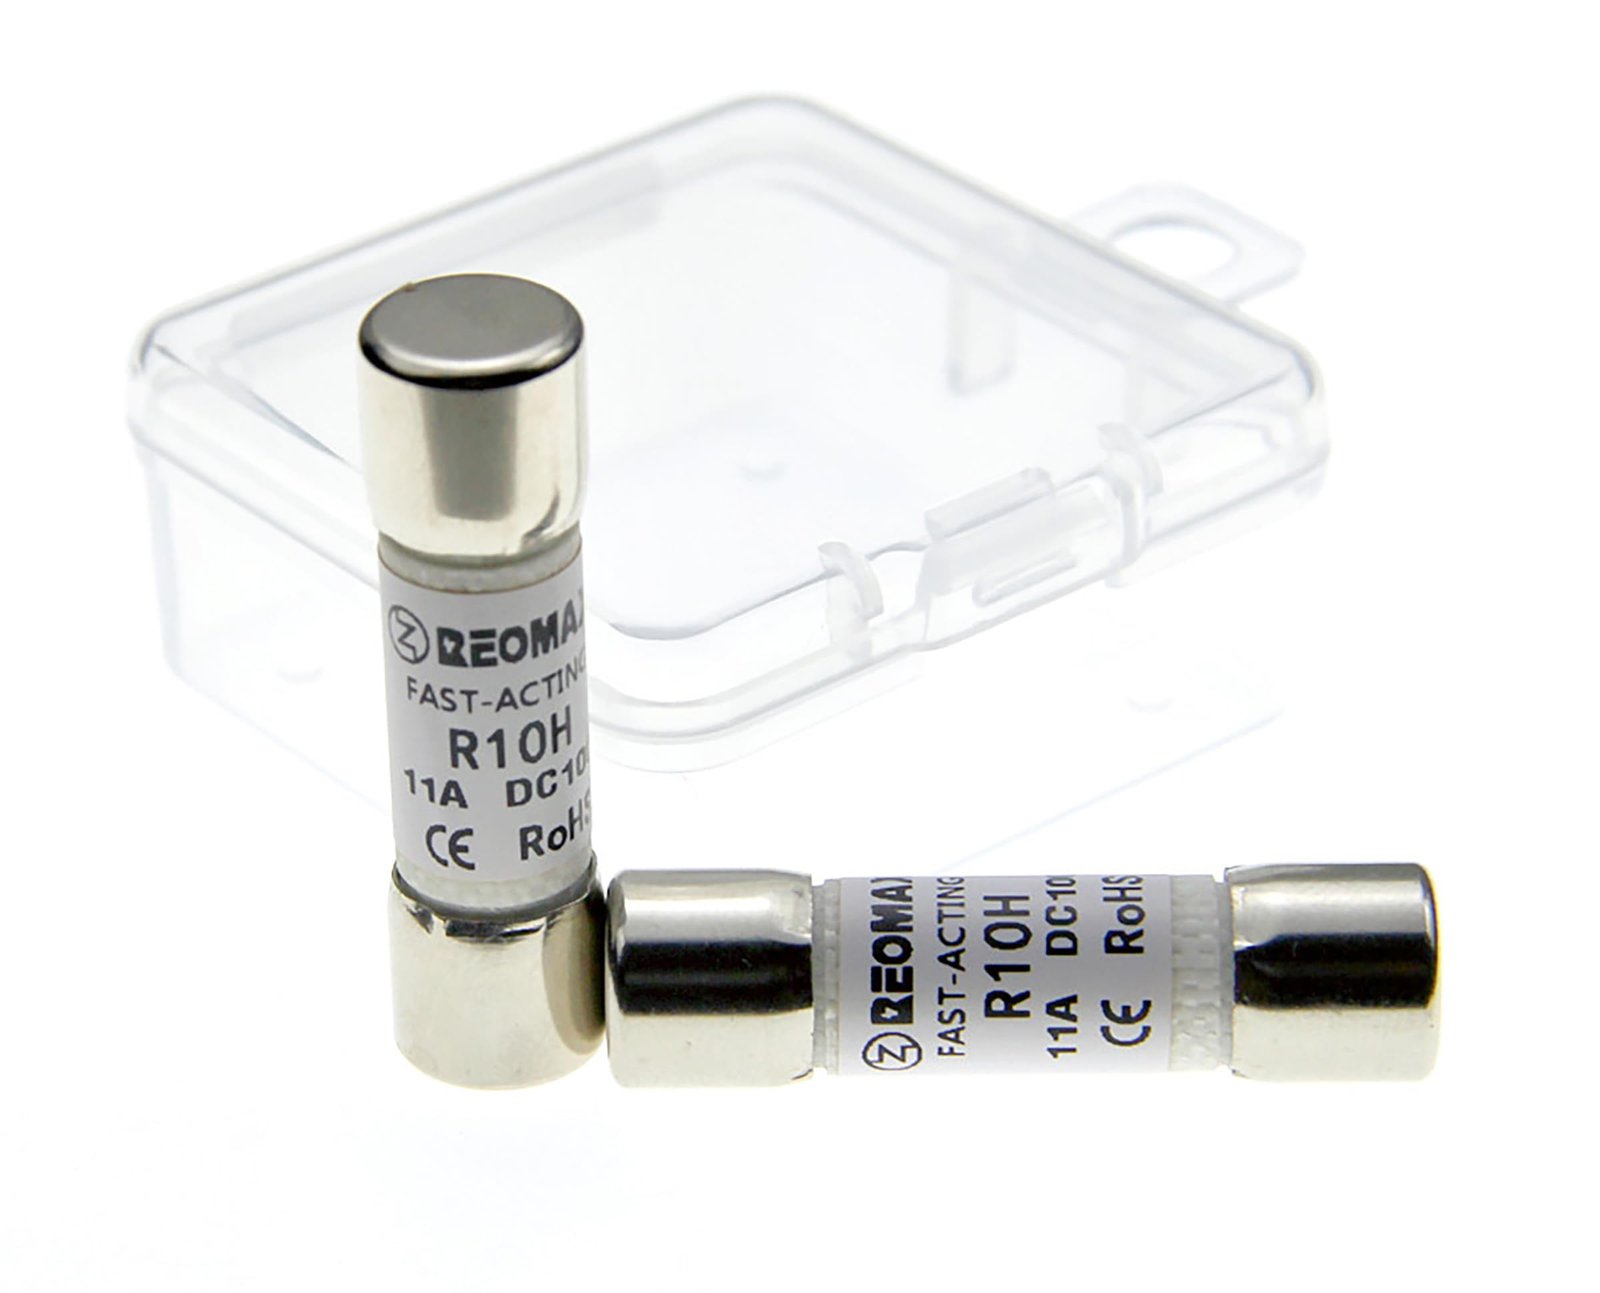
If your meter has a user manual, look up the fuse type and rating before buying anything. Different multimeters use different fuses. Some use fast-blow glass fuses. Others use ceramic high-interrupt fuses made for safety and higher energy protection.
If you need a trusted safety reference while working on electrical tools, the OSHA electrical safety guidance is a useful place to review basic precautions.
Tools and parts you may need
- Correct replacement fuse
- Small screwdriver set
- Replacement battery, if needed
- Needle-nose pliers, if the fuse is tight in its holder
- Clean cloth or soft brush
- Safety glasses
Choose the exact fuse, not a close match
This is one of the biggest mistakes in multimeter fuse replacement. People often buy a fuse that “looks similar.” That is not enough. You need the same:
- Current rating in amps or milliamps
- Voltage rating
- Size in millimeters or inches
- Type such as fast-blow or high-breaking-capacity ceramic
A fuse with the wrong rating may blow too early, or worse, fail to protect the meter when a fault happens. Another non-obvious point: two fuses can have the same size and amp rating, but different interrupt ratings. That detail matters a lot in safer meters.
| Fuse detail | Why it matters | What to check |
|---|---|---|
| Current rating | Protects the meter at the correct level | Match the exact amp or milliamp value |
| Size | Must fit the fuse holder | Check the meter manual or old fuse label |
| Type | Controls how fast it blows | Fast-blow or ceramic high-interrupt |
| Voltage and interrupt rating | Important for safety under fault conditions | Match or exceed the original spec |
How to replace a multimeter fuse step by step
The process is usually simple, but do it slowly. A careful repair is safer than a fast one. Keep the meter off, remove the probes, and work on a clean surface with good light.
Credit: amazon.com
1. Turn off the meter and remove the leads
Start by turning the multimeter off. Then remove both test leads from the meter. This reduces the chance of accidental contact while you work. If your meter uses a removable battery cover or rubber holster, take it off if needed to reach the screws.
2. Take out the batteries if the design allows it
Some meters make fuse access easier if the battery compartment is opened first. If the battery sits near the back cover, remove it carefully. This is not always required, but it can help protect the display and internal board during disassembly.
3. Open the case with the right screwdriver
Use the correct screwdriver size. Tiny screws strip easily. Keep them in a small dish so they do not get lost. If the rear case does not separate easily, do not pry hard. Check for hidden screws under labels, battery covers, or rubber feet.
4. Locate the fuse holder
Inside the meter, the fuse is usually a small glass or ceramic cylinder held in spring clips or a clip holder. Some meters have one fuse. Others have two. The current fuse is often near the input jacks or the lower part of the board.
Look carefully before touching anything. Do not pull on wires or bend the circuit board. The fuse is a simple part, but the surrounding components may be delicate.
5. Inspect the old fuse
A blown fuse often shows a broken metal strip, dark marks, or cloudy glass. Ceramic fuses may not show the damage as clearly, so test them if possible. If the fuse appears intact, test it with continuity. A good fuse usually gives a low-resistance reading or a beep, depending on the meter.
Here is a useful rule: if the fuse looks fine but the meter still fails on current mode, test it anyway. Some blown fuses look normal from the outside.
6. Remove the fuse carefully
Lift the fuse out gently. If it sits tightly in spring clips, use a small non-metal tool or needle-nose pliers with care. Avoid twisting hard. You do not want to crack the holder or damage nearby parts.
Check the fuse holder while the fuse is out. If the clips are bent, dirty, or darkened, clean them lightly with a dry cloth. Do not use liquid cleaner unless the manufacturer allows it.
7. Install the new fuse in the same position
Place the replacement fuse into the holder exactly as the old one sat. Make sure both ends are seated firmly. A loose fuse may cause intermittent contact. That can create confusing readings later.
If your meter has two fuses, do not swap their positions unless the manual says they are the same part. The mA fuse and 10A fuse are often different.
8. Reassemble the meter
Close the case carefully. Make sure no wires are pinched and the internal board is seated properly. Reinstall all screws. Do not overtighten them. Tight enough is enough.
If you removed the battery, put it back in the correct direction. Then return the battery cover and rubber sleeve if your meter uses them.
9. Test the meter after replacement
After the repair, test the meter before using it on a real circuit. First check voltage mode on a known source, such as a battery. Then test continuity or resistance. Finally, if safe and appropriate, test current mode with a proper circuit and correct jack placement.
If the meter still does not work, stop and inspect the fuse again. The issue may also be a bad jack, a damaged input resistor, or a burned internal trace.
What to watch for after the repair
Many users replace the fuse and assume the meter is fixed forever. That is not always true. A blown fuse is often a warning sign that a mistake happened during use. If you do not correct the cause, the new fuse may blow again.
Check how the meter was used before the failure. Was the probe in the wrong jack? Was current measured across a power source instead of in series? Was the meter left on the current setting and then connected to voltage? These are common causes.
Credit: walmart.com
Common mistakes that blow fuses again
- Using the wrong input jack for current
- Measuring current in parallel instead of in series
- Leaving the red lead in the current jack while measuring voltage
- Using a low-quality fuse with the wrong rating
- Ignoring a damaged test lead or probe tip
Another detail beginners often miss: test leads can fail internally even when they look fine outside. If the meter still acts strange after a proper fuse replacement, test the leads for continuity too.
How to buy the right replacement fuse
Buying the correct fuse is just as important as installing it. A good repair starts with the exact part number. If the original fuse is hard to read, check the meter manual, the manufacturer website, or the fuse itself for markings.
For safety-critical meters, it is better to buy an original or high-quality equivalent from a trusted seller. Cheap fuses may not meet the same breaking capacity or safety standard. That matters more than the price difference.
What the fuse label may include
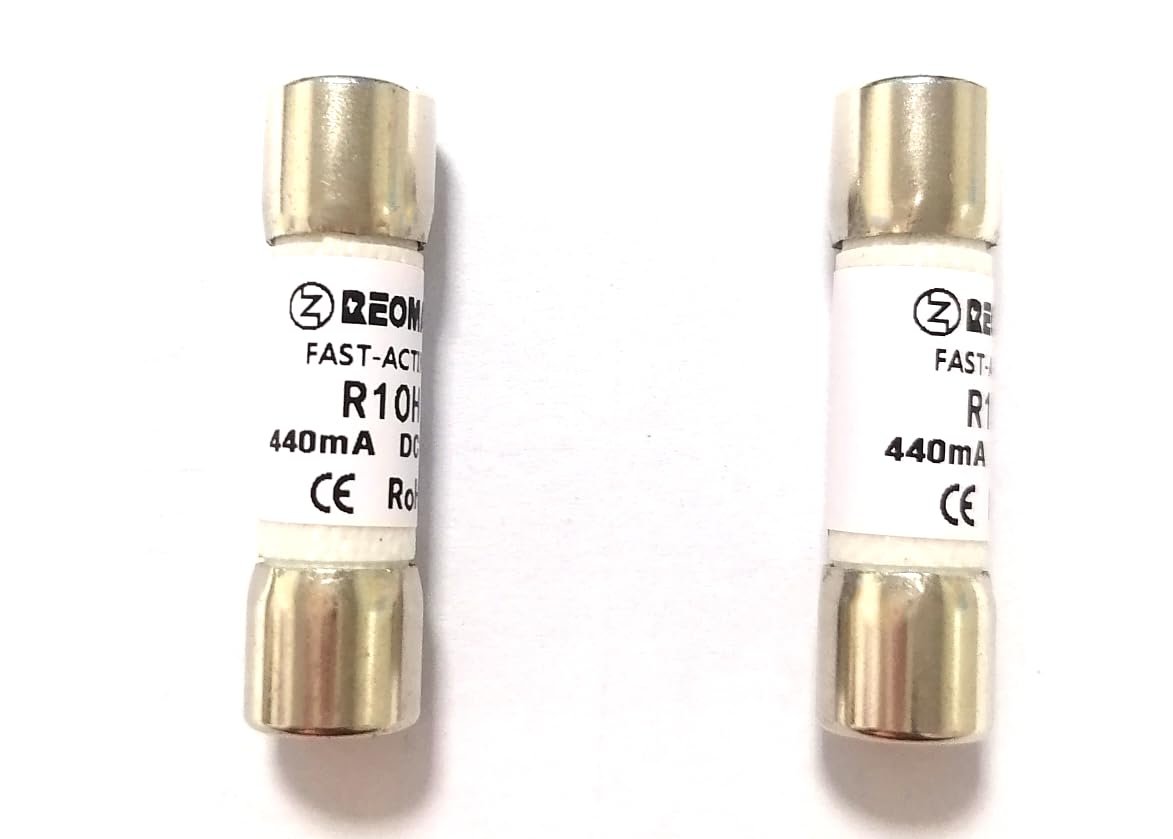
- Current rating such as 200mA or 10A
- Voltage rating such as 250V
- Speed rating such as F for fast or T for time-delay
- Physical size such as 5x20mm or 6.3x32mm
- Safety marking or part code
If the old fuse is broken and the label is hard to read, compare the holder size and use the model number of the meter. That is usually the safest way to avoid a wrong purchase.
Safety tips during multimeter fuse replacement
Even though the job is simple, safety still matters. A multimeter may be used around live circuits, and a damaged meter can give false confidence. That is risky.
Use these basic habits every time:
- Work with the meter turned off.
- Remove all probes before opening the case.
- Never replace a fuse with wire, foil, or any metal shortcut.
- Use only the exact fuse type recommended by the maker.
- Test the meter on a safe source before returning it to real work.
One non-obvious but important point: some meters use special ceramic fuses because they can safely break high fault current. A cheap glass fuse may fit, but it may not protect you or the meter in the same way. Fit is not the same as safety.
When the fuse is not the real problem
If you replace the fuse and the meter still fails, the fault may be deeper. The input protection circuit can also be damaged. This may include protection resistors, diodes, tracks on the circuit board, or the selector switch itself.
Signs of a bigger issue include burn marks, a smell of overheating, cracked parts, or a meter that behaves wrongly on several ranges. In that case, the meter may need repair by a trained technician or replacement, depending on its cost and condition.
For inexpensive meters, professional repair may cost more than a new unit. For a good quality meter, repair can still make sense if the damage is limited.
Practical example of a fuse replacement
Imagine you are checking current on a small DC circuit. You leave the red probe in the 10A jack, then later try to measure voltage without moving the lead. The meter fuse blows. The meter still powers on, but current mode is dead.
You open the case, remove the damaged 10A fuse, and compare its markings with the manual. You buy the exact replacement, install it in the same holder, and test the meter on a battery. The voltage function works again, and the current range now gives a normal reading. That is a typical multimeter fuse replacement job.
The lesson here is simple: the fuse fixed the immediate problem, but the original user habit caused it. If you continue using the wrong jack setup, the same issue will repeat.
Simple maintenance habits that help prevent fuse damage
Good habits can save time and money. Most fuse failures happen because the meter is used in the wrong mode or with the wrong lead position. A few small steps can prevent that.
- Check the lead jacks before every measurement.
- Move the red lead back to the voltage jack after current tests.
- Read the range label before connecting to a circuit.
- Use a meter with clear jack labels and a strong fuse rating.
- Store spare fuses with the meter, not loose in a drawer.
It also helps to label your meter if you share it with others. A small note near the current jack can stop a very expensive mistake.
Credit: amazon.com
Conclusion
A blown fuse does not have to mean the end of your multimeter. In many cases, a careful multimeter fuse replacement brings it back to normal quickly. The most important parts of the job are using the exact fuse, opening the meter safely, and testing it properly after the repair.
Take your time, match the right part, and check why the fuse blew in the first place. That way, you do more than fix the meter. You also make future use safer and more reliable.
FAQs
1. How do I know if my multimeter fuse is blown?
Common signs include no current reading, an OL display in current mode, or a meter that works on voltage but not on amps or milliamps. You can also test the fuse with continuity or resistance mode if the meter still works for those ranges.
2. Can I use any fuse that fits the size?
No. The fuse must match the correct current rating, type, and safety rating. A fuse that only fits the slot may still be unsafe or may not protect the meter properly.
3. Why did my multimeter fuse blow so fast?
The most common reason is using the wrong jack or measuring current the wrong way. If the red lead stayed in the current input while you measured voltage, the fuse may blow at once.
4. Is it safe to replace a multimeter fuse myself?
Yes, if you turn the meter off, remove the probes, and use the correct replacement part. If you see burn marks, broken parts, or repeated fuse failure, the meter may need professional repair.
5. Can I bypass a blown fuse just to test the meter?
No. Never bypass the fuse with wire, foil, or another metal part. The fuse is there to protect the meter and the user. Bypassing it removes that protection and can be dangerous.
