
If you want smooth edges, clean shapes, and better control on small projects, learning how to use dremel sanding discs is a great skill to have. These small discs can do a lot of work in a short time, but only if you use the right speed, the right grit, and the right pressure. Used the wrong way, they can remove too much material, leave deep scratches, or even wear out fast.
The good news is that Dremel sanding discs are easy to learn. You do not need advanced tool skills. You just need a simple method, a little patience, and a clear idea of what each disc is meant to do. Once you understand the basics, you can use them for wood, soft metal, plastic, resin, and more.
This guide will show you the full process in a simple way. You will learn how to choose the right disc, attach it correctly, work safely, and avoid common beginner mistakes. By the end, you will know how to get smooth, professional-looking results without damaging your project.
What Dremel sanding discs actually do
Dremel sanding discs are small round sanding accessories that attach to a rotary tool. They spin at high speed and remove a thin layer of material from a surface. People use them for smoothing rough edges, shaping corners, cleaning up cuts, and preparing surfaces for paint or glue.
They are useful because they give you more control than large power sanders. A Dremel can reach tight spaces, curved edges, and small details that bigger tools cannot handle well. That is why many hobby users, woodworkers, model builders, and DIY beginners keep them nearby.
One important thing to understand is that sanding discs are not all the same. Some are made for light finishing, while others are meant for more aggressive material removal. The grit number tells you how coarse or fine the surface is. Lower grit numbers are rougher and remove material faster. Higher grit numbers are smoother and give a better finish.
Common uses for sanding discs
- Smoothing rough wood edges
- Cleaning up 3D printed parts
- Shaping small plastic pieces
- Removing light rust or oxidation from metal
- Preparing surfaces for paint or glue
- Finishing cut lines on craft projects
Choose the right sanding disc before you start
If you want good results, the first step is choosing the right disc for the job. Many beginners think all sanding discs behave the same. They do not. The wrong disc can make the work harder and the finish worse.
For most people, the main choices are grit level, disc material, and disc size. These three things decide how fast the disc cuts and how smooth the finish becomes.
Use the right grit
Grit describes how rough the sanding surface is. A lower number means a rougher disc. A higher number means a smoother one.
| Grit range | Best for | Result |
|---|---|---|
| 60 to 80 | Heavy shaping, rough edges | Fast material removal |
| 100 to 120 | General smoothing | Balanced cut and finish |
| 180 to 240 | Fine sanding, prep for paint | Smoother surface |
| 320 and above | Very fine finishing | Light surface polishing |
A useful beginner tip is to start with the coarsest grit that still feels safe for your material, then move to finer grits. This saves time and gives better control. Going too fine too early often leaves you sanding longer than needed.
Match the disc to the material
Wood is usually the easiest material to sand with a Dremel. Soft wood sands fast, so be careful not to press too hard. Hard wood needs more patience and may need a slightly coarser grit at first.
Plastic can melt if the speed is too high or if the disc stays in one place too long. For plastic parts, use light pressure and short passes. Metal usually needs a tougher approach, but even then, the tool should not be forced. Let the disc do the work.
Check the backing pad and mandrel
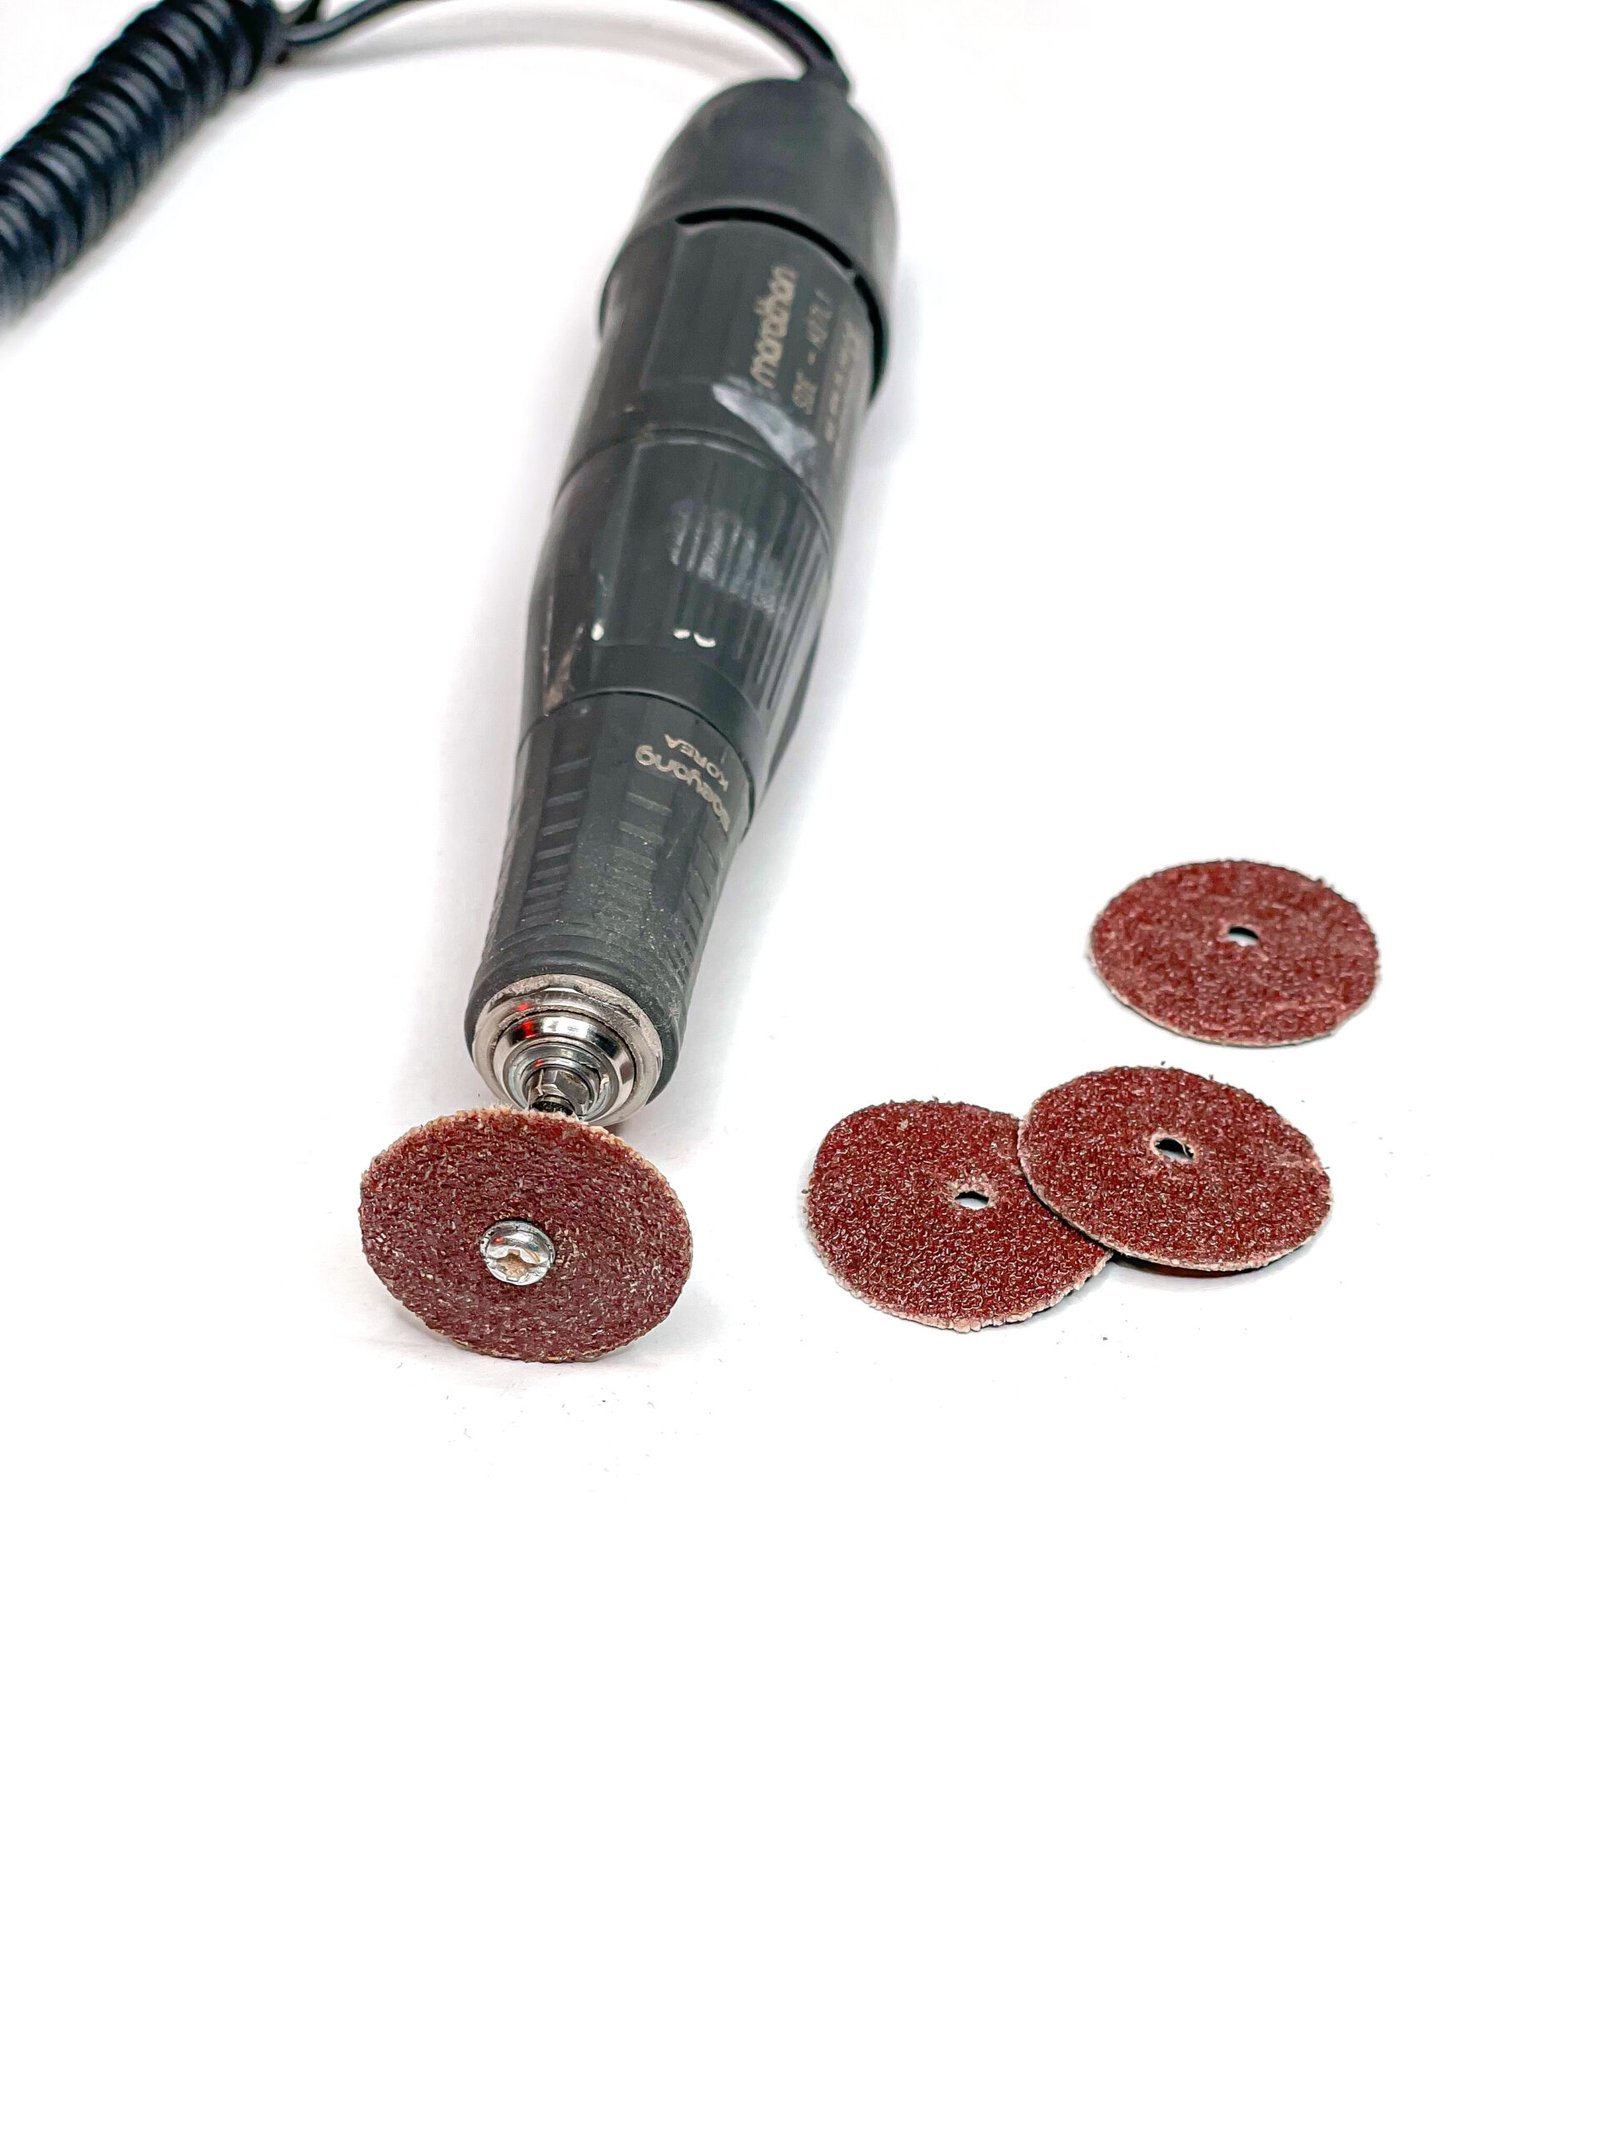
Most sanding discs attach to a backing pad or mandrel. Make sure the pad is the right size for your disc. If the backing pad is worn, cracked, or loose, replace it before use. A damaged pad can cause wobble, poor control, and unsafe operation.
Beginners often miss this: a worn backing pad can make a new sanding disc feel useless. If your disc seems to vibrate or skip, the problem may not be the grit. It may be the attachment underneath.
How to attach Dremel sanding discs the right way
Before you turn on the tool, make sure the disc is installed properly. A loose disc can fly off, wear unevenly, or leave an uneven surface. A secure disc gives you better control and a cleaner finish.
- Turn off and unplug the Dremel tool.
- Insert the mandrel or backing pad into the collet or chuck.
- Tighten it firmly according to your Dremel model.
- Place the sanding disc on the backing pad.
- Make sure the disc sits flat and centered.
- Check that the disc is secure before powering on.
Do not force the disc into place if it does not fit easily. If it is off-center, the tool may vibrate. That vibration is not just annoying. It can make your sanding uneven and reduce control.
Another beginner mistake is reusing a disc that is already worn out on one side. That can happen when you press too hard or use the same part of the disc for too long. Rotate your angle during work so the disc wears more evenly.
Credit: bearwood.com
Set the right speed for the job
Speed matters more than many beginners expect. A Dremel can spin very fast, but the highest speed is not always the best choice. High speed can burn wood, melt plastic, or remove too much material too quickly.
For most sanding jobs, start at a lower or medium speed. Test the disc on a hidden area first if possible. Then increase speed only if needed.
General speed guidance
- Wood: medium speed usually works well
- Plastic: low to medium speed is safer
- Soft metal: medium speed with light pressure
- Detailed finishing: lower speed for more control
Do not assume faster means better. A fast disc can remove material quickly, but it can also make mistakes faster. One of the best habits for beginners is to think in terms of control, not speed.
If you see smoke, melting, or a dark burn mark, stop right away. That usually means the speed is too high or the disc is staying in one place too long.
How to use dremel sanding discs on your project
Now let’s get to the main process. If you want to know how to use dremel sanding discs in a practical way, the method is simple: secure the workpiece, use light pressure, move steadily, and inspect the surface often.
- Secure the item. Clamp it down if possible. A moving workpiece is harder to control and can cause mistakes.
- Wear safety gear. Use eye protection and, if needed, a dust mask.
- Start the tool before touching the surface. This helps avoid gouges.
- Touch the disc lightly to the area you want to sand. Do not push hard.
- Move in small, smooth motions. Keep the tool moving so you do not over-sand one spot.
- Check your progress often. Stop and look at the surface before going further.
- Switch to a finer grit when needed. Use finer discs for final smoothing.
The most important habit is light pressure. A Dremel sanding disc should cut by spinning, not by force. If you push too hard, the disc wears faster and the surface may become uneven.
Keep the disc at a slight angle only when needed. For flat surfaces, stay as even as possible. For curved edges, move slowly and follow the shape of the object. That gives a more natural finish.
Work in passes, not one long push
Many beginners try to finish a whole area in one go. That often creates dips or flat spots. It is better to make short passes, stop, check, and repeat. This gives you more control and helps you avoid removing too much material.
This is especially important on soft wood and plastic. Those materials can change shape very quickly under a spinning disc.
Use a step-by-step grit change
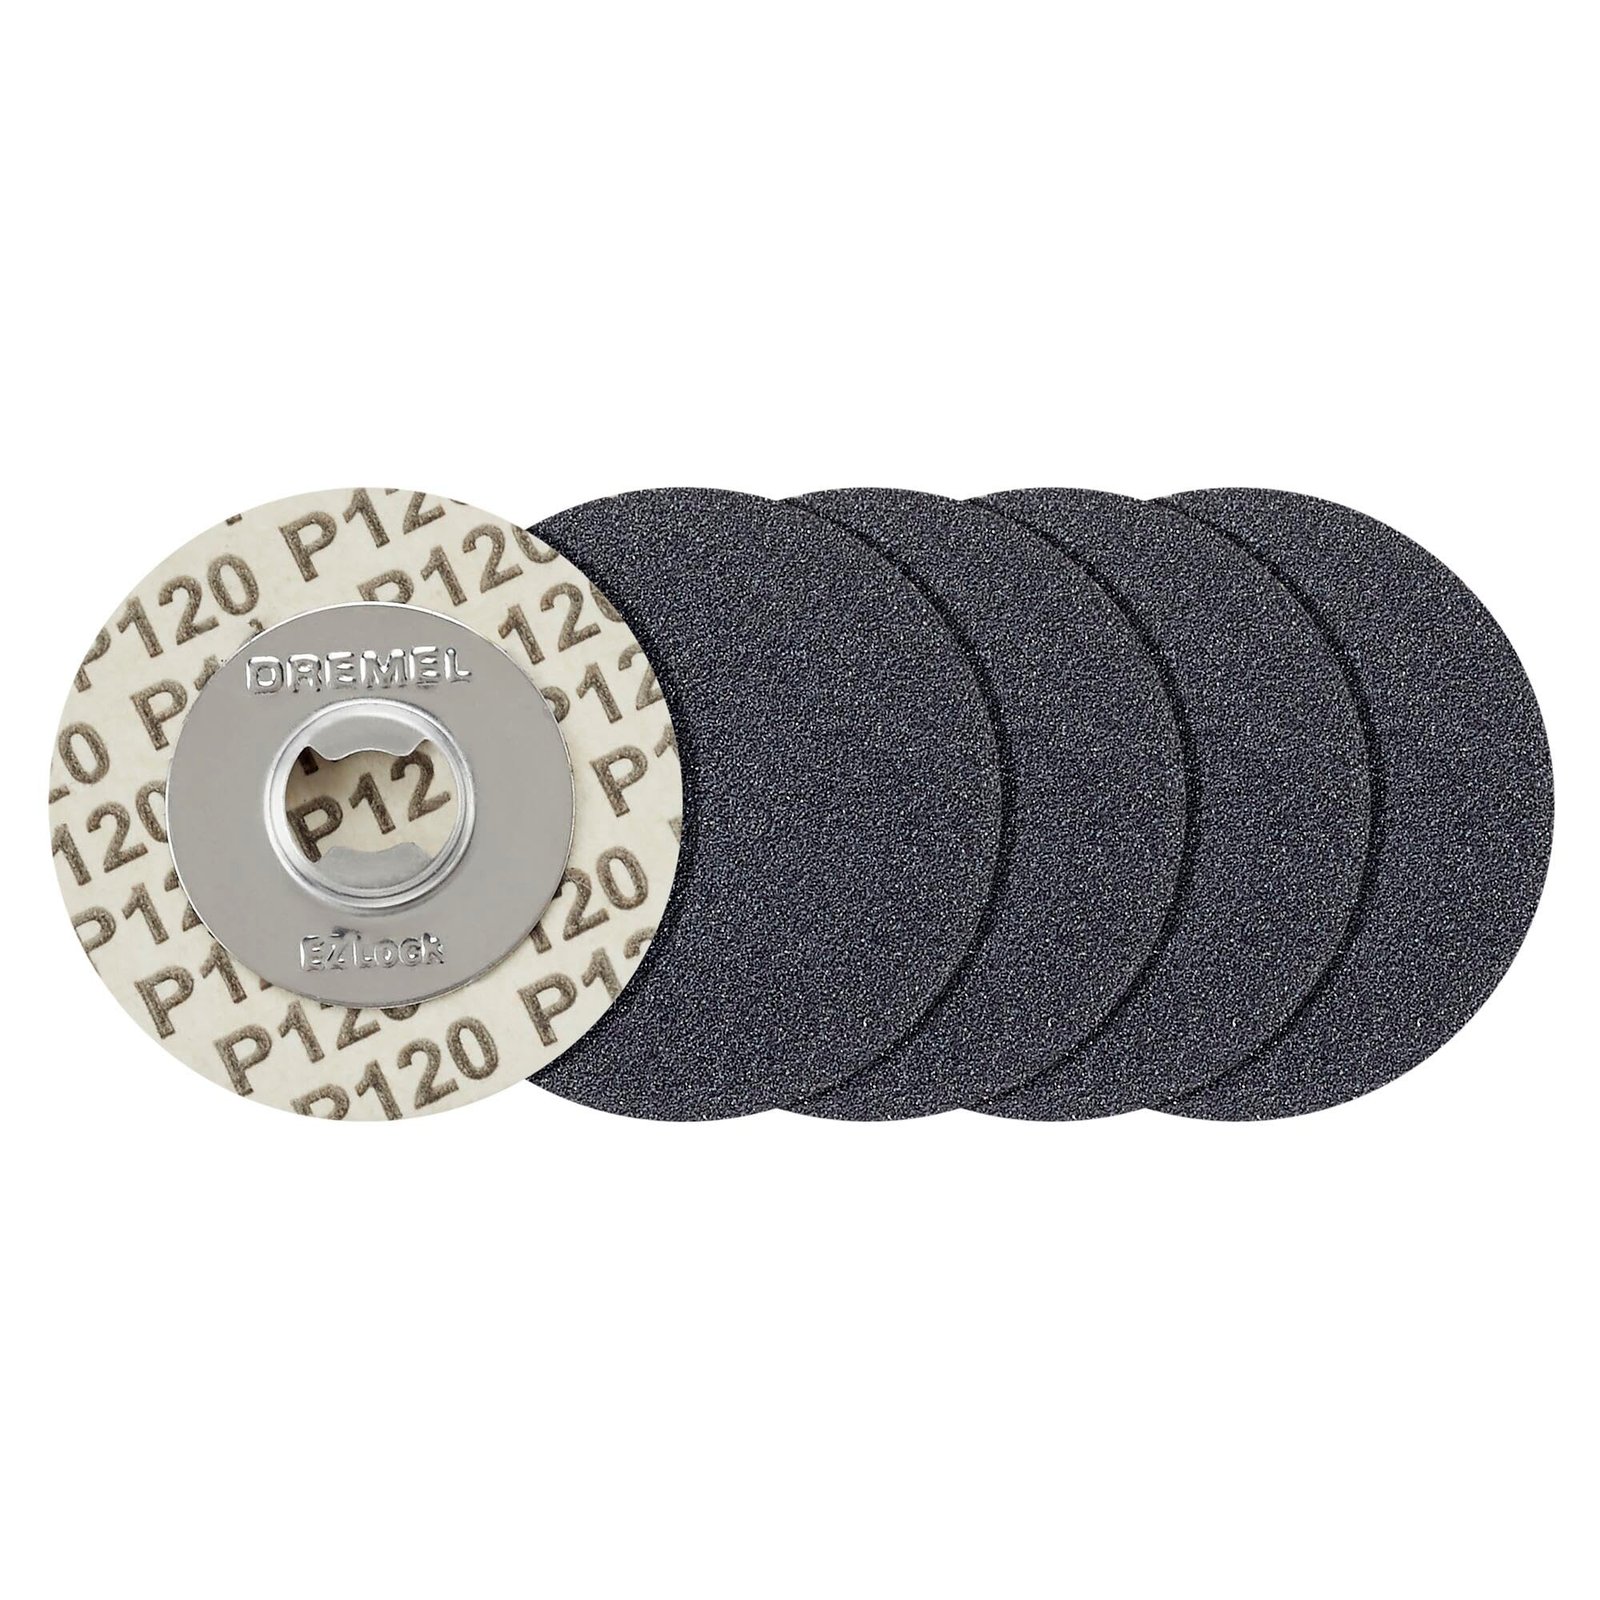
A smart sanding process usually starts with a rougher grit and ends with a finer one. For example, you might begin with 80 grit to remove rough edges, then use 120 grit to smooth the marks, and finish with 240 grit for a cleaner surface.
Skipping straight from very coarse to very fine can leave scratches behind. The finer disc may not remove all the marks from the rough disc. That is why a gradual change works better.
Keep your work safe and your results clean
Safety matters, even for small sanding jobs. Dremel sanding discs are small, but they still spin fast enough to cause injury or damage if used carelessly. Keep your fingers away from the disc path and never sand loose items by hand while they are moving.
Always wear eye protection. Small particles can fly off the surface, especially when sanding wood, paint, or rust. If you are sanding for a long time, a dust mask is a smart choice too.
It also helps to work in a bright area. Good lighting makes it easier to see scratches, high spots, and missed edges. A small lamp near the work area can improve accuracy more than people expect.
For more general rotary tool safety guidance, the official Dremel website is a useful place to check tool information and accessory details.
Credit: amazon.com
Common safety mistakes to avoid
- Using a damaged or loose disc
- Pressing too hard on the surface
- Leaving the tool in one spot too long
- Sanding without eye protection
- Using the wrong speed for the material
How to get a smoother finish
If your goal is a clean final surface, sanding is only part of the process. The way you finish the job matters too. A good finish comes from consistency, not force.
First, remove the rough marks with the correct grit. Then use a finer grit to reduce visible scratches. Always sand with a steady hand and even motion. If you notice lines or tiny grooves, that usually means the disc stayed too long in one place.
Two beginner mistakes that often ruin the finish
First: using only one grit for the whole job. This can leave the surface either too rough or too polished in the wrong places. A better approach is to move from coarse to fine.
Second: sanding against the shape of the object. On curved pieces, always follow the contour. Fighting the shape often causes flat spots or uneven edges.
For an extra smooth result, wipe the surface clean between grit changes. Dust can hide scratches and make you think the surface is smoother than it really is.
How to choose the best material for practice
If you are new to Dremel sanding discs, practice on scrap material first. This gives you a feel for the tool before you work on your real project.
Good practice materials include soft wood scraps, old plastic parts, and leftover craft pieces. Avoid starting on a finished item you care about. Beginners usually need a few tries to learn the right touch.
A smart practice method is to make three short sanding tests on different grits. Notice how fast each one cuts, how much dust it makes, and how the surface changes. That small test can save you from damaging your real work later.
When to replace the sanding disc
Dremel sanding discs do not last forever. Replace them when they look smooth, clogged, uneven, or less effective. A worn disc will take longer to work and may leave a poor finish.
Here are a few signs that it is time for a new disc:
- The disc no longer removes material well
- The surface becomes uneven or patchy
- The disc looks glazed or packed with dust
- You need to press harder than before
- The edge of the disc is worn down badly
Do not wait until the disc is almost gone. A fresh disc often gives better control and smoother results. This is especially true on final finishing work.

Credit: benchmarkabrasives.com
Final tips for better results
Once you understand the basics, the rest is about consistency. Keep the tool moving, use the right grit, and let the disc do the work. That simple approach gives better results than trying to rush the job.
Remember these non-obvious tips that beginners often miss:
First, dust changes how well the disc works. If the surface is covered with sanding dust, the disc can glide instead of cutting. Wipe the area clean often.
Second, the angle of pressure matters. Even a small tilt can change how much material comes off one edge of the disc. A flatter angle usually gives a more even result on flat surfaces.
If you keep practicing, you will learn how different discs feel on different materials. That experience is what turns a basic rotary tool into a very useful finishing tool.
FAQs
1. What is the best grit for beginners using Dremel sanding discs?
A good starting point is usually 100 to 120 grit. It is useful for general smoothing and gives you enough control without being too aggressive. If the surface is very rough, you can start lower, then move to a finer grit.
2. Can I use Dremel sanding discs on metal?
Yes, you can use them on soft or light metal for smoothing, shaping, or rust removal. Use light pressure and the right speed. For harder metal jobs, check that your disc type is suitable for metal work.
3. Why does my Dremel sanding disc wear out so fast?
This usually happens when you press too hard, use the wrong grit, or work at too high a speed. A worn backing pad can also cause fast wear. Let the disc do the cutting and keep the tool moving.
4. How do I avoid scratches when sanding with a Dremel?
Use a step-by-step grit change, keep the disc moving, and avoid staying in one spot too long. Cleaning the surface between passes also helps. If you still see scratches, move to a finer grit only after the rough marks are gone.
5. Are Dremel sanding discs safe for plastic?
Yes, but plastic can melt if you use too much speed or pressure. Work at a lower speed, use short passes, and stop often to check the surface. This gives you more control and helps prevent heat damage.
