If you want clean, strong welds without a huge learning curve, a MIG welder is one of the best tools to start with. It is fast, easy to learn, and very useful for home projects, car repair, light fabrication, and farm work.
Still, “easy” does not mean “careless.” Good welding depends on setup, safety, and small details that many beginners miss. If you learn the right habits from the start, you can avoid weak welds, wire jams, burn-through, and messy spatter.
This guide explains how to use a MIG welder in simple steps. You will learn what the machine does, how to set it up, how to make your first welds, and how to stay safe while doing it.
What a MIG welder does and why beginners like it
MIG stands for Metal Inert Gas. In simple words, the welder feeds a wire through a gun. That wire melts and becomes the weld. At the same time, shielding gas protects the hot metal from air. This helps create a cleaner weld with less practice than many other welding types.
One reason people like MIG welding is control. You do not have to stop and start the wire by hand. The machine feeds it for you. That makes it easier to keep a steady bead, especially if you are new to welding.
MIG welding is often used on steel, stainless steel, and aluminum, depending on the setup. For beginners, mild steel is the easiest place to start. It is more forgiving and easier to read.
Two things beginners often miss:
- Clean metal matters more than skill at first. Dirt, paint, rust, and oil can ruin a weld even if your hand movement is good.
- Sound matters. A good MIG weld usually makes a steady “bacon frying” sound, not popping or hissing too much.
Safety comes first every single time
Before you strike an arc, set up your work area safely. Welding creates intense light, hot metal, sparks, fumes, and fire risk. A small mistake can cause injury fast.
Wear the right gear:
- Welding helmet with the correct shade lens
- Leather gloves for heat and spark protection
- Long-sleeve cotton or leather clothing
- Long pants and closed-toe boots
- Safety glasses under the helmet when grinding or cleaning
Make sure the area is dry and free of flammable items. Move away paper, fuel, rags, sawdust, and aerosol cans. Keep a fire extinguisher nearby. If you are welding inside, open doors or windows and use ventilation. Welding fumes are not safe to breathe for long periods.
Also check your body position. Stand on dry ground. Do not touch the workpiece with bare skin while welding. If you are tired, rushed, or distracted, stop and reset. Good welding needs focus.
For solid safety guidance, you can also review the basics from OSHA’s welding safety page.
What you need before you start
A MIG welder is only part of the setup. You also need the right consumables and a clean work area. If one part is wrong, the weld quality can drop quickly.
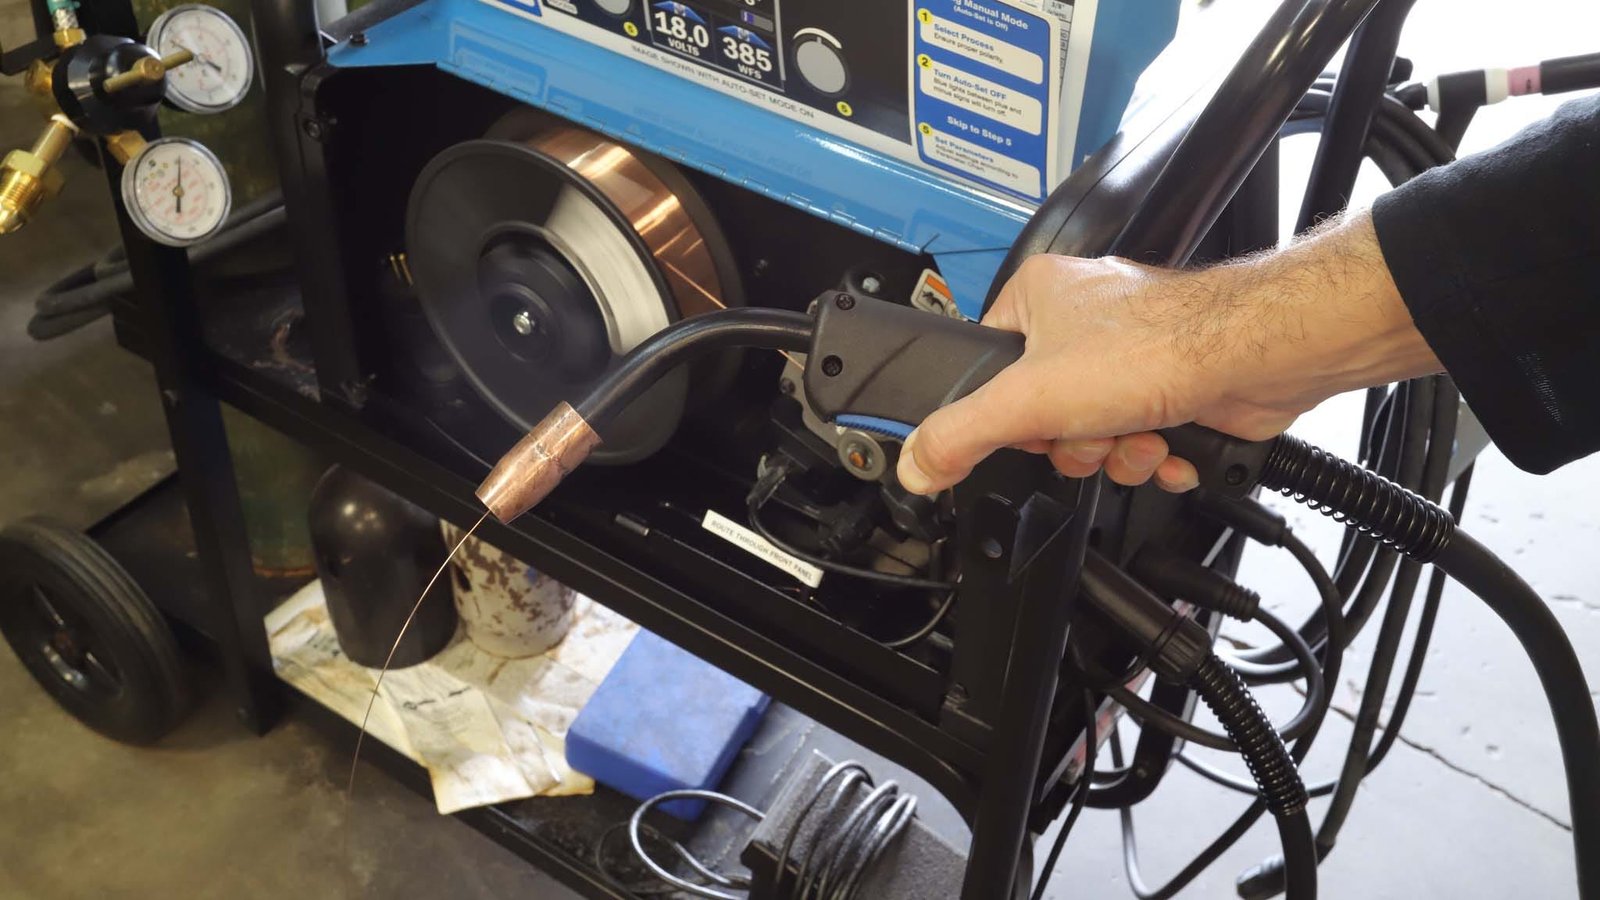
Basic MIG welding setup
- MIG welder
- Wire spool
- Shielding gas, if your machine uses gas
- Ground clamp
- Welding gun and contact tip
- Wire brush or grinder
- Clamp or magnets to hold metal in place
For beginners, .030-inch wire is a common choice for mild steel. It is a good balance between control and penetration for many small jobs. Many beginner welders also work well with a 75/25 shielding gas mix, which means 75% argon and 25% CO2.
If your machine can run flux-cored wire, it may weld without shielding gas. That can be useful outdoors because wind can blow away gas. But flux-core usually makes more spatter and smoke. For learning clean basics, gas-shielded MIG is often easier.
Metal preparation tools
- Angle grinder
- Flap disc or grinding wheel
- Wire brush
- Measuring tape
- Marker or soapstone
Do not skip cleaning. A shiny weld starts with shiny metal. Remove paint, rust, grease, and zinc coating where you plan to weld. The weld area should be bare and dry.
How to use a MIG welder step by step
Once your machine is ready and your metal is prepared, you can begin welding. The first few tries may look rough. That is normal. The goal is to build control, not perfection.
Credit: r-techwelding.co.uk
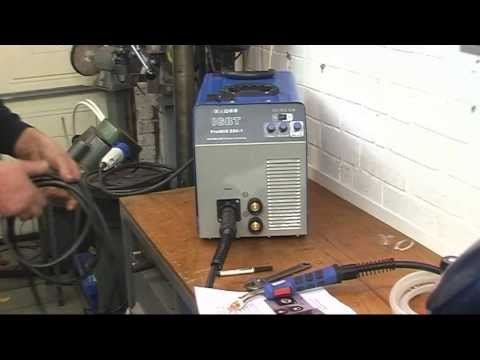
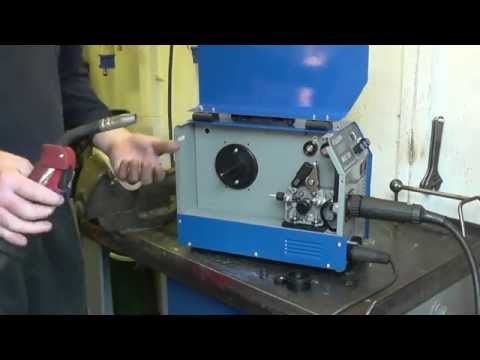
1. Set up the machine
Start by plugging in the welder and attaching the ground clamp directly to clean metal. The clamp must have a strong connection. If it is on rust, paint, or loose metal, the weld may arc poorly.
Next, install the correct wire and tip for your job. Make sure the wire feeds smoothly. Check the polarity if your welder needs it changed for solid wire or flux-core wire. Many beginners overlook polarity and then wonder why the welds are weak or messy.
Set the gas flow if your welder uses shielding gas. A common starting range is often around 20 to 25 cubic feet per hour, but always check your machine and nozzle size. Too little gas leaves the weld open to air. Too much can cause turbulence and waste gas.
2. Choose your settings
Most MIG welders use voltage and wire speed settings. Some machines also have material thickness settings. If you are new, start with the chart on the machine. It gives a safe base setting for metal thickness and wire size.
Do not guess wildly. Too little voltage may leave the bead sitting on top of the metal without good fusion. Too much voltage can burn through thin steel. Wire speed matters too. If it is too slow, the arc may stutter. If it is too fast, the wire can push the gun back and create a messy pile of metal.
| Common symptom | What it may mean | Simple fix |
|---|---|---|
| Wire keeps stubbing into the metal | Wire speed too high or voltage too low | Lower wire speed or raise voltage slightly |
| Arc sounds harsh and pops a lot | Voltage too low, poor ground, or dirty metal | Clean the metal and adjust voltage |
| Weld is tall and sits on top | Not enough heat | Increase voltage or slow down a little |
| Burn-through on thin metal | Too much heat or too slow travel | Lower voltage, move faster, or use thinner wire |
3. Hold the gun the right way
Hold the gun at about a 10 to 15 degree angle in the direction you are moving. This helps the gas shield the weld pool. Do not point the gun too far forward or backward.
Keep the wire tip close to the work. A short stick-out often helps beginners get better results. If the wire sticks out too far, the arc becomes less stable and the weld may get ugly. If you are too close, the tip may clog or stick.
Use both hands if needed. One hand can guide the gun, and the other can support your wrist or forearm. Stability matters more than speed.
4. Start the weld
Place the tip near the start of the joint. Pull the trigger, and the wire will begin feeding. You should see a bright arc and a small molten puddle form. That puddle is the heart of the weld. Your job is to control it.
At the start, keep your movement slow and steady. Watch the edges of the puddle. They should melt into both pieces of metal. If the puddle only sits on top, you may need more heat or slower travel.
For many beginners, a simple push technique works well. That means pointing the gun slightly ahead of the weld and pushing the puddle forward. It usually gives better visibility and cleaner results on thin material. A pull technique can give deeper penetration in some cases, but it is often not the best first choice for learning.
5. Move at a steady pace
Travel speed changes everything. Move too fast and the weld becomes thin and weak. Move too slow and you may get too much buildup or burn-through. Try to keep a smooth pace so the bead stays even.
A good practice idea is to run short practice beads on scrap metal before touching your real project. Use the same thickness, same wire, and same settings. This is one of the easiest ways to learn without wasting your workpiece.
As you improve, pay attention to bead shape. A healthy bead is usually even, with good tie-in on both sides. It should not look piled up, rope-like, or undercut along the edges.
6. End the weld cleanly
Do not just stop and pull away too fast. At the end of the weld, pause for a moment to fill the crater, then release the trigger. This helps avoid a weak end point or crack in the bead.
Let the weld cool before touching it. Hot steel can look dark and safe while still burning skin.
How to read the weld as you go
Beginners often focus only on moving the gun. A better skill is learning to read the puddle. The weld pool tells you if your settings and motion are right.
Credit: hotrod.com
What a good weld usually looks like
- Even width along the bead
- Flat to slightly raised profile
- Good fusion at both edges
- Reasonable spatter, not excessive
- Steady sound while welding
If the bead is too high, the metal may not be melting deeply enough. If it is too flat and wide with holes or sagging, you may have too much heat. If you see undercut, the edges of the base metal may be melting away without filling properly.
One beginner mistake is to chase a perfect-looking surface while ignoring fusion. A bead can look smooth and still be weak. The real goal is strength first, then appearance.
Simple practice tests
After welding a scrap piece, let it cool and check it. You can try a bend test with a vise and hammer if the metal is suitable. A good weld should resist cracking and show solid bond across the joint.
Practice on these common joints:
- Butt joint – two pieces joined end to end
- Lap joint – one piece overlaps another
- T-joint – one piece sits across another at a right angle
Many beginners find lap joints easiest because they show the puddle clearly. Butt joints are a little harder because fit-up matters more.
Common beginner mistakes and how to avoid them
Learning how to use a MIG welder gets much easier when you know the usual problems before they happen. Most bad welds come from a few simple causes.
Dirty metal
Rust, paint, and oil block good fusion. Clean a larger area than you think you need. Many new welders only clean the exact joint line and forget the nearby area where the ground clamp and arc still need good contact.
Poor fit-up
If the pieces do not line up well, the weld will struggle. Gaps change heat behavior. Before welding, clamp parts tightly and check alignment from different angles. Good fit-up saves time and gives cleaner results.
Wrong travel speed
Too fast means weak welds. Too slow means extra buildup and possible burn-through. This is a skill that comes from practice, not luck. Watch the puddle and keep it controlled.
Wrong gun angle
If the gun angle is too steep, gas coverage can get poor. If it is too flat, the arc may become unstable. Keep it gentle and steady.
Ignoring test pieces
Never use your final project as your first test. Always dial in your settings on scrap metal first. This is one of the cheapest ways to save materials and frustration.
How to get cleaner welds faster
There are a few small habits that improve MIG welding quickly. These are not flashy tricks. They are practical habits that make a big difference.
Use short practice sessions
Ten minutes of focused practice is better than one long, tired session. Fatigue makes your hand less steady and your judgment worse. Short practice helps you learn faster.
Keep the nozzle clean
Spatter builds up inside the nozzle and can block gas flow. Clean it regularly. Check the contact tip too. If wire feeding becomes rough or the arc starts acting strange, a worn tip may be the reason.
Control the work position
Flat welding is easiest. When possible, position your work so the weld is flat and comfortable. Overhead and vertical welding are harder. Do not make the job more difficult than it needs to be.
Use the right wire and gas for the job
Matching consumables to the material matters more than many beginners realize. Thin steel, thicker structural pieces, and outdoor repairs may need different setups. The machine can only perform well when the wire, gas, and settings fit the job.
Maintenance that keeps your welder working well
A MIG welder can last a long time if you care for it. Basic maintenance also prevents many welding problems before they start.
- Store wire in a dry place
- Check the liner if wire feeding becomes rough
- Inspect the contact tip often
- Keep the drive rollers clean
- Check gas hoses for leaks
- Turn off and unplug the machine before deeper cleaning
Wire feed problems are common. If the wire jams, look first at the spool tension, liner condition, and tip size. A tiny mistake in any of these can affect the entire weld.
Another overlooked point is cable care. Kinks and damage can make the gun harder to use. Treat the cables gently, especially around corners and sharp metal edges.
Credit: r-techwelding.co.uk
When MIG welding is the right choice
MIG welding is a great choice when you want speed, ease, and decent-looking welds with less learning time. It is especially useful for home repair, auto work, light steel fabrication, gates, brackets, and hobby projects.
It is not always the best option for every job. Very dirty outdoor work, heavy structural welding, or very thin sheet metal may call for different methods or special settings. Still, for most beginners, MIG is one of the most practical ways to enter welding.
If you focus on clean metal, correct setup, steady motion, and safety, you will improve faster than you expect. The first welds may be rough, but they will teach you a lot. That is the real start of learning how to use a MIG welder well.
FAQs
1. What is the easiest metal to start MIG welding on?
Mild steel is the easiest metal for beginners. It is more forgiving than stainless steel or aluminum and is commonly used for practice.
2. Do I need gas for MIG welding?
Not always. Some MIG welders can use flux-cored wire without shielding gas. But gas-shielded MIG usually gives cleaner welds and less spatter.
3. Why does my MIG welder keep spitting and popping?
This can happen if the settings are wrong, the metal is dirty, the gas flow is poor, or the ground clamp is not making a strong connection.
4. How thick of metal can a beginner weld with MIG?
Many beginners start with thin to medium steel, often around 1/8 inch or less. The exact thickness depends on your machine, wire size, and skill level.
5. How do I know if my MIG weld is strong enough?
Look for good fusion on both sides of the bead, even shape, and no cracks or gaps. If needed, test the weld on scrap first before trusting it on a real project.
