If you need a clean hole in stone, you may think a power drill is the only answer. But that is not always true. There are several simple ways to how to make hole in rock without drill, and many of them work well if you choose the right stone and use patience.
This is useful for jewelry, garden projects, crafts, fossils, and small repairs. The key is not brute force. The key is control. Rock can chip, crack, or split fast if you rush. With the right method, you can make a hole in rock using tools many people already have at home.
In this guide, you will learn the safest and easiest methods, when to use each one, and the mistakes that ruin good stones. You will also see which rocks are easy to work with and which ones need extra care.
What you need to know before you start
Not all rocks behave the same. Some are soft and easy to shape. Others are very hard and may resist almost everything except strong tools. Before you begin, check the rock type if you can. If you do not know it, treat it like a hard stone and move slowly.
The best stones for hand methods are usually softer rocks such as sandstone, limestone, soapstone, and some river rocks. Very hard stones like granite, quartz, and jasper take much longer. They are possible, but they need more patience and better tools.
Also, think about hole size. A tiny hole for a wire or string is much easier than a wide hole for a bolt or pipe. Most drill-free methods work best for small to medium holes.
| Rock type | Ease of making a hole | Best method |
|---|---|---|
| Soapstone | Easy | Hand scraping or carving |
| Limestone | Fairly easy | Hammer and nail, carving, or abrasion |
| Sandstone | Moderate | Scraping or chipping |
| River rock | Moderate to hard | Chipping or abrasive grinding |
| Granite | Hard | Long abrasive method |
| Quartz or jasper | Very hard | Slow grinding only |
One important point many beginners miss: the shape of the stone matters as much as the rock type. A thin stone can crack if you hit it hard, even if it is soft. A thick stone may survive rough work, but it will need more time.
The easiest methods that work without a drill
1. Use a hammer and nail for soft stones
This is the simplest method for small holes in soft rock. You place the tip of a hardened nail or a pointed metal punch on the spot you want to open. Then tap it lightly with a hammer. Do not hit hard at first. Your goal is to start a small dent, not break the rock.
Once the dent is made, keep tapping in the same spot. Rotate the nail slightly as you work. This helps widen the hole little by little. If the stone is soft enough, you can finish with a round file or coarse sandpaper wrapped around a thin stick.
Best for: limestone, soapstone, soft river rocks, small craft holes.
Watch out for: sudden cracks. If the rock is thin or brittle, stop and use a gentler method.
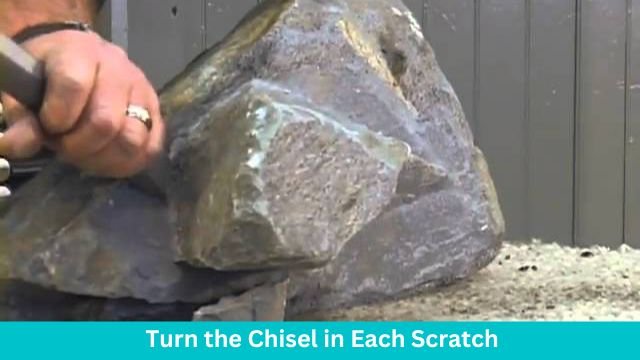
2. Chip away the hole with a chisel or old screwdriver
For a wider opening, a chisel works better than a nail. If you do not have a stone chisel, an old flat screwdriver can help. Place the tip at the center of the mark and tap carefully with a hammer. You are not drilling. You are removing tiny pieces step by step.
This method is slower, but it gives you more control. It is useful when you want a rough hole for a garden piece, hanging decoration, or rustic craft. Keep the angle low and work around the mark in a small circle. That helps prevent one side from breaking too much.
Non-obvious tip: many people hit straight down. That often makes the rock split. A slight sideways angle removes material more safely than hard vertical blows.
3. Grind the hole with sand and a stick
This old method takes time, but it works surprisingly well. Make a shallow depression first, then add coarse sand and a little water. Use a hard stick, metal rod, or rounded stone to rub in a circular motion. The sand acts like a natural abrasive.
Keep adding fresh sand and water as the groove deepens. If you want a smooth hole, this method gives a cleaner finish than chipping. It is slow, but it is safer for delicate stones.
For a stronger abrasive, you can use wet/dry sandpaper, emery cloth, or fine grinding powder. Always keep the surface wet. Wet grinding reduces dust and helps prevent heat cracks.
4. Use a file to widen a starter hole
If you already made a small dent with a nail or chisel, a metal file can help you enlarge it. Round files are especially useful. Insert the tip into the dent and twist gently. Move the file in and out to wear down the edges.
This method is good for finishing. It gives better shape and smoother edges than hammering alone. It is also one of the safest ways to enlarge a small hole without damaging the rest of the rock.
For very small openings, a needle file or diamond-coated hand file is even better. If the stone is hard, ordinary steel files may wear out fast, so do not force them.
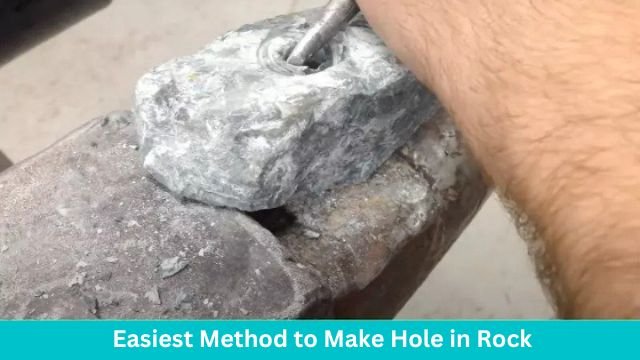
5. Use abrasion with a metal rod and water
If the rock is hard and you want more control, abrasion is one of the best drill-free answers. Start by making a tiny mark with a nail. Then use a hardened metal rod, masonry nail, or even a pointed stone with water and abrasive grit. Rub in a small circular motion for a long time.
This method is slow, but it is more likely to work on tough rock than simple hammering. It is especially useful for creating clean holes in decorative stones where the appearance matters.
To improve results, use coarse abrasive material first, then switch to finer grit to smooth the edges. That reduces the chance of ugly chips around the hole.
6. Heat and cool the stone carefully
Some people try to crack the rock open by heating one small spot and then cooling it quickly with water. This can weaken certain stones, but it is risky. It may work on some rocks, yet it can also split the stone in the wrong place.
If you use this method, do it only on rocks that can handle heat changes better. Never use this on a valuable stone, a stone with hidden cracks, or a stone you cannot afford to lose. It is more of a backup trick than a main method.
Important: this method is not the best choice if you need a neat hole. It is better for rough breakage than precision work.
Step-by-step way to make a small hole by hand
If you want one practical path to follow, use this simple process. It combines the safest parts of the methods above and works for many small projects.
- Choose the right stone. Pick a stone without visible cracks. Avoid thin edges.
- Mark the spot. Use chalk, pencil, or a marker.
- Make a starter dent. Use a nail, punch, or sharp screwdriver with light taps.
- Deepen slowly. Keep working the same spot with gentle taps or twisting motion.
- Switch to grinding. Use sand, a file, or abrasive paper to widen and smooth the hole.
- Rinse often. Wash away dust and check the shape often.
- Finish carefully. Smooth sharp edges so the hole will not cut string, wire, or fingers.
This process is slower than drilling, but it gives you more control. The biggest secret is to stop often and inspect the stone. Small cracks can grow if you keep hitting the same place too hard.
Credit: drillvilla.com
How to choose the best method for your rock
The right method depends on three things: rock hardness, hole size, and the finish you want. A rough hole for a hanging garden ornament is not the same as a clean hole for jewelry.
If the rock is soft, use hammering, carving, or a file. If the rock is medium-hard, start with a dent and then grind. If the rock is hard, skip aggressive striking and focus on abrasion. That is usually the only method that gives reliable results.
Here is a simple way to think about it:
- Soft rock: chip, punch, or carve
- Medium rock: dent first, then grind
- Hard rock: slow abrasive method only
- Thin rock: use light pressure and support from below
One beginner mistake is using too much force too soon. Strong hits do not make the job faster. They usually create a bigger mess. A controlled method often finishes sooner because you do not waste time fixing cracks.
Safety matters more than speed
Rock work creates dust, chips, and flying pieces. Always wear safety glasses. Small chips can move fast and cause eye injuries. If you are using hammering or chiseling, gloves can help, but make sure they still let you hold the tool firmly.
Work on a stable surface. Put the rock on wood, leather, or thick cloth if needed. This reduces slipping and helps absorb shock. Do not hold a small rock in your bare hand while striking it. That is a common mistake and a painful one.
Another useful habit is wetting the work area when possible. Wet working reduces dust and makes grinding smoother. For hard rock, the dust can be harmful if you breathe it in, so keep the surface damp and clean up often.
For more stoneworking safety basics, the Occupational Safety and Health Administration has practical guidance on protecting your eyes, hands, and lungs when working with dust and tools.
Credit: howtofindrocks.com
Common mistakes that ruin the stone
Many people lose a good rock because they rush the first few minutes. The early stage is the most important part. Once a crack starts, it can spread fast.
Using a rock with hidden cracks
A stone may look fine on the outside but still have weak lines inside. Tap it lightly first. A clear, ringing sound often means it is more solid. A dull sound can mean hidden cracks.
Working too close to an edge
Edges break easily. If possible, keep the hole away from thin sides. The center is safer. If you must work near an edge, use very light force and support the stone well.
Forgetting to smooth the opening
A rough hole may look done, but sharp edges can cut string, wire, and fingers. Finish by sanding or filing the inside and outside edges. This small step makes the result much better.
Trying one method too long
If hammering is not making progress, do not keep hitting harder. Switch to grinding or filing. Smart switching saves the stone.
Another non-obvious insight: the hole often becomes cleaner if you work from both sides. If the rock is not too thick, make a starter dent on one side, then slowly match it from the other side. This can reduce chipping around the exit point.
Best uses for drill-free rock holes
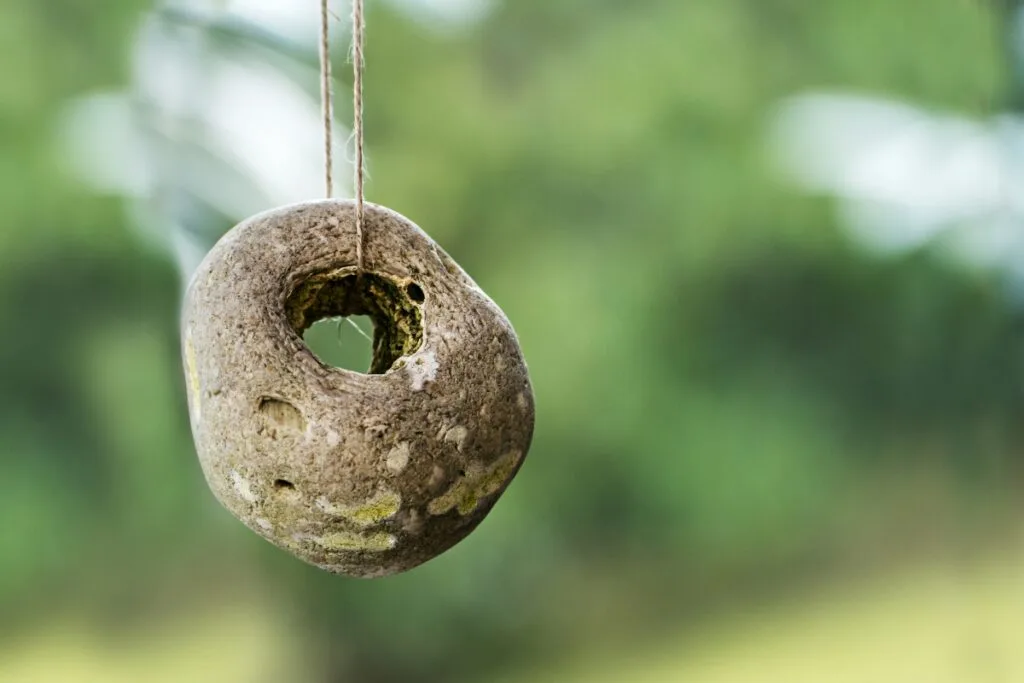
These methods are most useful when you need a hole for a simple purpose and do not need machine-perfect results. People use them for hanging stones, garden markers, homemade wind chimes, bead projects, natural jewelry, and rustic decor.
They are also helpful in places where a drill is not available. For example, you may be camping, working in a small workshop, or handling a one-time project at home. In those cases, hand methods can save time and money.
If the rock is valuable, rare, or part of a fossil, be extra careful. In that case, the goal may be preservation more than speed. A slow method is usually safer than a forceful one.
When a drill-free method is the wrong choice
Sometimes the honest answer is that you should not force the job. If you need a perfectly round, deep, precise hole in a very hard stone, a drill is often the better tool. The same is true if the stone is fragile, expensive, or part of a finished item you cannot replace.
Also avoid drill-free methods if you need many identical holes. Hand work is fine for one or two pieces, but it is not practical for large batches. In that case, the time cost becomes too high.
That said, for small personal projects, the methods in this article work well. They are simple, low-cost, and easier to control than many beginners expect.
A simple comparison of the main methods
| Method | Speed | Precision | Best use |
|---|---|---|---|
| Hammer and nail | Fast for soft stone | Low to medium | Small starter holes |
| Chisel or screwdriver | Moderate | Medium | Rough wider holes |
| Sand and stick | Slow | High | Smooth decorative holes |
| File | Moderate | High | Finishing and enlarging |
| Abrasive grinding | Slow | High | Hard rocks |
Credit: drillvilla.com
Final tips for better results
If you want the best chance of success, start small and stay patient. Use light force first. Let the tool do the work. Check the stone often. Keep the area wet when grinding. And choose a rock that matches the method, not the other way around.
The easiest way to how to make hole in rock without drill is usually not the fastest-looking method. It is the method that removes material safely and steadily. That is why gentle hand work often beats aggressive striking.
When done well, a hand-made hole can look natural and clean. In some projects, that is even better than a drilled hole. It gives the stone a handmade feel that many people like.
FAQs
1. Can I make a hole in any rock without a drill?
Not every rock is practical. Soft and medium stones are much easier. Very hard stones like granite and quartz are possible, but they take a long time and more effort.
2. What is the easiest way to make a small hole in a rock?
For soft rock, a hammer and nail is usually the easiest method. For a cleaner result, start with a small dent and then use a file or abrasive grinding.
3. How do I keep the rock from cracking?
Use light force, avoid edges, and stop if you see a crack line. Support the stone well and work slowly. Wet grinding also helps reduce heat and dust.
4. Can I use household tools for this job?
Yes. A nail, screwdriver, hammer, file, sand, and water are enough for many small projects. You do not always need special tools.
5. Is it better to work from one side or both sides?
For thicker stones, working from both sides can reduce chipping and give a cleaner hole. For thin stones, one side may be safer, but use very light pressure either way.
