If you have ever tried to remove a part from a circuit board, you know it is not as easy as melting the solder and pulling the part out. Pads can lift, tracks can break, and small mistakes can damage the board for good. That is why learning how to desolder components the right way matters so much.
The good news is that desoldering is a skill anyone can learn. You do not need expensive tools or expert-level hands. You just need the right method, a little patience, and a clear idea of what each tool does. When you work slowly and safely, you can remove through-hole parts, clean up solder joints, and reuse boards with much better results.
In this guide, you will learn the full process step by step. You will also see common mistakes beginners make, which tools are worth using, and how to protect both yourself and the circuit board while working.
What you need before you start
Before you heat anything, prepare your workspace and tools. Good preparation saves time and prevents damage. Many beginners rush into desoldering with the wrong tools, and that is usually when problems begin.
For most basic jobs, you only need a few items. Some are simple, but each one matters.
| Tool | Why it helps |
|---|---|
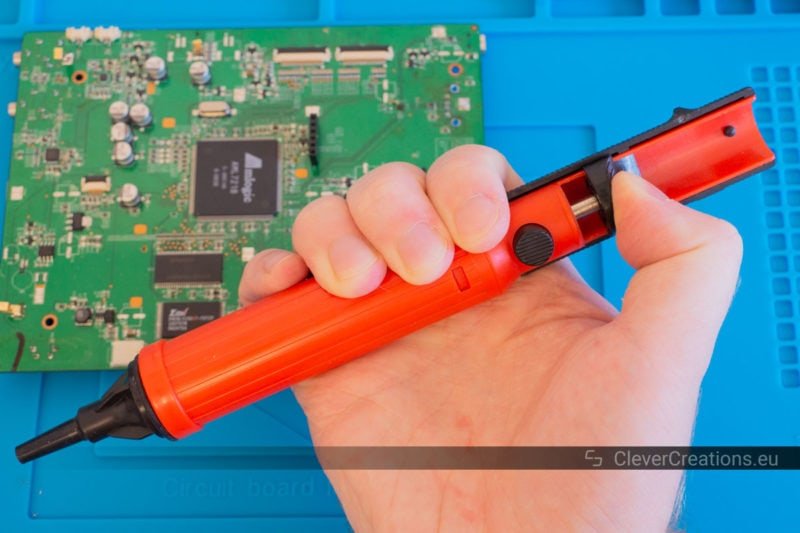
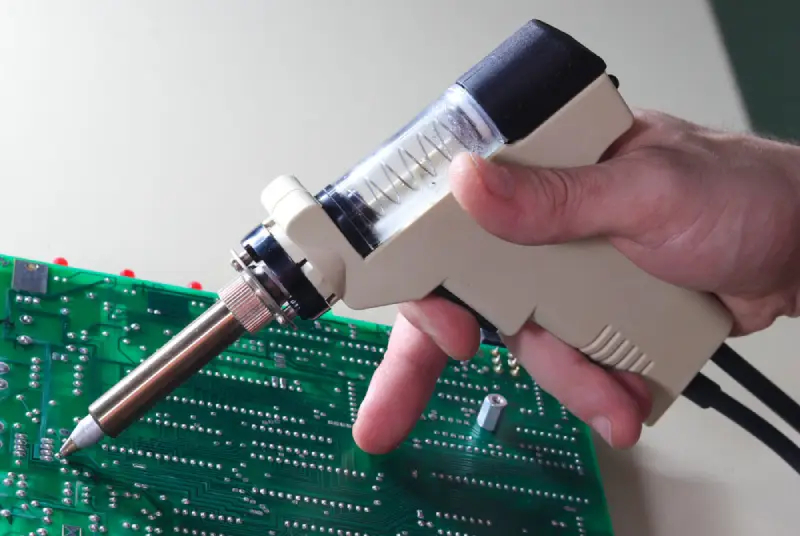
| Soldering iron | Heats the solder so it can be removed |
| Desoldering pump | Sucks melted solder away from the joint |
| Desoldering braid | Soaks up molten solder for cleaner pads |
| Flux | Helps solder flow and makes removal easier |
| Tweezers or small pliers | Hold or lift parts once the solder is free |
| Isopropyl alcohol and brush | Cleans residue after the work is done |
| Safety glasses | Protects your eyes from hot solder splashes |
If you work on modern electronics, a temperature-controlled iron is a big advantage. It reduces the chance of overheating pads. If you want a reliable safety reference for electronics work, the OSHA website is a useful place to learn general workplace safety habits.
Set up your work area
Work in a bright, stable place with enough room for the board, tools, and removed parts. Use a heat-safe mat if possible. Keep wires out of the way so you do not pull the board by accident. Small boards can move suddenly when solder melts, so secure them gently with a holder or helping hands tool.
Ventilation is also important. Solder fumes are not something you want to breathe for long periods. A small fan or fume extractor helps move smoke away from your face. Do not place the fan so strongly that it cools the joint too fast, though.
Understand the type of component you are removing
Not every part comes off the same way. The method depends on the component style and how it is attached to the board. This is one of the first things beginners often miss. If you use the wrong method, you can damage the board even if your technique is otherwise careful.
Through-hole parts
These parts have leads that pass through holes in the board. Common examples include resistors, capacitors, switches, connectors, and many older components. Through-hole parts are usually easier to desolder than surface-mount parts because the leads are visible on the solder side of the board.
Surface-mount parts
These sit directly on top of the board and have small metal ends or pads. They are much smaller and more delicate. Some can be removed with hot air, but others need braid, fine tweezers, or careful heating with a soldering iron. If you are a beginner, start with through-hole parts first.
Heat-sensitive parts
Some parts do not like extra heat at all. Plastic connectors, small switches, and nearby components can soften or crack. On crowded boards, the biggest risk is often not the part you are removing but the ones beside it. Always check the area first so you know where heat can spread.
The safest way to desolder components step by step
This is the core process. Work slowly. The goal is not just to remove the part, but to remove it without tearing pads or weakening the board.
Credit: clevercreations.org
1. Power off and unplug everything
Before touching the board, make sure it is completely disconnected from power. Remove batteries, chargers, and cables. If the device has capacitors that may store charge, wait a bit before working. This is a basic step, but it is easy to ignore when you are eager to begin.
2. Inspect the board carefully
Look at the solder joints from both sides if possible. Find out how many pins the component has and where they go. Some parts are easy to miss because their pins are hidden under the board or inside plastic housings. A close inspection helps you plan the removal instead of guessing.
Here is a simple non-obvious tip: take a photo before you begin. That way, if the part has a specific direction or wire order, you can put it back correctly later. Beginners often think they will remember, but tiny details are easy to forget.
3. Add flux to the solder joints
Flux makes solder flow better and helps the heat spread evenly. A small amount is enough. Many beginners skip this step, but flux often makes the difference between a clean removal and a damaged pad. If the solder looks old, dull, or stubborn, flux is even more helpful.
4. Heat one joint at a time
Place the soldering iron tip on the joint and wait until the solder becomes fully liquid. Do not press hard. The goal is to melt the solder, not force the part out. If the solder does not melt quickly, your iron may be too cool, the tip may be dirty, or the joint may need more flux.
A common mistake is lifting the iron too soon. Beginners often think the solder is ready when it only looks shiny on the surface. In reality, the whole joint must be molten before the lead moves freely.
5. Remove solder with a pump or braid
Once the solder is melted, use a desoldering pump or braid. A pump is useful for larger joints and through-hole pins. A braid is better when you want a cleaner hole or need to absorb extra solder from a flat pad.
To use a pump, heat the solder, place the nozzle close to the molten solder, and trigger the pump quickly. To use braid, place it over the joint, press the hot iron on top, and let the braid absorb the solder. Do not keep the iron in one place for too long.
Non-obvious tip: fresh braid works much better than old braid that has been oxidized or dirty. If the braid stops pulling solder, cut off the used section and try a fresh part.
6. Gently test whether the part is free
After removing some solder, try moving the component slightly. It should not be forced. If any pin still resists, there is still solder holding it in place. Heat that joint again and clear more solder.
For multi-pin parts, do not pull one side up while the other side is still attached. That is one of the fastest ways to lift a pad from the board. Work on each pin until the whole part moves freely.
7. Lift the component out without force
When all pins are free, remove the component carefully with tweezers or pliers. If it still feels stuck, stop and check again. Never use brute force. If you must pry, the solder was not fully removed.
For larger parts, it can help to alternate between joints so the heat spreads evenly. This is especially useful on connectors and components with several pins. The key idea is simple: let the solder do the work, not your hands.
8. Clean the holes and pads
After the part comes out, clean the remaining solder from the holes or pads. This makes the board ready for a replacement component. Use braid or a pump again if needed. A clean hole is easier to reuse and gives the new part a better fit.
Once the board cools, clean away flux residue with isopropyl alcohol and a soft brush. This improves the look of the board and makes inspection easier. It also helps you spot any lifted pad or cracked trace before moving on.
How to choose between a solder pump and solder braid
Both tools are useful, but they work best in different situations. Beginners often buy one and assume it can do everything. That is not quite true.
A solder pump is fast and useful for sucking solder out of holes. It works well on larger through-hole joints, especially when there is a fair amount of solder. It is less helpful on very small pads or when the solder is spread thinly.
Solder braid is slower, but it gives you more control. It is excellent for flattening a pad, cleaning a stubborn joint, or removing leftover solder after a pump has done the first pass. If you only buy one extra tool, braid is often the safer choice for learning.
Simple comparison
- Use a pump for quick removal from through-hole holes.
- Use braid for cleaning pads and finishing stubborn joints.
- Use both when you want the cleanest result possible.
Common mistakes that damage boards
Most desoldering damage comes from speed, heat, or force. Avoid these mistakes and you will already be ahead of many beginners.
Credit: clevercreations.org
Overheating the board
If the iron stays on the pad too long, the copper can lift from the board. This is one of the most common failures. Use the right temperature, keep contact brief, and let the joint cool between attempts if needed.
Pulling before the solder is fully molten
If you pull too early, the component legs can tear through the pad. Even if the part seems loose, one hidden pin may still be attached. Always confirm that every pin is free.
Using too much force
Force is usually a sign that more solder still needs to be removed. The board should not fight you. If it does, stop and reheat the joint.
Ignoring nearby parts
Heat travels. A nearby capacitor, connector, or plastic part can be damaged even if you are not touching it directly. Shield nearby areas if needed and work carefully.
Forgetting to clean the tip
A dirty iron tip transfers heat poorly. That means you may stay on the joint longer than necessary. Wipe and tin the tip often so it heats joints efficiently.
How to desolder different kinds of components
Some parts need a slightly different approach. Knowing these small differences will improve your results a lot.
Resistors and small diodes
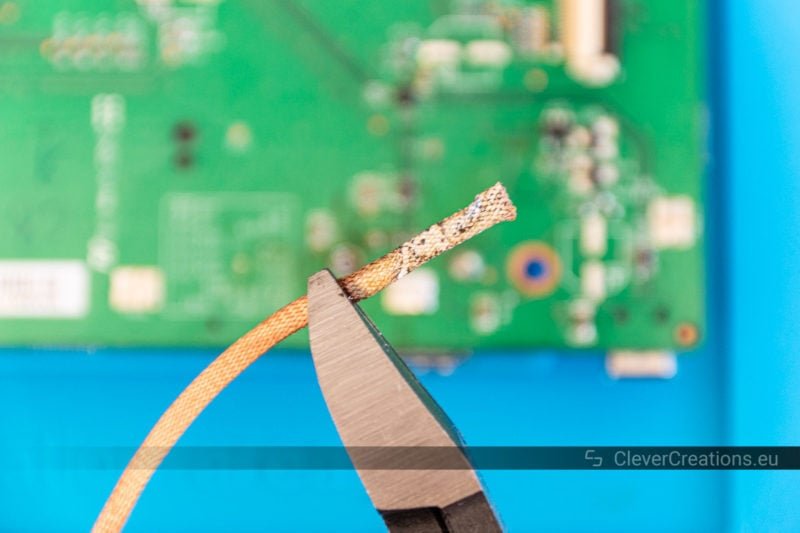
These are often easy to remove because they have only two leads. Heat one side, then the other, and gently lift the part when both ends are free. If the leads are long, snip them after removal to make cleanup easier.
Capacitors
Capacitors vary a lot in size and sensitivity. Small ceramic types are usually simple, but electrolytic capacitors can be larger and attached to thicker solder joints. Watch the polarity if you plan to reinstall one later.
Connectors and switches
These parts often have many pins and more solder than expected. This is where patience matters most. Remove as much solder as you can first, then alternate between pins until the component loosens evenly.
Surface-mount chips
For small chips, desolder braid and fine-tipped tools are often more practical than a pump. Heat one side, lift slightly if appropriate, then work on the other side. If the part has many pins, hot air may be the safest option, but that is usually better once you have some practice.
Extra safety habits that beginners often overlook
A few simple habits make desoldering much safer. These are easy to miss, but they help a lot over time.
First, keep the soldering iron in its stand whenever it is not in use. Never leave it resting on the bench. The tip stays hot for a long time, and even a short distraction can cause burns or fire damage.
Second, hold components with tools, not fingers, when they are hot. Even a small part can stay hot long after it looks safe. Beginners often learn this the hard way.
Third, do not blow on molten solder. It may seem harmless, but it can send tiny hot drops in the wrong direction. Let the joint cool naturally.
Fourth, keep food and drinks away from the work area. Small solder particles and flux residue do not belong near anything you will eat or drink.
What to do if a pad starts lifting
If you notice a pad lifting, stop immediately. Do not keep pulling. A lifted pad means the board material is starting to separate from the copper. More force will make it worse.
If the pad is only slightly raised, you may still be able to save the board by reducing heat, working from the other side, or using a gentler method like braid instead of repeated pulling. If the pad has already torn, the repair becomes more advanced and may require a jumper wire. That is beyond basic desoldering, so prevention is the better strategy.
The important lesson is this: a board that resists is asking for more solder removal, not more force. That single mindset shift helps beginners avoid a lot of damage.
Credit: mokotechnology.com
How to know when the job is done
A good desoldering job leaves the part removed, the holes clear, and the pads intact. The board should look neat, not scraped or overheated. If you are replacing the component, test-fit the new one before soldering it in place.
Take a close look under bright light. Check for leftover solder bridges, lifted pads, or tiny cracks near the hole. If the board will be used in a real device, this final inspection is worth the extra minute.
Learning how to desolder components safely is mostly about control. Heat only what needs heat. Remove only the solder you need to remove. Lift parts only when they are fully free. That careful rhythm will give you better results than rushing ever will.
Frequently asked questions
1. What is the easiest way to start learning how to desolder components?
The easiest way is to begin with simple through-hole parts on an old circuit board. Use flux, a soldering iron, a desoldering pump, and braid. Start with larger parts like resistors or connectors before trying small or fragile components.
2. Can I desolder components with only a soldering iron?
Yes, but it is harder and less safe for the board. A soldering iron alone can melt solder, but removing it cleanly is much easier with a pump or braid. Those tools reduce heat time and lower the chance of lifting pads.
3. What temperature should I use for desoldering?
It depends on the solder and the board, but many beginners use a moderate range around 350°C to 370°C for standard leaded solder. If the joint is stubborn, use flux first instead of raising the temperature too much. Too much heat can damage the board.
4. How do I avoid damaging pads when desoldering?
Use flux, keep the iron on the joint only as long as needed, and avoid pulling on the part before all solder is removed. If the component does not come free easily, stop and reheat the joint. Gentle work is the safest work.
5. Is it safe to reuse a component after desoldering it?
Often yes, if the part was removed carefully and did not overheat. Check the leads, body, and pins for damage before reuse. Small parts can be reused many times, but heat-sensitive parts may not survive rough removal.
