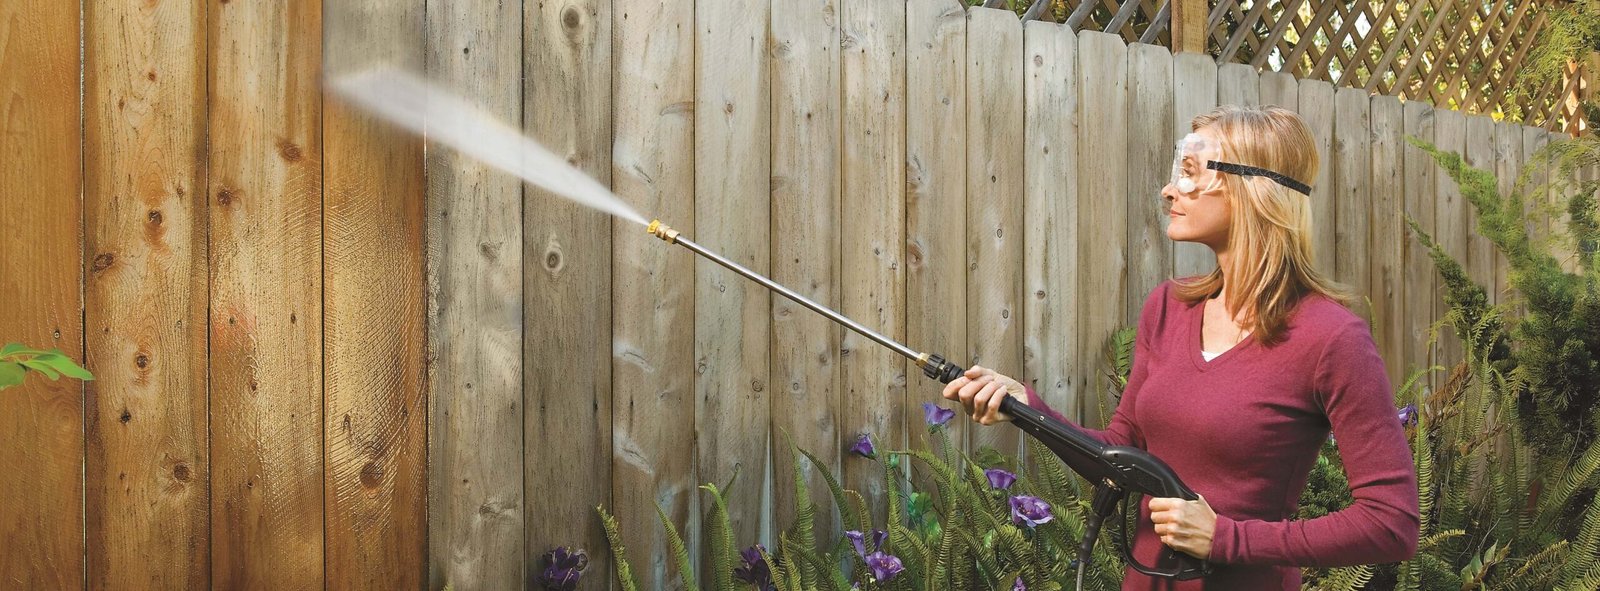
A wood fence can look beautiful for years, but dirt, pollen, mold, algae, and gray weathering slowly make it look old and dull. Many people think the only real fix is a pressure washer. That is not true. In fact, high pressure can damage soft wood, leave ugly marks, and push water deep into the boards.
The good news is that how to clean a wood fence without a pressure washer is simple when you use the right method. With a little patience, safe cleaning products, and the right tools, you can remove most common buildup and bring back a fresher look without harming the wood grain.
This guide shows easy, safe methods that work for light dirt, green algae, mildew, and general dullness. You will also learn what to avoid, how to protect the fence after cleaning, and how to get better results with less effort.
Start by checking the fence condition
Before you clean, look closely at the fence. This small step matters more than many beginners think. A fence that is only dirty can handle a simple wash. A fence with loose boards, peeling stain, rot, or cracked wood needs gentler care.
Walk along both sides if you can. Look for:
- Loose nails or screws
- Soft spots or rot near the bottom
- Peeling paint or stain
- Split boards
- Mold or green algae patches
If the wood is already weak, too much scrubbing can make the damage worse. In that case, clean very gently and avoid soaking the fence. The goal is to remove dirt, not wear away the surface.
One useful trick many people miss: clean on a dry, mild day. If the fence is hot from direct sun, cleaning solution can dry too fast and leave marks. If the fence is wet from rain, it can absorb more water than needed. A cloudy day or a cool morning is often best.
Gather the right tools and cleaning supplies
You do not need fancy equipment. Most fence cleaning jobs can be done with simple household items. The key is using soft tools and the right cleaner for the type of dirt you are dealing with.
Here is a practical set of supplies:
- A bucket
- A garden hose with normal flow, not a pressure washer
- A soft-bristle brush or scrub brush
- A sponge or microfiber cloth
- Rubber gloves
- Drop cloths or plastic sheets for plants
- A mild soap or wood-safe cleaner
For stronger stains, you may also need oxygen bleach or a diluted vinegar solution. These are often safer for wood than harsh cleaners. If you want a trusted reference on safe outdoor cleaning and surface care, the U.S. Environmental Protection Agency is a helpful source for general household safety guidance.
Two non-obvious tips help a lot here. First, use a brush with bristles that bend slightly. Very stiff bristles can scratch soft wood. Second, test any cleaner on a small hidden section first. Wood absorbs products differently depending on age, stain, and exposure.
Choose the right cleaning method for the type of dirt
Not all fence dirt is the same. A dusty fence needs a different approach than a fence covered in green growth. If you match the method to the problem, you get better results with less scrubbing.
| Dirt or stain type | Best method | Notes |
|---|---|---|
| Loose dirt and dust | Water + mild soap | Usually easy to remove with light scrubbing |
| Grease or sticky grime | Dish soap and warm water | Use gentle scrubbing and rinse well |
| Mildew and algae | Oxygen bleach or vinegar mix | Let it sit briefly before scrubbing |
| Gray weathering | Wood cleaner or brightener | May improve color, but full original tone may not return |
| Deep stains | Spot treatment | Repeat gently instead of using one harsh wash |
A common mistake is trying one strong cleaner for everything. That often wastes time and can damage the wood. Start mild. Only move to a stronger safe option if needed.
Use the simplest method first: soap, water, and a soft brush
For many fences, this is enough. Dirt, dust, bird droppings, and light surface grime often come off with warm water and a mild soap solution.
How to do it
- Mix a few drops of mild dish soap into a bucket of warm water.
- Wet a section of the fence with a hose.
- Dip the brush or sponge into the soapy water.
- Scrub along the wood grain, not across it.
- Work in small sections so the soap does not dry on the surface.
- Rinse each section with clean water after scrubbing.
Scrubbing along the grain helps protect the wood fibers. It also makes the fence look cleaner because the motion follows the natural lines of the boards.
Do not flood the fence with water. Wood does not need to be soaked for a long time. Wet the area, clean it, and rinse it. That is usually enough.
This method is best when the fence only looks tired, dusty, or lightly dirty. If green patches remain after soap and water, move to a stronger but still safe cleaner.
Remove mold, mildew, and algae without harming the wood
Green, black, or gray growth is common on fences, especially in damp or shaded areas. These spots can make a fence look much older than it is. The good news is that you do not need a pressure washer to handle them.

Credit: reddit.com
Option 1: Oxygen bleach solution
Oxygen bleach is often a smart choice for wood because it cleans buildup without the same harshness as chlorine bleach. It is useful for mildew, algae, and stubborn organic stains.
Follow the label directions, since product strengths vary. Apply the solution to a damp fence, let it sit for a short time, then scrub with a soft brush and rinse well.
One detail many people miss: oxygen bleach works better when the surface is already damp. A dry fence can soak up the solution too quickly and reduce the cleaning effect.
Option 2: Vinegar solution for light growth
For light mildew or small algae spots, a diluted vinegar mix may help. Mix equal parts white vinegar and water, spray or sponge it onto the area, let it sit for a few minutes, then scrub and rinse.
Vinegar is not the best answer for every stain, and it is weaker than oxygen bleach. But for small areas, it can be simple and effective.
A few safety notes
- Never mix vinegar with bleach products.
- Protect nearby plants before spraying.
- Rinse the fence well after treatment.
If the growth keeps coming back fast, the problem may be too much shade, poor drainage, or trapped moisture at the bottom of the boards. Cleaning helps, but fixing the moisture source matters too.
Handle gray, weathered wood with care
Not all fence discoloration is dirt. Sometimes the wood turns gray because of sun and weather exposure. That is called weathering, and it happens slowly over time.
Soap and water will not fully remove gray weathering, because it is not just surface dirt. You may need a wood cleaner or wood brightener made for outdoor wood. These products can improve the color and make the fence look fresher, especially if you plan to stain it later.
Still, be realistic. A heavily weathered fence may not return to its original color without sanding or refinishing. The goal is improvement, not perfection.
Before using a brightener, clean the fence first. Brighteners work better on a surface that is already free from dirt, mold, and loose debris. This is another step beginners often skip.
Rinse properly so no cleaner is left behind
Rinsing is not a small detail. If soap or cleaner stays on the wood, it can leave spots, sticky residue, or uneven color.
Use a garden hose with normal pressure and rinse from top to bottom. Let the water run down naturally. This helps carry dirt away instead of pushing it into already-clean areas.
Do not blast one area for too long. The point is to wash away cleaner, not soak the fence deeply. If you see suds or residue, keep rinsing until the water runs clear.
After rinsing, let the fence dry fully before deciding whether to clean again. Wet wood always looks darker, so it can be hard to judge the result too early.
Spot-clean stubborn marks instead of scrubbing the whole fence again
Some stains need extra attention. But that does not mean the whole fence needs another full wash. Spot cleaning saves time and protects the wood from over-scrubbing.
Common trouble spots include:
- Bottom boards near soil and grass
- Areas under trees
- Sections near sprinklers
- Fence posts where water collects
- Boards near garbage bins, grills, or pet areas
Use your chosen cleaner on just the problem area. Apply it carefully with a sponge or brush. Let it work for a short time, then scrub gently and rinse.
Here is a useful rule: if a stain does not come off after a second gentle attempt, stop and reassess. Hard scrubbing can damage the surface faster than the stain can be removed. Sometimes the mark is not dirt but deep discoloration in the wood itself.
Let the fence dry the right way
Drying matters more than many people realize. A wet fence is vulnerable to new mildew, mildew smell, and uneven coloring if you stain or seal it too soon.
Give the fence enough time to dry fully. In warm, dry weather, this may take one to two days. In cool or humid weather, it can take longer.
Do not rush to paint or stain a fence that still feels damp. The finish may not stick well, and trapped moisture can cause future problems.
If possible, clean the fence early in the day so it has time to dry before evening. Good air flow around the fence also helps. Trim back plants that crowd the boards if they hold too much moisture.
Credit: pressurewashersdirect.com
Protect the fence after cleaning
Cleaning is only half the job. If you want the fence to stay nice longer, protect it after it dries.
The best options are:
- Wood stain for color and protection
- Clear sealer to reduce moisture absorption
- Water-repellent finish for added defense against rain
Sealing a fence after cleaning can slow down future staining and weathering. It also makes future cleaning easier because dirt does not stick as strongly to protected wood.
One often missed insight: the bottom section of the fence usually needs the most protection. That area gets splashback from rain and sprinklers, so it ages faster than the top boards. When sealing, pay extra attention there.
What not to do when cleaning a wood fence
Some cleaning mistakes are more damaging than dirt itself. Avoid these common errors if you want the fence to last.
- Do not use high pressure.
- Do not use a wire brush on soft wood.
- Do not scrub in random directions too hard.
- Do not let strong cleaner dry on the fence.
- Do not mix cleaning chemicals.
- Do not soak the fence for a long time.
Pressure washing can strip soft grain, leave stripes, and force water deep into cracks. It may make the fence look worse after a few weeks, even if it looks better at first.
Another hidden mistake is cleaning only one side. If both sides are exposed to weather, clean both sides when possible. Dirt and moisture on the back can still affect the fence’s condition.
A simple step-by-step plan for most fences
If you want a clear process, use this easy order. It works for most dirty but still healthy wood fences.
- Inspect the fence for damage.
- Choose a mild cleaning method first.
- Wet a small section.
- Apply soap, vinegar mix, or oxygen bleach as needed.
- Scrub gently along the grain.
- Rinse well with a garden hose.
- Move to the next section.
- Let the fence dry fully.
- Seal or stain if needed.
This slow, section-by-section approach may take more time than spraying with a pressure washer, but it is much safer for the wood. It also gives you better control over results.
Best practices that save time and improve results
These small habits can make the job easier and produce a cleaner finish.
- Work from top to bottom. Dirty water runs downward, so this prevents streaks.
- Clean one manageable section at a time. This keeps cleaner from drying too fast.
- Use gentle pressure first. Only scrub harder if needed.
- Rinse often. Fresh water helps remove loosened dirt before it dries back on.
- Watch the weather. Rain soon after cleaning can slow drying and reduce the benefit.
Another detail beginners often miss: the age of the fence matters. Older wood is more open and absorbent, so it needs lighter cleaning and less water. Newer wood usually handles washing a little better, but it still should not be over-scrubbed.
When to call in a professional
Most fences can be cleaned at home. But some situations need expert help.
Consider hiring a professional if:
- The fence has major rot or structural damage
- Large sections are coated with heavy mold
- The fence has peeling lead-based paint from an old property
- You want the fence sanded, stained, and sealed as one project
- You do not have time to clean safely by hand
Professional cleaning is not always necessary, but it can save time if the fence is very old or very large. It is also a good option when the surface needs repair before cleaning.

Credit: angi.com
Final thoughts
Learning how to clean a wood fence without a pressure washer is mostly about patience, the right cleaner, and gentle tools. You do not need harsh force to get a noticeable improvement. In many cases, a simple wash with soap and water is enough. For mold, algae, or stubborn stains, oxygen bleach or a diluted vinegar solution can help without damaging the wood.
The biggest keys are to test first, clean in small sections, rinse well, and avoid over-wetting the fence. Once the wood is dry, a protective stain or sealer can help the fence stay cleaner for longer. With this careful approach, your fence can look fresh again while staying strong for the seasons ahead.
FAQs
1. What is the safest way to clean a wood fence without a pressure washer?
The safest method is warm water, mild dish soap, and a soft-bristle brush. Clean small sections, scrub along the grain, and rinse with a normal garden hose. This removes light dirt without damaging the wood.
2. Can I use bleach on a wood fence?
Regular chlorine bleach is usually not the best choice for wood because it can damage the fibers and nearby plants. Oxygen bleach is often safer for mold and algae. Always follow the product label and test a small area first.
3. How do I remove green algae from a wooden fence?
Use oxygen bleach or a diluted white vinegar solution for light growth. Apply it to the damp fence, let it sit for a few minutes, scrub gently, and rinse well. If the algae is heavy, repeat the process instead of using more force.
4. How often should I clean my wood fence?
Most wood fences should be cleaned once a year, or more often if they are in damp, shaded areas. Fences near sprinklers, trees, or heavy dust may need light cleaning every few months.
5. Should I stain or seal the fence after cleaning?
Yes, if you want better long-term protection. A stain or sealer helps block moisture, slows weathering, and makes future cleaning easier. Wait until the wood is fully dry before applying any finish.
