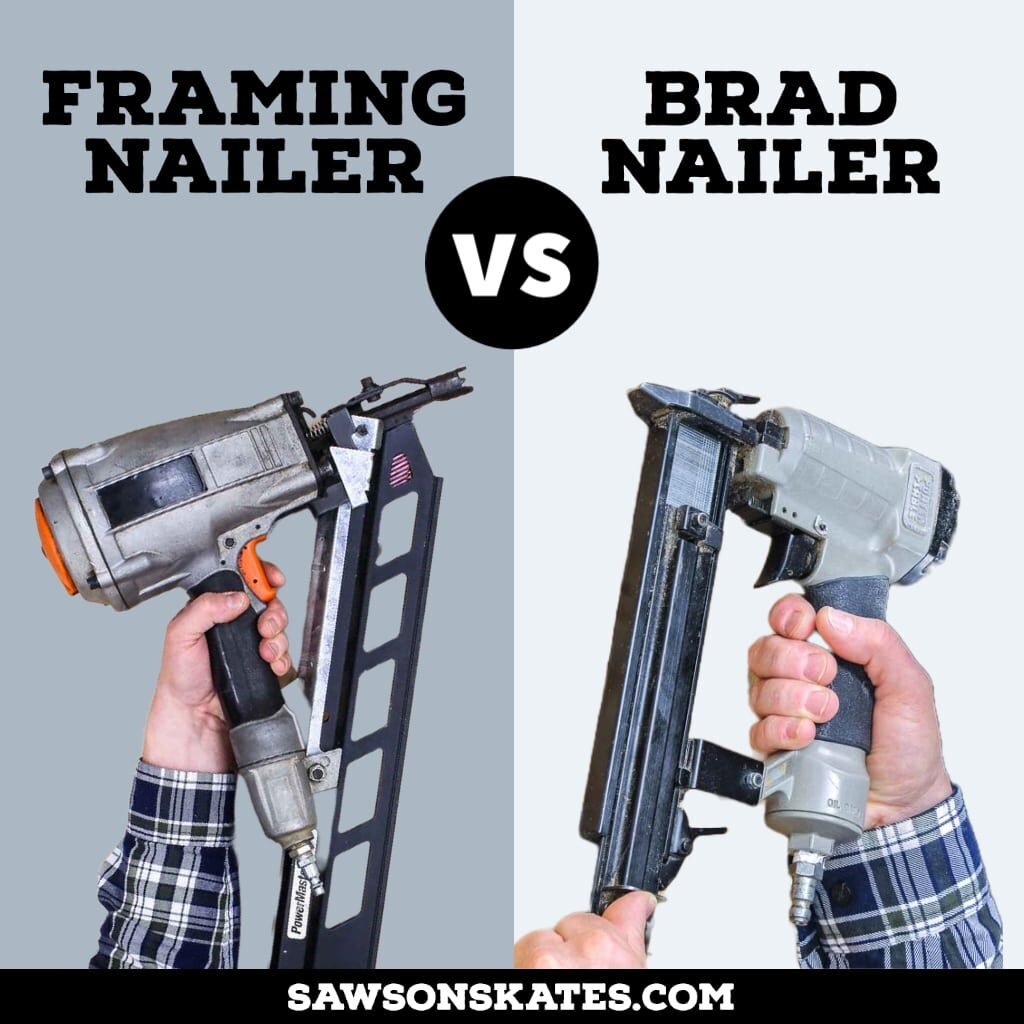
If you want clean, fast framing work, a framing nailer is one of the most useful tools in the shop or on a job site. It drives large nails into thick wood in a fraction of a second, which saves time and keeps the work moving. But many people use the tool without really knowing what is happening inside it.
Understanding how framing nailer works helps you use it more safely and more effectively. It also makes it easier to choose the right model, fix small problems, and avoid damage to your materials. Once you know the parts and the process, the tool feels much less mysterious.
This guide breaks the tool down in a simple way. You will learn the main parts, how the firing cycle works, what makes one type different from another, and what to watch for during normal use.
What a Framing Nailer Actually Does
A framing nailer is a power tool that drives long, thick nails into wood. It is made for heavy tasks like wall framing, roof framing, floor work, and building decks. Instead of hammering each nail by hand, you press the tool against the wood and pull the trigger. The nail goes in with strong force and much less effort.
The real value of the tool is not only speed. It also helps keep nails straight and driven to a more even depth. That matters in framing because loose or crooked nails can weaken a joint. A good framing nailer gives you repeated results with less strain on your hands and arms.
Most framing nailers use either compressed air, gas, or battery power. The power source creates the force needed to push the nail into the wood. The nailer then uses a firing mechanism, a driver blade, and a nail magazine to complete the job in one quick cycle.
The Main Parts Inside the Tool
To understand how framing nailer works, it helps to look at the parts that do the work. Each part has a specific job. If one part fails, the tool may misfire, jam, or lose power.
1. Magazine
The magazine is the long channel that holds the nails. Framing nails are loaded in strips or coils, depending on the model. The magazine feeds each nail into position so the tool can drive it one at a time.
A straight magazine usually holds nails in a straight line, while a clipped-head design may allow more nails in the same space. The angle of the magazine also matters. Common angles help the nailer fit into tight corners and framing joints.
2. Driver blade
The driver blade is the metal piece that hits the nail head and pushes it into the wood. It moves very fast and must be strong enough to handle repeated impact. When the tool fires, the blade travels down the nose of the nailer and delivers the force.
Think of it as the tool’s striking arm. Without the driver blade, the nail would not move. Most jams and many repair issues involve the driver area.
3. Firing chamber or power source system
This is where the force comes from. In a pneumatic nailer, compressed air fills a chamber. In a gas nailer, a fuel cell and spark create power. In a cordless electric model, a motor or spring system drives the blade. The power source changes the way the tool feels, but the goal is the same: move the driver blade with enough force to sink the nail.
4. Trigger
The trigger tells the tool when to fire. Some nailers use a sequential trigger, which means you must press the safety tip against the wood before pulling the trigger. Others allow bump firing, where the tool fires faster when you hold the trigger and tap the nose against the surface.
The trigger setup affects speed and safety. A sequential trigger gives more control. A bump trigger gives more speed, but it can be easier to fire accidentally.
5. Safety tip or contact nose
This part sits at the front of the tool. It must be pressed against the wood before the nailer can fire. The safety tip helps stop accidental firing into the air or when the tool is not placed properly.
It is one of the most important safety parts on the tool. If the tip is damaged or stuck, the nailer may not work correctly.
6. Exhaust port
Air-powered nailers release used air through an exhaust port. This is often located near the top of the tool. It sends air away from your face and helps the tool reset after each shot.
Some models let you adjust the exhaust direction. That small feature can improve comfort, especially during long work sessions.
7. Depth adjustment
Many framing nailers have a depth control wheel or dial. This lets you decide how deep the nail sits in the wood. You may want the nail flush with the surface, slightly below it, or just at the right depth for the task.
This feature matters more than many beginners think. If the nail is too shallow, it may stick out and create problems later. If it is too deep, it can weaken the material or sink too far into soft wood.
How the Firing Cycle Works
The firing cycle is the heart of the tool. Once you understand it, the whole process becomes easy to follow. Here is what happens step by step:
- The nails are loaded into the magazine.
- You place the nose of the nailer against the wood.
- The safety tip is pushed inward.
- You pull the trigger or activate the firing mode.
- The power system releases force into the drive mechanism.
- The driver blade moves down and strikes the top nail.
- The nail is driven into the wood.
- The blade returns to its starting position.
- The next nail moves into place.
That entire process happens in a fraction of a second. On a pneumatic model, the compressed air pushes a piston, and the piston drives the blade. On a cordless model, the motor or internal mechanism creates the movement. The exact design changes, but the basic action stays the same.
One detail beginners often miss is that the tool needs to reset between shots. If the driver blade does not fully return, the next nail may not feed properly. That is why a clean tool with proper pressure or power is so important.

Credit: sawsonskates.com
The Difference Between Nail Types and Power Sources
Not every framing nailer works the same way. The power source changes the feel, speed, and maintenance needs of the tool. It also affects where the tool works best.
| Type | How it works | Main benefit | Common drawback |
|---|---|---|---|
| Pneumatic | Uses compressed air from an air compressor | Strong power and reliable performance | Needs hose and compressor |
| Gas | Uses fuel cell and battery ignition | Portable and cordless | Needs fuel cells and more maintenance |
| Cordless electric | Uses battery and motor or spring system | No hose, easier movement | Heavier battery or lower power on some models |
Pneumatic models are still very common because they are strong, simple, and often lighter in the hand. Gas models are useful when you need freedom of movement. Cordless electric versions are popular for convenience, especially for smaller framing jobs or work where dragging a hose is annoying.
For a deeper look at how nail guns are defined and used in industry, you can also review the OSHA safety guidance. It is a trusted source for tool safety and workplace practices.
What Happens When You Pull the Trigger
When people ask how framing nailer works, they usually mean one simple thing: what happens the moment the trigger is pulled? The answer depends on the model, but the core idea is the same.
First, the safety tip must already be pressed against the wood. Then the trigger tells the tool to release stored power. That power pushes the driver blade down. The blade hits the nail hard enough to send it deep into the wood. After that, the tool resets itself for the next shot.
There is also a small but important timing difference between types of triggers. In sequential mode, you must press and release in a certain order. This lowers the chance of accidental firing. In bump mode, the tool can fire each time the nose makes contact while the trigger is held. That is faster, but it also demands more control from the user.
Another beginner mistake is expecting every shot to feel the same even when the wood changes. Hard wood, soft wood, thick lumber, and wet material all affect performance. The tool may need more power or a depth adjustment depending on the material.
Why the Nailer Sometimes Misfires or Jams
Even a good framing nailer can have problems. Most issues come from a few simple causes. Knowing them helps you fix the tool faster and avoid frustration.
Common causes of trouble
- Low power – The compressor pressure may be too low, the battery may be weak, or the fuel cell may be empty.
- Dirty parts – Dust, wood chips, and oil build-up can block movement.
- Wrong nail size – If the nails do not match the tool, feeding problems can happen.
- Poor loading – Nails placed badly in the magazine may not feed smoothly.
- Worn driver blade – A damaged blade may not strike the nail correctly.
One non-obvious issue is that wood moisture can affect performance too. Very dry wood may split more easily, while dense or damp wood can change how deeply the nail sinks. If the nailer seems weak, the problem is not always the tool itself.
Another detail many people miss is the role of air leaks in pneumatic models. Even a small leak can reduce force enough to cause partial drives or shallow nails. A quick sound check can often reveal this before the problem gets worse.
How to Use the Tool More Effectively
Knowing the parts is helpful, but knowing how to work with them is even better. A framing nailer performs best when it is set up correctly and used with steady technique.
Credit: sawsonskates.com
Keep the nose flat on the work
If the safety tip is not fully pressed against the wood, the tool may not fire. More importantly, a tilted tool can drive the nail at an angle. A flat, firm contact gives better results.
Match the depth to the material
Soft wood may need less force. Hard wood may need more. Test on a scrap piece before starting real work. This saves time and helps prevent overdriving or underdriving nails.
Use the right nails
Framing nailers are designed for specific nail lengths, angles, and head styles. Using the wrong nails can cause jams or weak fastening. Check the tool manual before loading a new strip.
Keep the tool clean
Dust and debris may seem harmless, but they can interfere with feeding and trigger movement. Wipe down the tool often. If it is pneumatic, follow the manufacturer’s oiling instructions. Too much oil can be just as bad as too little.
Wear the right safety gear
Always protect your eyes. Framing nailers can send wood chips flying. Ear protection is smart too, especially on loud job sites. Good grip and stable footing also matter because recoil can surprise beginners.
Important Safety Points Beginners Should Not Ignore
A framing nailer is powerful, so respect matters. The tool is safe when used properly, but careless handling can cause injuries quickly.
The most important rule is to never point the nailer at yourself or anyone else. Even when the tool seems empty, treat it as if it could fire. Also, disconnect the power source before clearing jams or doing maintenance.
Do not bypass the safety tip. It is there for a reason. Some users are tempted to hold the tip down or defeat the safety to work faster. That can lead to serious accidents.
Also, keep both hands clear of the nail path. When framing lumber is small or awkward, it is easy to place a hand in the wrong spot. Slow down when working in tight spaces.
What Makes a Good Framing Nailer
When choosing a tool, do not focus only on price. The right framing nailer should match your work style, your power setup, and the kind of jobs you do most often.
Look at weight first. A lighter tool is easier to handle overhead or all day long. Then check nail angle, trigger mode, depth adjustment, and ease of clearing jams. These features matter more in real use than many buyers expect.
Also think about power consistency. A nailer that drives nails evenly is more useful than one that feels powerful only sometimes. For air tools, compressor match matters. For cordless tools, battery life and recharge time matter. The best choice is the one that stays reliable during the full workday.
One practical insight: the cheapest tool is not always the cheapest to own. If it jams often, leaks air, or drives nails unevenly, you lose time. In framing work, time is money, and consistency is valuable.
Why the Tool Feels Different From a Finish Nailer
People sometimes confuse a framing nailer with a finish nailer, but they are built for different jobs. A framing nailer uses larger nails and stronger force. It is meant for structural work. A finish nailer uses smaller nails for trim and detailed carpentry.
This difference changes everything inside the tool. The magazine, driver blade, and power system in a framing nailer are built for heavier impact. That is why it can sink large nails into thick lumber without bending them easily.
If you try to use the wrong type of nailer for the job, the results will be poor. Framing tools are not designed for delicate trim. Finish tools are not designed for structural lumber. Matching the tool to the task makes the work cleaner and safer.
How to Think About the Tool in Real Work
A framing nailer is not magic. It is a controlled machine that stores force, releases it quickly, and resets for the next shot. Once you understand that basic idea, the tool becomes easier to trust.
Here is the simple picture: the magazine holds the nails, the trigger starts the cycle, the power source creates force, the driver blade pushes the nail, and the safety tip helps make sure the tool fires only when placed against the work. That is the core of how framing nailer works.
The better you understand those parts, the better you can use the tool. You will notice problems faster. You will set depth more accurately. You will also make safer choices during framing, which is always worth the time.
Credit: nailerguy.com
Final Thoughts
A framing nailer is one of the most practical tools in construction, but it is also one of the easiest to take for granted. When you know what happens inside it, the tool stops feeling like a mystery and starts feeling like a reliable partner on the job.
The key ideas are simple. The magazine feeds the nails. The power source creates force. The driver blade hits the nail. The safety tip and trigger control when firing happens. Once these parts work together, the tool can drive large nails quickly and with good consistency.
If you are new to the tool, start with the basics: choose the right nails, check the power source, test the depth, and keep the tool clean. That small routine will improve performance and reduce problems. In framing work, small habits often make the biggest difference.
FAQs
1. How framing nailer works in simple words?
A framing nailer works by storing power, then using that power to push a driver blade into a nail. The nail is driven into wood very quickly when the tool is pressed against the surface and the trigger is pulled.
2. What powers a framing nailer?
Most framing nailers use compressed air, gas fuel, or a battery-powered motor system. Each type creates the force needed to move the driver blade and sink the nail into wood.
3. Why does my framing nailer not fire every time?
Common reasons include low air pressure, a weak battery, an empty fuel cell, dirty parts, or incorrectly loaded nails. A worn safety tip or driver blade can also cause trouble.
4. Can a framing nailer drive nails into hard wood?
Yes, but the tool may need the correct pressure, a strong power source, and proper depth adjustment. Very hard wood can sometimes reduce driving depth or cause more wear on the tool.
5. Is a framing nailer safe for beginners?
Yes, if used with care. Beginners should keep the safety tip against the wood, wear eye protection, avoid bypassing safety features, and disconnect the power source before cleaning or fixing jams.
