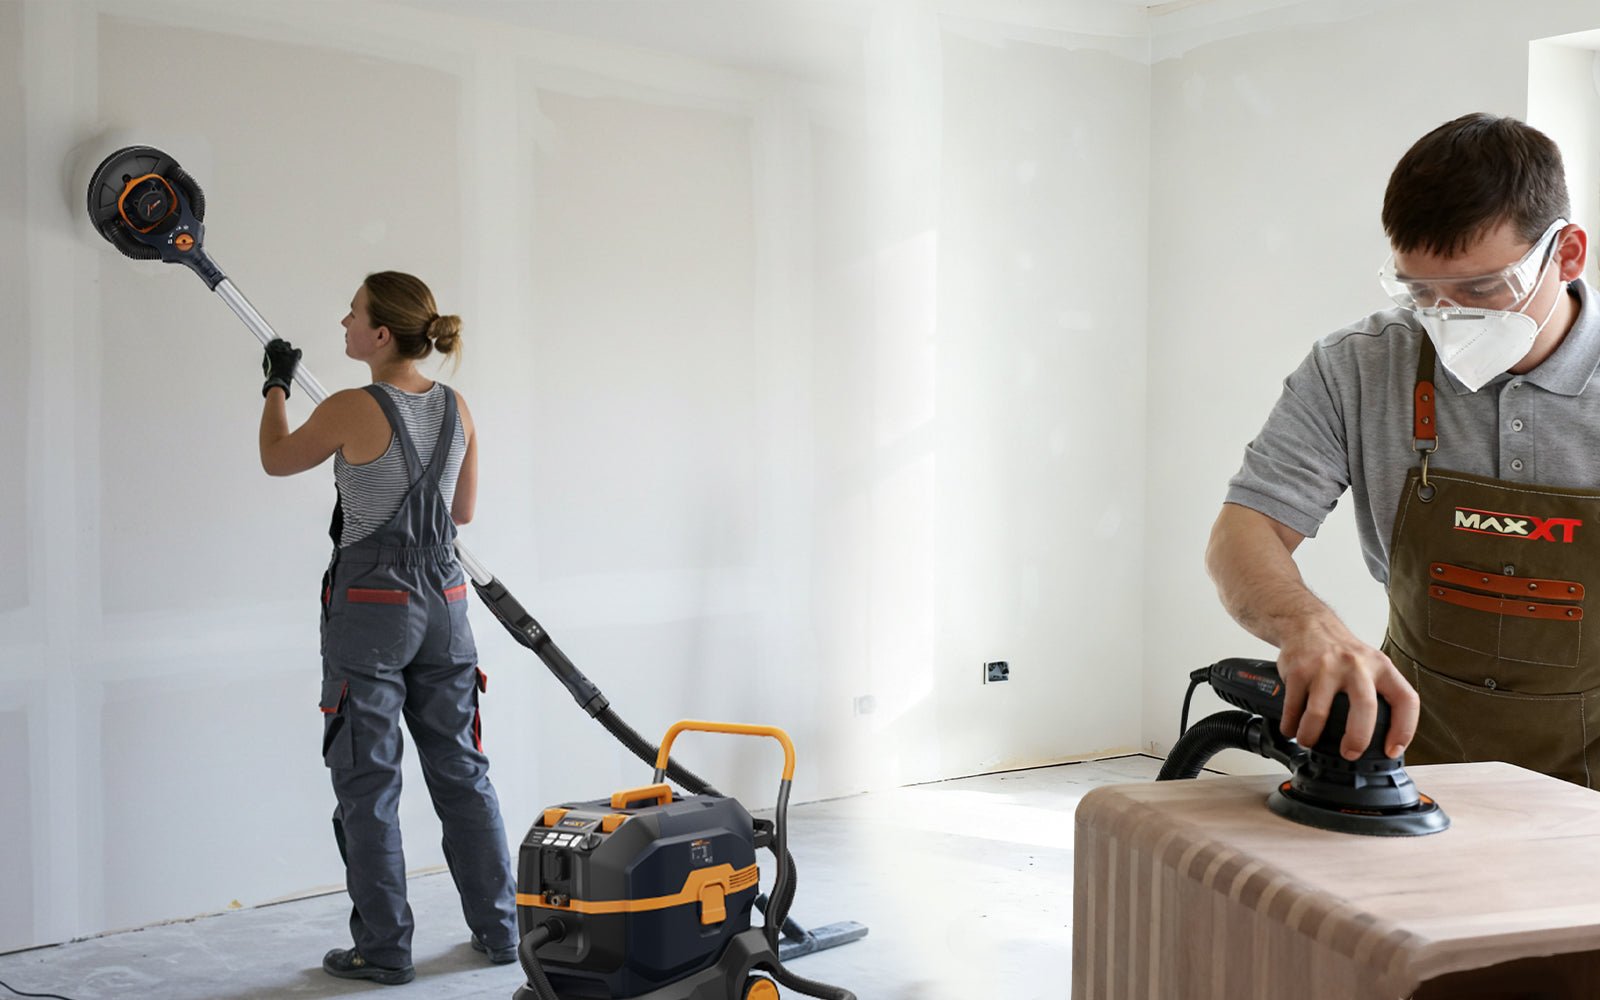
If you are working on drywall, you may wonder if an orbital sander can save time. The short answer is yes, but only in the right way. Drywall is soft, dusty, and easy to damage. That means the tool you choose matters a lot more than many beginners think.
The real question is not only can you use an orbital sander on a drywall, but also whether it is the best tool for the job. In some cases, it works well for smoothing joint compound and fixing small problem spots. In other cases, it creates swirl marks, scratches, or too much dust. Knowing the difference can save you from costly repairs.
Before you start sanding, it helps to understand how drywall reacts, which sanding method is safest, and what mistakes cause the most trouble. A little setup now can give you a much cleaner wall later.
What an orbital sander does on drywall
An orbital sander moves in small circles very fast. On wood, that motion helps remove material evenly. On drywall, the same motion can smooth joint compound, but it can also be too aggressive if you use the wrong sanding pad, grit, or pressure.
Drywall compound is softer than wood. That means even a light mistake can leave a visible low spot. An orbital sander can help with:
- Smoothing taped seams
- Removing small bumps in dried joint compound
- Feathering patch edges
- Cleaning minor tool marks before painting
However, it is not the best choice for every drywall job. It works best on cured joint compound, not on fresh mud. It also works better on flat areas than in corners or near edges.
One thing many beginners miss is that a drywall wall does not need to feel perfectly smooth under bare hands. What matters most is how it looks after primer and paint. If you sand too much trying to make it “perfect,” you may create more work later.
When an orbital sander is a good choice
An orbital sander can be useful if you are working on a larger wall or ceiling and need to smooth several patches quickly. It is also helpful when the surface is already close to finished and only needs light correction.
Use it when:
- The joint compound is fully dry
- You need to smooth broad flat areas
- You are removing light ridges or shallow imperfections
- You want faster work than hand sanding alone
It is especially useful after the first coat or second coat of mud, when there may be ridges, raised edges, or tool marks. A light pass can reduce those problems before the final coat.
Still, speed should not be the goal. Control matters more than power. A smaller orbital sander with good dust collection is usually easier to manage than a heavy one.
Best situations for using one
Here are the situations where an orbital sander makes the most sense:
- Large open walls — You need to smooth long seams or wide patched areas.
- Ceilings with light defects — A sander can reduce strain compared with hand sanding overhead.
- Dry patches only — The compound is hard and ready for sanding.
- Final smoothing before primer — You are doing a light finishing pass, not major shaping.
It is a strong helper for cleanup work. It is not the tool you want to fix very rough drywall tape jobs or deep corner flaws.
When you should not use an orbital sander
There are times when using an orbital sander on drywall is a bad idea. The biggest risk is removing too much material too quickly. Drywall compound is easy to over-sand, and once that happens, you often need another coat of mud.
Avoid it when:
- The compound is still damp
- You are sanding corners or tight edges
- The wall has very thin drywall paper exposed
- You are near electrical boxes, outlets, or trim
- You need precise control on small repair spots
Another beginner mistake is using an orbital sander on the paper face of drywall itself. That outer paper layer is not the same as joint compound. If you cut through it, you can leave fuzzy spots or damage that shows after painting.
For small repairs, hand sanding is usually safer. A sanding sponge or a pole sander gives more control and lowers the chance of accidentally grinding into the wall.
Why dust and pressure matter so much
Drywall dust is very fine. It gets into air, clothing, tools, and vents fast. An orbital sander can produce a lot of it in a short time, especially if the tool does not have a vacuum attachment.
Pressure is another issue. Many people press down harder when they want faster results. On drywall, that usually backfires. Heavy pressure creates dips, scratches, and uneven spots. Let the abrasive do the work. Use light contact and keep the tool moving.
Orbital sander vs other drywall sanding tools
Not all sanding tools behave the same on drywall. Some are better for detail work. Others are better for big, flat surfaces. Choosing the right one can improve the finish and reduce repairs.
| Tool | Best use | Main advantage | Main drawback |
|---|---|---|---|
| Orbital sander | Flat, dry joint compound | Fast on larger areas | Can over-sand easily |
| Hand sanding sponge | Small repairs and edges | Great control | Slower on big areas |
| Pole sander | Walls and ceilings | Good reach and control | Less aggressive than power sanding |
| Detail sander | Corners and tight spots | Fits small areas | Limited speed and coverage |
If your goal is a clean, professional-looking finish, a combination often works best. Many drywall workers use hand sanding for edges and corners, then use a light power-sanding pass on the larger flat areas.
One useful insight: the best drywall finish usually comes from less sanding, not more sanding. A smoother mud application reduces sanding time far more than a stronger sander does.

Credit: hyperfit-tools.ca
How to use an orbital sander on drywall the right way
If you decide to use one, take a careful approach. Drywall sanding is more about control than force. The process below can help you avoid common problems.
- Let the joint compound dry fully
Do not sand wet mud. It will clog the pad and smear across the wall. - Choose fine grit
Start with 120-grit or 150-grit. Very rough grit can leave deep scratches. - Attach dust collection if possible
Use a vacuum hose or dust bag to reduce mess and improve visibility. - Test on one small area first
Check how quickly the tool removes material before sanding the full surface. - Keep the sander moving
Do not hold it in one place. Slow movement prevents low spots. - Use light pressure
Let the pad glide. Pressing hard can damage the paper face. - Check your work in angled light
Use a lamp from the side so shadows show ridges and dips.
After sanding, wipe the wall with a dry microfiber cloth or vacuum it lightly. Dust left on the wall can ruin primer adhesion and create a rough paint finish.
Best grit choices for drywall
Grit choice has a big effect on the final finish. For drywall, finer grit is usually better than coarse grit. A coarse pad removes material fast, but it also leaves visible marks that may need more repair.
- 100-grit — Use only for tougher high spots, and with care.
- 120-grit — A good starting point for most light sanding jobs.
- 150-grit — Safer for final smoothing and touch-up work.
- 180-grit — Good for very light finishing before primer.
If you are unsure, start finer. It is always easier to sand a little more than to repair a groove you made by sanding too aggressively.
Common mistakes that damage drywall
Most drywall sanding problems happen because of rushed work, not because the tool itself is wrong. Here are the mistakes that cause the most trouble.
Credit: hyperfit-tools.ca
1. Sanding too soon
Wet or partly dry compound clogs the pad and tears instead of smoothing. Always wait until it is fully dry. Dry time depends on thickness, temperature, humidity, and air flow.
2. Using too much pressure
Pressing hard makes the sander bite into the surface. That can expose paper fibers or create shallow craters. Gentle pressure is enough.
3. Staying in one spot
Even a few extra seconds in one area can leave a mark. Move steadily and evenly.
4. Skipping dust control
Dust makes it hard to see the surface. If you cannot see the wall well, you will sand too much in some places and too little in others.
5. Ignoring the paper layer
Once you reach the drywall paper, stop. Sanding through it is a common beginner error. If that happens, patch the area instead of trying to “fix” it with more sanding.
Here is a helpful rule: if you are trying to solve a major texture or alignment problem, sanding is probably the wrong first step. Often, adding another thin coat of compound gives a better result than grinding harder at the same spot.
How to reduce dust and keep the job cleaner
Dust control is not just about cleanup. It also helps you see the wall better and work more accurately. Clean air around the work area means better results.
Use these simple steps:
- Attach a vacuum if your sander supports it
- Close nearby doors and cover vents
- Use a dust mask or respirator
- Wear eye protection
- Place a drop cloth below the work area
If you are sanding a large room, consider sanding in sections. That makes cleanup easier and keeps dust from spreading everywhere.
For dust safety, basic guidance from the CDC/NIOSH is worth following, especially when fine dust is involved. Drywall dust may seem harmless, but repeated exposure is not a good habit.
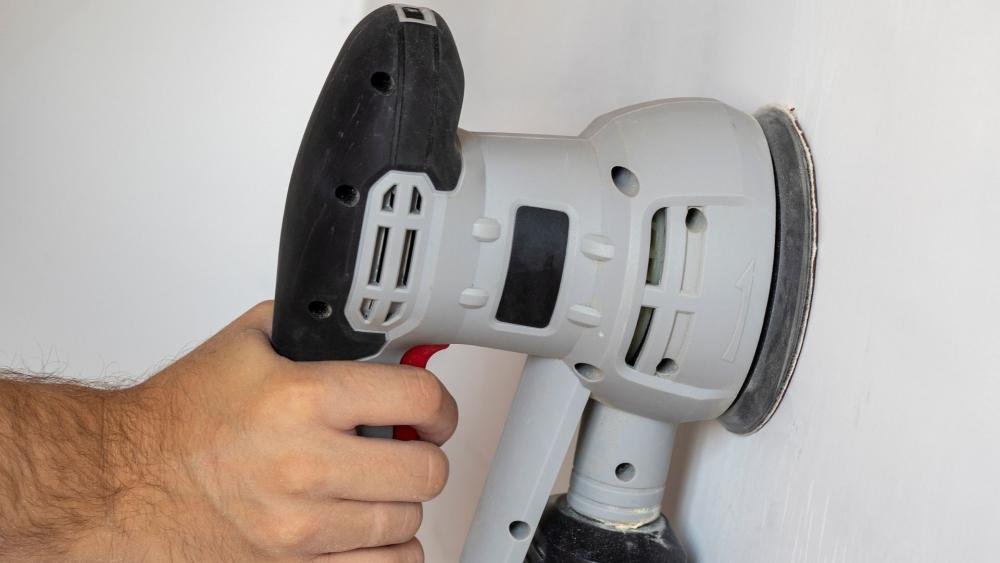
What kind of orbital sander works best
Not every orbital sander is ideal for drywall. A smaller, lighter model is usually easier to guide. Random orbital sanders are often preferred because they are less likely to leave circular scratches than older, more aggressive models.
Look for these features:
- Variable speed — Lets you slow the tool down for more control
- Dust collection port — Helps keep the workspace cleaner
- Comfortable grip — Reduces hand fatigue during longer sanding sessions
- Light weight — Easier to control on walls and ceilings
Another detail many beginners miss is pad condition. A worn pad can sand unevenly, even if the tool is good. Replace damaged pads when needed. A fresh pad gives cleaner results and less chatter.
Should beginners use one or sand by hand first?
If you are new to drywall work, hand sanding is often the better starting point. It teaches you how the surface feels and how much pressure is safe. Once you understand that, adding an orbital sander becomes much easier.
For small patch jobs, hand sanding may actually be faster because setup is simpler and cleanup is lighter. For larger rooms, an orbital sander can save time if you use it carefully.
A smart approach is to use both methods:
- Hand sand corners, seams, and edges
- Use an orbital sander on broad flat areas
- Check the wall under side light
- Spot-fix only where needed
This gives you better control and lowers the risk of over-sanding.
Credit: heamar.co.uk
Final answer: can you use an orbital sander on drywall?
Yes, you can use an orbital sander on drywall, but only with care. It works best on dry joint compound, large flat areas, and light finishing work. It is not the best choice for corners, edges, or rough repairs. If you use fine grit, light pressure, and good dust control, it can help you finish drywall faster and with less effort.
The main thing to remember is this: drywall sanding is about accuracy, not power. A gentle touch usually gives the best finish. If the wall needs major repair, add more compound instead of trying to sand the problem away.
FAQs
1. Can you use an orbital sander on a drywall patch?
Yes, if the patch is fully dry and mostly flat. Use fine grit and very light pressure. For small patches, hand sanding is often safer and easier to control.
2. What grit should I use on drywall with an orbital sander?
Start with 120-grit or 150-grit. For final smoothing, 180-grit can work well. Avoid very coarse grit unless you are fixing a rough high spot.
3. Will an orbital sander damage drywall paper?
It can if you press too hard or sand too long in one area. Once you reach the paper face, stop sanding that spot. Over-sanding can leave visible damage after painting.
4. Is a random orbital sander better than a regular orbital sander for drywall?
Often yes. A random orbital sander usually leaves fewer visible marks and gives smoother results. It still needs light pressure and fine grit to work well on drywall.
5. Do I need a vacuum attachment when sanding drywall?
You do not absolutely need one, but it helps a lot. A vacuum attachment reduces dust, improves visibility, and makes cleanup much easier. It also helps protect your lungs and home.
