If you want a wall that looks truly smooth, the sanding step matters as much as the mud itself. The wrong grit can leave deep scratches, remove too much joint compound, or make finishing harder than it should be. The right grit, used at the right time, gives you a clean surface without damaging the drywall paper.
The question what grit of sandpaper should you use on drywall depends on what stage you are in. Fresh joint compound, final touch-up work, and painted drywall all need a slightly different approach. If you choose too coarse a grit, you may create marks that show after painting. If you choose too fine a grit too early, you may waste time and fail to level the surface properly.
This guide explains the best grit choices, when to use each one, and how to sand drywall for a smooth finish without causing common problems. You will also learn a few small details that many beginners miss, but professionals use all the time.
Start with the Right Grit for the Job
The safest short answer is this: for most drywall sanding, 120-grit to 150-grit sandpaper is the best starting point. If the mud is still rough or heavily built up, you may begin with 100-grit. For final smoothing, 180-grit to 220-grit often gives a cleaner finish.
That does not mean one grit works for every wall. Drywall sanding is about control. You want enough cutting power to level the joint compound, but not so much that you tear into the paper face of the drywall. The paper layer is thin, and once it gets damaged, repairs become harder to hide.
Here is a simple way to think about it:
| Sandpaper Grit | Best Use | Main Risk |
|---|---|---|
| 80–100 | Heavy buildup, major ridges, rough first pass | Can scratch drywall paper if used too hard |
| 120–150 | General drywall sanding, most common choice | May be slow on very rough spots |
| 180–220 | Final smoothing, light touch-up, finishing before primer | Too slow for large imperfections |
If you are sanding standard joint compound after taping and mudding, a 150-grit screen or sandpaper is often the best all-around choice. It balances speed and finish quality. Many drywall finishers keep 120, 150, and 180 grit on hand because no single sheet covers every situation well.
Why Drywall Needs a Different Sanding Approach
Drywall is not like wood or metal. The surface is softer and more fragile, especially around seams and corners. The compound on top is also different from the wallboard under it. You are sanding two materials at once: dried joint compound and the paper face of the drywall.
This is why aggressive sanding causes trouble. A coarse grit may level the mud quickly, but it can also cut into the paper layer around the joint. Once that happens, the damaged area often absorbs primer unevenly and may flash through paint later. In strong light, the patch can still be visible even after multiple coats.
A second thing beginners often miss is that drywall sanding is usually less about force and more about shape. You are not trying to make the wall thinner. You are trying to make the transition between mud and wall disappear. A slight bump can be fixed. A sand-through spot often takes more work than the original seam.
That is why a medium grit usually wins. It removes high spots without creating new problems.
What Happens If You Choose the Wrong Grit
Using the wrong grit does not just affect speed. It changes the final appearance of the wall.
- Too coarse: You may leave scratches, gouges, or paper damage.
- Too fine: You may polish the surface without leveling it, which wastes time.
- Wrong grit at the wrong stage: You may think the wall is smooth when it is still uneven under angled light.
One useful rule is to start with the least aggressive grit that still does the job. That saves both time and the wall surface. If you are not sure, test a small hidden section first.
Best Grits for Each Stage of Drywall Finishing
Drywall finishing usually happens in stages, and each stage needs a slightly different grit choice. The mud under the tape, the fill coats, and the final touch-up pass all behave differently when sanded.
Credit: benchmarkabrasives.com
First sanding after the mud dries
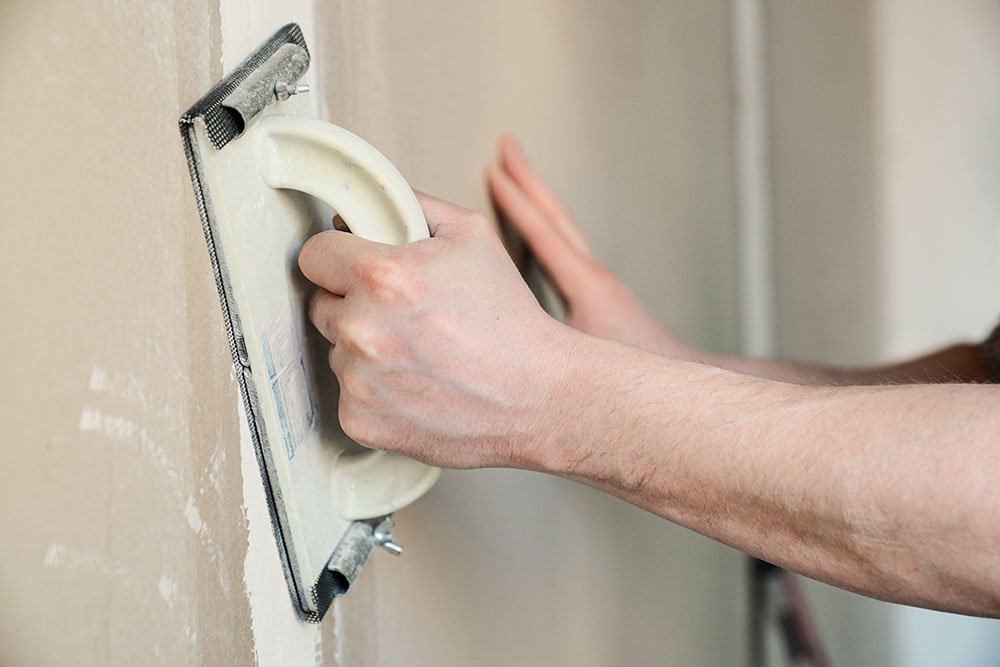
For the first sanding, 100-grit to 120-grit is a good range if the wall has noticeable ridges, knife marks, or thicker patches. This is especially helpful after the first or second coat of joint compound. You want to knock down high spots before moving to a finer pass.
Be careful here. First sanding should be light and controlled. If you press too hard, the grit can bite into the edges of the seam or expose the tape underneath. Use a sanding sponge or pole sander with gentle pressure.
General smoothing and shaping
120-grit to 150-grit is the most useful range for most drywall projects. It is fine enough to avoid harsh scratches, but strong enough to flatten minor imperfections. This is the range many people should choose if they are sanding a standard repair, a patch, or a full room with average joint compound buildup.
If you only want one grit to keep in your toolbox, 150-grit is often the smartest single choice.
Final finish before primer
For final smoothing, move up to 180-grit or 220-grit. This final pass is not meant to shape the wall. It is meant to soften sanding lines and make the surface more uniform before priming.
Do not skip primer after sanding. Primer helps reveal flaws before paint. It also seals the compound and drywall paper so the topcoat looks even.
For more detailed finishing standards, you can also check the drywall guidance from USG, a major drywall manufacturer with useful product and installation information.
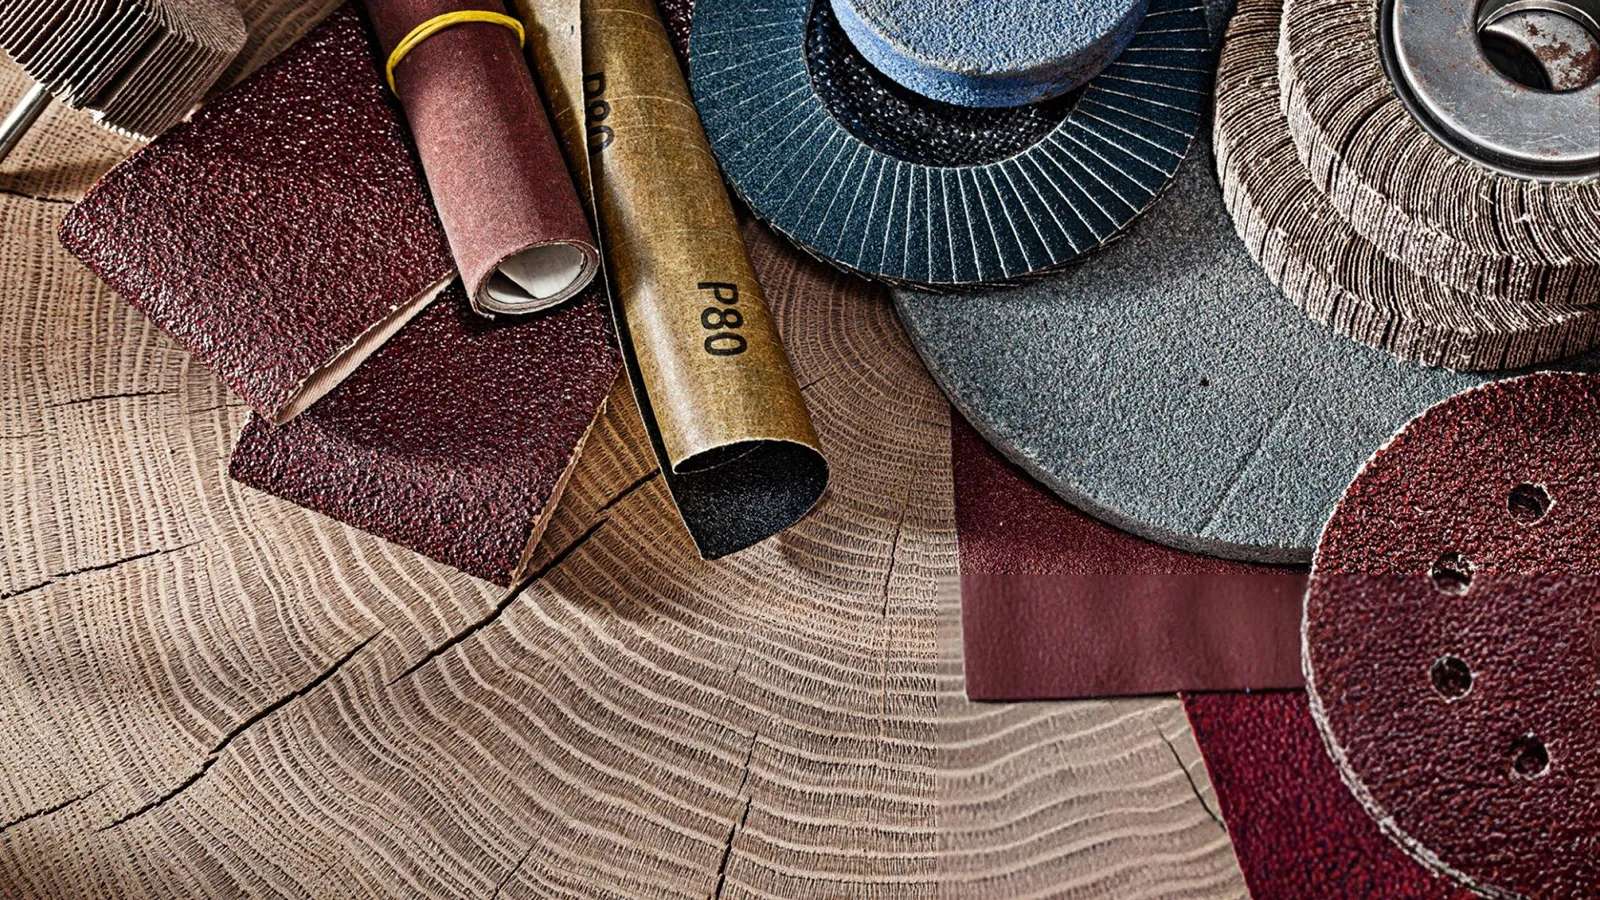
How to Choose Between Sandpaper, Sanding Sponge, and Screen
The grit number matters, but the sanding tool matters too. The same grit can feel very different depending on whether it is on paper, a sponge, or a mesh screen.
Sandpaper sheets
Sandpaper sheets are good for hand sanding small areas, corners, and detail work. They give you direct control, which helps on patched spots and around trim.
Sanding sponges
Sanding sponges are flexible and easy to grip. They are useful for inside corners and curved or uneven areas. A medium grit sponge is often easier for beginners because it spreads pressure more evenly and lowers the chance of digging in.
Sanding screens
Sanding screens, often used with pole sanders, collect less dust than paper and keep cutting well for longer. They are good for larger flat walls and ceilings. A 120- or 150-grit screen is a common choice for general drywall work.
A useful non-obvious tip: if your sandpaper feels like it is clogging quickly, the problem may not be the grit number. It may be the tool. Soft joint compound can load paper fast. A mesh screen or a fresh sanding sponge may work better than switching to a more coarse grit.
How to Sand Drywall Without Damaging the Surface
The goal is not only a smooth wall. It is a smooth wall that still looks clean under primer and paint. That means careful technique matters just as much as the grit you choose.
- Check the wall with angled light. Hold a lamp or work light close to the surface so shadows show the bumps.
- Mark problem spots. Pencil marks help you focus on ridges and avoid over-sanding large areas.
- Start with medium grit. Use 120- or 150-grit for most areas.
- Use light pressure. Let the grit do the work. Pressing hard causes scratches and uneven spots.
- Move in wide, even strokes. Keep your motion smooth so you do not create dips.
- Check your progress often. Wipe off dust and look at the wall again under light.
- Finish with finer grit if needed. Use 180- or 220-grit only for the last smoothing pass.
One common mistake is sanding in a small tight circle with too much pressure. This creates low spots in the joint compound. Another common mistake is sanding too much near the edges of a patch. Those thin feathered edges should blend into the wall, not disappear completely.
The best way to check if the wall is ready
Run your hand lightly across the surface. Your fingertips often notice bumps that your eyes miss. Then inspect it with side light. If the seam looks smooth in angled light, it is usually ready for primer.
If you can still see a ridge, do not rush to paint. One more careful pass with 180-grit may save you from seeing the flaw later under glossy or semi-gloss paint.
Drywall Sanding Grit by Situation
Different projects need different grit choices. The table below makes the decision easier.
| Situation | Recommended Grit | Reason |
|---|---|---|
| Fresh joint compound with ridges | 100–120 | Removes high spots faster |
| Normal wall seam finishing | 120–150 | Best balance of cut and smoothness |
| Small patch or repair | 150–180 | Protects surrounding drywall paper |
| Final pre-primer smoothing | 180–220 | Leaves a finer finish |
| Touch-up after primer | 220 | Light correction without heavy scratch marks |
Notice something important here: smaller repairs often need finer grit than large seams. That is because the repair area is easier to over-sand. If you are only fixing a nail pop or a small dent, 150-grit or even 180-grit may be safer than starting coarse.
Credit: peppershomeandgarden.com
Common Mistakes Beginners Make
Drywall sanding looks simple, but a few errors can ruin the finish. These are the ones that happen most often.
Using very coarse grit everywhere
Some people think 80-grit will make the job faster. It may remove material faster, but it also leaves deeper scratches and can damage the paper surface. That creates more work later.
Sanding before the compound is fully dry
Soft mud gums up the abrasive quickly and creates a rough, torn look. Always wait until the compound is fully dry. If the patch still feels cool or soft, give it more time.
Skipping the final light sanding
Even if the wall looks good, a final pass with 180-grit or 220-grit can remove tiny marks that show up after priming. Many beginners stop one step too early.
Ignoring dust
Dust hides flaws. It also clogs the abrasive. Wipe the wall or vacuum between passes so you can see the true surface.
A second beginner mistake is assuming smoother grit always equals better results. Not always. If the wall is still uneven, very fine grit only polishes the high spots. It does not level them. That is why the right grit at the right stage matters more than simply choosing the finest sheet possible.
Tips for a Smoother Final Finish
If you want the wall to look professional, the last few details make a big difference.
- Use a strong side light. It shows shadows that normal room light hides.
- Keep your sanding block flat. This helps avoid dips and waves.
- Dust between passes. Clean walls show real progress.
- Feather edges carefully. The goal is to blend the patch into the wall.
- Prime before painting. Primer helps reveal flaws and improves paint coverage.
If you want an even better result, do not sand the whole wall equally. Focus on seams, corners, and patch edges. Those are the places where imperfections usually show after paint. Large flat areas often need less sanding than people think.
Another useful tip is to use the same light direction that will hit the wall in real life. A wall may look smooth from one angle but rough under ceiling light or window light. Checking under side light helps you catch problems early.
What Grit of Sandpaper Should You Use on Drywall for a Smooth Finish?
If you want the shortest answer, use 120- to 150-grit sandpaper for most drywall work. That is the best middle ground for smoothing joint compound without harming the drywall paper. Move to 180- or 220-grit for the final pass if you want a cleaner finish before primer. Use 100-grit only when the surface is rough and needs stronger cutting power.
So when people ask what grit of sandpaper should you use on drywall, the real answer is not one number. It is a range, chosen based on the condition of the wall and the stage of the job. The smoother the finish you want, the more carefully you should step down to finer grit at the end.
If you remember only one thing, remember this: start medium, check often, and finish fine. That simple method works for most drywall projects and helps prevent the most common sanding mistakes.
Credit: maxxt-tech.com
FAQs
1. What grit sandpaper is best for drywall seams?
For most drywall seams, 120-grit to 150-grit works best. It removes ridges without cutting too deeply into the drywall paper.
2. Can I use 80-grit sandpaper on drywall?
Yes, but only for very rough areas and with care. It is aggressive and can damage the paper face if you press too hard or stay in one spot too long.
3. Is 220-grit too fine for drywall?
No, but it is usually used for final touch-up sanding, not for shaping. It is best when you want a very smooth surface before primer.
4. Should I sand drywall by hand or with a pole sander?
Use a pole sander for large walls and ceilings. Use hand sanding for corners, small repairs, and detailed areas. Many jobs need both.
5. Do I need to prime after sanding drywall?
Yes. Primer seals the repaired area, helps paint apply evenly, and makes any remaining flaws easier to spot before the final coat.
