If you want smooth walls, clean seams, and less wasted time, the tools you use matter as much as your skill. Drywall looks simple from far away, but good results depend on the right setup. A strong essential drywall tools list helps you work faster, cut cleaner, and finish with fewer mistakes.
Many beginners buy a few basic items and hope for the best. That usually leads to rough joints, torn paper, crooked cuts, and a lot of extra sanding. Professional drywall work is not about owning every tool in the store. It is about owning the right tools for cutting, hanging, taping, mudding, sanding, and cleanup.
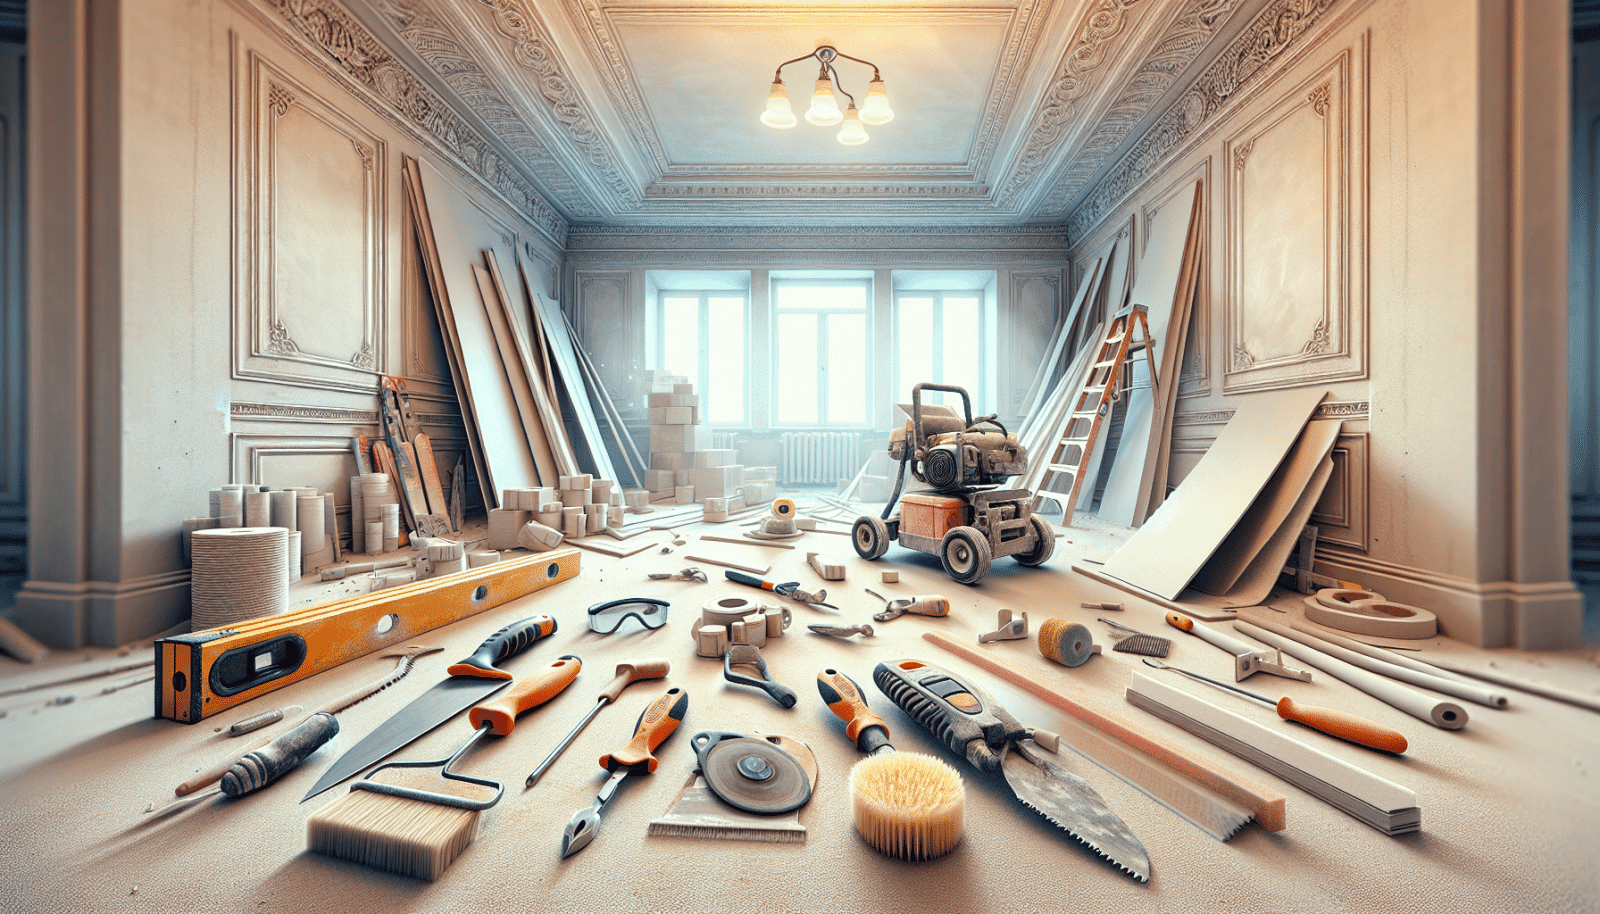
Below, you will find 25 tools that really matter. Some are simple hand tools. Others save time on larger jobs or help you get a better finish. Together, they make a practical system for professional results.
What makes a drywall tool truly essential?
A drywall tool earns its place when it solves a real job problem. Some tools help you measure and cut accurately. Others help you lift heavy sheets, apply compound smoothly, or sand without making a mess. The best tools do more than save time. They reduce errors that are hard to fix later.
One mistake beginners often make is buying finishing tools too early and skipping the basics. For example, a power sander will not help if your cuts are crooked or your boards are poorly supported. Another mistake is choosing cheap knives or taping tools that flex too much. In drywall work, poor tool quality often shows up as visible seams.
Before you start, it helps to understand the full process. You measure, cut, hang, fasten, tape, fill, sand, and inspect. The best essential drywall tools list covers every step, not just one part of the job.
| Tool category | Main job | Why it matters |
|---|---|---|
| Measuring and layout | Mark correct sizes and lines | Prevents waste and bad fits |
| Cutting | Trim drywall sheets cleanly | Creates tighter joints and less repair work |
| Hanging and fastening | Lift, hold, and secure panels | Makes installation safer and faster |
| Finishing | Apply tape and compound | Controls seam quality and surface smoothness |
| Sanding and cleanup | Smooth the finish and remove dust | Improves final paint results |
25 must-have drywall tools for professional results
1. Tape measure
A reliable tape measure is the first tool on any essential drywall tools list. Drywall sheets are large, and even a small measuring mistake can ruin a cut. Choose one with a clear, easy-to-read blade and a stiff body that can handle repeated use.
Best use: measuring wall height, sheet width, outlet positions, and cutouts.
2. Drywall T-square
The drywall T-square is one of the most important tools for straight, accurate cuts. It helps you mark full-length lines across a sheet. Because drywall is soft on the face and fragile on the edges, straight cuts matter a lot.
Non-obvious insight: A cheap square can be slightly out of alignment, and that tiny error becomes a visible gap when sheets meet. Check your square before trusting it on a big job.
3. Utility knife
A sharp utility knife is a core cutting tool. It scores the paper face of drywall, which allows the sheet to snap cleanly. Buy one with a strong lock and keep extra blades nearby. Dull blades tear paper and create messy edges.
4. Spare blades
Many people forget that the knife is only as good as the blade. Fresh blades make cleaner lines and reduce pressure on your hand. They also lower the chance of wandering cuts. For professional work, changing blades often is normal.
5. Drywall saw
A drywall saw helps with outlet boxes, vents, and other small cutouts. It is useful when the utility knife cannot reach a shape cleanly. A pointed tip makes starting cuts easier, especially for tight spaces.
6. Jab saw
The jab saw is a small but powerful tool for piercing drywall and cutting openings fast. It is especially useful for electrical boxes and irregular shapes. Because the blade is short and sturdy, it gives you more control than a larger saw.
7. Chalk line
A chalk line creates long, straight reference marks on walls and ceilings. It is helpful when you need to align sheets or mark consistent cut points. Straight layout lines save time and prevent the “drifting seam” problem that shows up after finishing.
8. Carpenter’s pencil or marking pencil
You need a strong pencil that marks clearly on dusty, rough drywall paper. Carpenter’s pencils are flat, so they do not roll off surfaces easily. Good marking habits make installation smoother and reduce confusion during cuts.
9. Drywall lift
A drywall lift is one of the best tools for ceilings and tall walls. It holds sheets in place while you fasten them, reducing strain and improving placement. If you work alone or handle large boards often, this tool can save your back and improve accuracy.
Professional tip: A lift does more than reduce effort. It also gives you time to adjust the sheet before fastening, which leads to flatter ceilings and fewer edge problems.
10. Panel carrier
A panel carrier makes moving sheets safer and easier. Drywall is awkward to hold, and the edges can be damaged during transport. A carrier gives you better control, especially when moving panels through narrow hallways or up stairs.
11. Screw gun
A screw gun is essential for fast, consistent fastening. It helps drive drywall screws to the right depth without overdriving them. Overdriven screws can break the paper face, which weakens the hold and makes finishing harder.
12. Drywall screws
Screws may seem basic, but they are still part of the tool system because they control the quality of the installation. Use the right length for your board thickness and framing depth. Too short, and the board may loosen. Too long, and you waste time and material.
13. Drill/driver
A drill/driver is useful for mixing tasks, fastening accessories, and handling areas where a screw gun is not ideal. It is also helpful for setting up other jobsite tools. Many professionals keep both a screw gun and a drill/driver on hand because they serve different jobs.
14. Mud pan
A mud pan holds joint compound while you work. Stainless steel pans are easy to clean and last longer than cheap plastic ones. A good pan lets you load your knife smoothly and keep your compound usable for longer periods.
15. Joint compound
Joint compound is not a tool in the strictest sense, but it is part of the essential drywall tools list because without it, finishing is impossible. Choose the right type for the job: all-purpose, lightweight, quick-setting, or topping compound. Each has its place.
Non-obvious insight: Beginners often use one compound for everything. Professionals usually choose compound based on the task, because the wrong type can shrink too much, dry too fast, or sand poorly.
16. Taping knife
A taping knife spreads compound over seams and nail holes. Common sizes include 6-inch and 10-inch knives. Smaller knives are useful for filling and first coats. Wider knives help smooth edges during later coats.
17. Putty knife
A putty knife is helpful for small repairs, corner details, and tight areas. It is not a replacement for a taping knife, but it is useful for patch work and touch-ups. Keep one in your kit because small jobs come up often.
18. Corner trowel
A corner trowel helps shape inside corners with a cleaner finish. It can save time on long corner runs and reduce the need for heavy sanding. It is not always required for small jobs, but it is valuable for larger finishing work.
19. Drywall hawk
A hawk holds compound close to your working hand. It is common among finishers who want faster loading and better control during application. Once you get used to it, a hawk can improve rhythm and reduce repeated trips to the mud pan.
20. Corner bead tool
Corner bead tools help install and shape corner protection. Outside corners are easy to damage, so proper bead placement matters. A good bead tool helps create straighter, stronger corners that hold up after paint.
21. Sponge
A damp sponge is useful for soft cleanup and light smoothing. It can help remove small ridges or excess compound before sanding begins. Used carefully, it saves time and reduces dust.
22. Sanding block
A sanding block gives control when smoothing dried compound. It works better than loose sandpaper for many hand-finishing tasks because it keeps the surface flatter. Use medium or fine grit depending on the stage of finishing.
23. Pole sander
A pole sander is important for larger walls and ceilings. It lets you reach high areas without over-stretching. It also helps you blend joints more evenly across wide surfaces. This is one of those tools that becomes valuable the moment the job gets bigger.
24. Dust mask and safety glasses
Drywall dust is fine, dry, and easy to breathe in if you are not careful. Safety gear is part of the job, not an optional extra. A good dust mask and safety glasses protect you during cutting and sanding, when dust levels rise quickly.
For more details on the health risks of dust exposure, you can refer to the NIOSH workplace safety guidance.
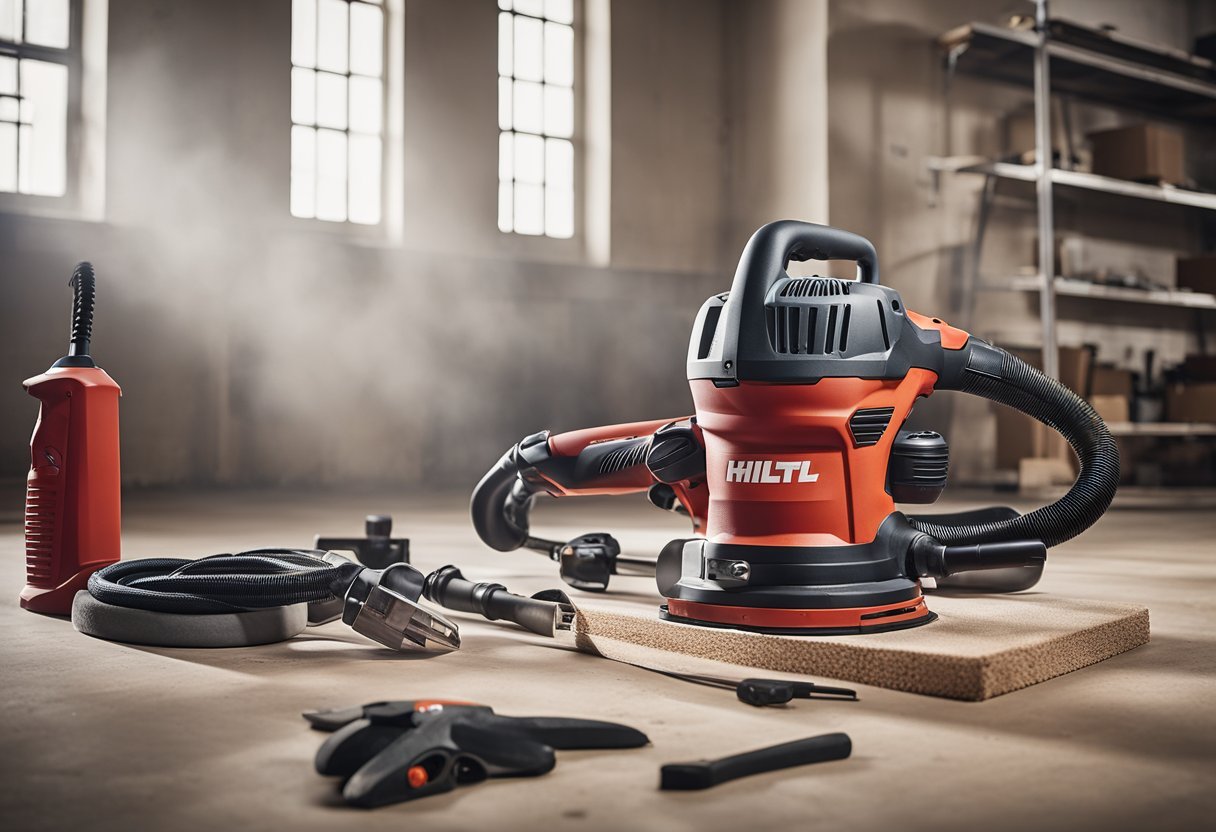
25. Shop vacuum
A shop vacuum helps keep the work area clean and safer to move around in. Drywall dust spreads fast and gets into tools, corners, and air vents. Good cleanup also helps paint and joint compound perform better later.
How these tools work together during each stage
Having the right tools is only part of the job. The real value comes from using them in the right order. A professional drywall workflow usually starts with measuring and marking, then moves into cutting and hanging, and ends with taping, finishing, sanding, and cleanup.
Credit: drywalltoolsdirect.co.uk

Credit: drywalltoolsdirect.co.uk
Measuring and marking
Use the tape measure, T-square, pencil, and chalk line to plan the sheet before you cut. This stage is where you prevent waste. A well-marked sheet usually installs faster and looks better after finishing.
Cutting and fitting
The utility knife, spare blades, drywall saw, and jab saw handle most cut work. Clean cuts help the sheet sit tighter against framing. That means less compound later and fewer visible ridges.
Hanging and fastening
The drywall lift, panel carrier, screw gun, drill/driver, and screws make installation smoother. This stage is about control. If a sheet is lifted badly or fastened unevenly, the finish will be harder to correct.
Finishing and sanding
The mud pan, joint compound, taping knife, putty knife, corner trowel, hawk, sponge, sanding block, and pole sander do the final work. This is where surface quality is made. A clean, patient finish beats aggressive sanding almost every time.
What beginners often miss when choosing drywall tools
One common mistake is focusing on brands instead of balance. A very expensive finishing knife does not help if you still use a weak tape measure or a dull blade. Another mistake is buying too many specialty tools before mastering the basics.
There is also a hidden cost in bad tools: fatigue. Heavy, unbalanced, or poorly shaped tools make your hands and shoulders work harder. Over a full day, that can affect accuracy. Professionals notice this quickly, especially on ceiling work and long finish runs.
Another detail people miss is maintenance. A clean mud pan, sharp knife, straight square, and unclogged sanding surface often matter more than buying something new. Good drywall work is partly about keeping tools in ready condition.
Choosing tools based on the size of the job
Not every project needs the same setup. For a small patch repair, you may only need a tape measure, utility knife, putty knife, sanding block, and dust mask. For a full room, the essential drywall tools list should expand to include a drywall lift, screw gun, larger taping knives, and a pole sander.
If you work on jobs often, invest first in tools that improve accuracy and safety. If you only do repairs now and then, start with the core hand tools and add larger equipment later. That is usually the smartest way to build your kit without wasting money.
Small tool habits that improve the final finish
Some results come from skill, but many come from simple habits. Change your knife blade often. Keep your mud clean. Test your square before a large cut. Do not overload your taping knife with compound. These are small actions, but they change the final wall surface in a big way.
Tip: Always dry-fit your sheet before fastening. A perfect-looking cut on the floor can still be wrong once you place it against a real wall with uneven framing. This is one of the most practical habits for better drywall results.
Tip: Sand with a light touch. If you sand too hard, you can break through paper and expose the tape or edge. Fixing that takes more time than careful sanding would have taken in the first place.
Credit: drywallrepairutah.com
Building a professional drywall kit the smart way
You do not need to buy all 25 tools on day one. Start with the essentials that let you measure, cut, fasten, and finish basic walls. Then add tools based on the kind of work you do most. A homeowner doing repairs will need a different kit from a contractor hanging full houses.
A strong kit usually begins with the measuring tools, cutting tools, screw gun, mud pan, taping knife, sanding tools, and protective gear. After that, add the drywall lift, hawk, corner tools, and vacuum as your project size grows. This approach keeps costs under control while still helping you get professional results.
In the end, the best essential drywall tools list is the one that matches your work, reduces mistakes, and makes each step easier. Drywall is a system. When the tools support the system well, the finish looks cleaner, the job moves faster, and the final wall is much easier to paint.
FAQs
1. What are the absolute must-have tools for drywall work?
The core tools are a tape measure, drywall T-square, utility knife, spare blades, screw gun, taping knife, mud pan, sanding block, and safety gear. These cover measuring, cutting, fastening, finishing, and cleanup.
2. Do I need a drywall lift for small jobs?
Not always. A drywall lift is most useful for ceilings, large sheets, or solo work. For small repairs and low walls, you can usually work without one.
3. What size taping knife should I buy first?
A 6-inch knife is a good first choice for many beginners. It works well for filling, first coats, and small repairs. Later, you can add a 10-inch knife for wider finishing work.
4. Is it better to sand drywall by hand or with a pole sander?
Use both when needed. Hand sanding is good for small areas and detail work. A pole sander is better for larger walls and ceilings because it covers more space and helps keep the surface even.
5. How can I avoid common drywall tool mistakes?
Use sharp blades, keep tools clean, choose the right compound, and do not overdrive screws. Also, test measuring tools before a big job and always wear dust protection during sanding.
