If you have ever bought framing nails, you may have noticed that the box often talks about length, head type, and finish, but not always the gauge in a simple way. That can be confusing, especially if you are trying to match nails to a framing nailer or choose the right fastener for a project.
The short answer to what gauge are framing nails is this: framing nails are usually not described by gauge in the same way as smaller finish nails. Instead, they are most often sold by length, diameter, and style. When gauge is used, framing nails are commonly around 10 to 12 gauge, depending on the nail type and the tool system. But for most carpentry work, size and code requirements matter more than gauge alone.
In this guide, you will learn how framing nail sizes work, why gauge is not the main measurement, how to choose the right nail for the job, and which mistakes people make when they buy the wrong fastener. This is practical knowledge, not theory. It will help you work faster and avoid weak joints, split wood, or tool jams.
Why framing nails are not usually measured by gauge
When people ask what gauge are framing nails, they often expect one simple number. But framing nails are a little different from trim nails or brad nails. In construction, the most important thing is not just how thick the nail is. It is also how much holding power it gives, how it works with lumber, and whether it fits your nail gun.
For smaller nails, gauge is a common way to show thickness. A higher gauge number means a thinner nail. For example, 18-gauge brads are thin and used for light trim. Framing nails are much thicker, so the industry often talks about them by diameter instead of gauge.
That said, if you do see framing nails described by gauge, they often fall in the 10-gauge to 12-gauge range. The exact number depends on the manufacturer and the type of framing nail. Some nails are clipped-head, some are full round head, and some are made for specific pneumatic nailers. The shape and strip style matter as much as the thickness.
One non-obvious point many beginners miss is that tool compatibility can matter more than the exact gauge. A framing nail that seems close in size may still not feed correctly in your nailer. The angle, collation type, and head shape can all change whether the tool works smoothly.
Common framing nail sizes and what they mean
Framing nails are usually identified by a nail size format such as 16d, 10d, or 8d. These labels are old construction size names, and they do not always match one exact modern measurement. Still, they remain common in building work and code discussions.
Here is a simple way to understand the most common framing nail sizes:
| Common size | Approx. length | Typical use | Notes |
|---|---|---|---|
| 8d | 2.5 in. | Light framing, sheathing, general fastening | Smaller than the nails often used in heavy framing |
| 10d | 3 in. | Framing, nailing studs, wood connections | Very common in carpentry |
| 12d | 3.25 in. | Heavier framing, structural work | Good holding power in many jobs |
| 16d | 3.5 in. | Standard framing, wall assembly, general structural work | One of the most recognized framing nail sizes |
These sizes are useful because framing is often about working with lumber thickness. For example, a 2×4 wall frame often uses nails that penetrate deep enough to lock the pieces together. The nail must go through the first board and bite well into the second one.
Another important detail is that longer is not always better. If a nail is too long for the material, it may split the wood or create extra resistance in the nailer. If it is too short, it may not hold the joint properly. The right size depends on the wood thickness and the type of connection.
How gauge compares to diameter in framing nails
Because framing nails are often discussed by diameter, it helps to understand the difference between gauge and diameter. Gauge is a numbering system. Diameter is the actual width of the nail shank. For framing work, diameter gives a more useful picture of strength.
Framing nails are commonly around 0.113 to 0.131 inches in diameter, depending on the style and brand. That is much thicker than finish nails or brad nails. This thickness gives better shear strength and holding power in structural joints.
Here is the key idea: a thicker nail usually provides more holding strength, but it can also place more stress on the wood and the nailer. That is why you should not choose fasteners by thickness alone. You need to match the nail to the wood type, the job, and the tool.
If you are comparing nails in a store, do not let the gauge number distract you from the full label. Check these details:
- Length — how deep the nail can penetrate
- Diameter — how thick the shank is
- Head type — full round head or clipped head
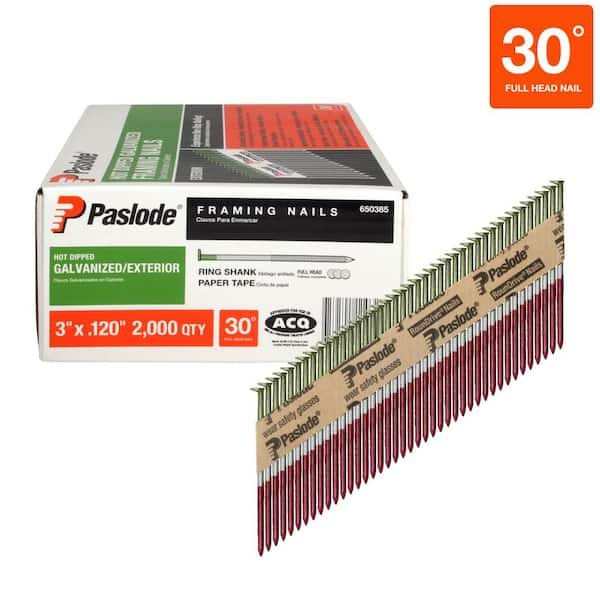
- Angle — 21-degree, 28-degree, or 30-degree strips
- Coating — helps with holding power and corrosion resistance
A second detail many beginners miss is that a thicker nail is not always the best choice for engineered wood or hardwood. In those materials, too much thickness can increase splitting risk. Sometimes a slightly smaller fastener with the right coating and pattern holds better in real use.
Framing nailer angles and why they matter
When people ask about framing nail sizes, they often focus only on nail length. But the angle of the nail strip is just as important. Framing nailers are commonly made for 21-degree, 28-degree, or 30-degree nails. Some systems also use other angles, but those three are the most common.
The angle affects how the nails are collated and how the tool fits into tight spaces. A lower angle can help reach corners and narrow spots. A higher angle can work well for certain tool designs and may use different strip materials, such as paper or plastic collation.
Here is a simple comparison:
- 21-degree framing nails are often full round head and plastic-collated.
- 28-degree framing nails are often clipped-head and paper-collated.
- 30-degree framing nails are also common, often in paper-collated strips.
Do not assume one angle is “better” than another. The best choice is the one your nailer supports and your job requires. If you buy the wrong angle, the nails may not feed correctly. That can slow down your work and damage the tool.
For a reliable external reference on fastening and code-related construction basics, you can review guidance from the National Frame Building Association.

Credit: homedepot.com
What nail size should you use for framing?
The right framing nail size depends on the connection you are making. For most standard framing work, 16d nails are a very common choice. They offer good length and holding power for wall framing, studs, and general structural work.
Use this simple guide:
- Light framing or sheathing — smaller nails like 8d or 10d may be enough.
- Standard wall framing — 10d to 16d nails are often used.
- Heavier structural connections — 16d nails are often preferred, depending on code and lumber size.
- Tool-specific work — choose the nail size recommended by your nailer manual.
If you are nailing two pieces of dimensional lumber together, think about penetration. A good rule is that the nail should go deep enough into the second piece to provide strong holding power. But if the nail is too long, it can poke through where you do not want it or create unnecessary splitting.
In real carpentry, many workers keep several sizes on hand. That flexibility matters. One nail size is not enough for every framing task. A small wall detail, a beam connection, and roof framing may each need a different fastener.
Choosing by material, not just by size label
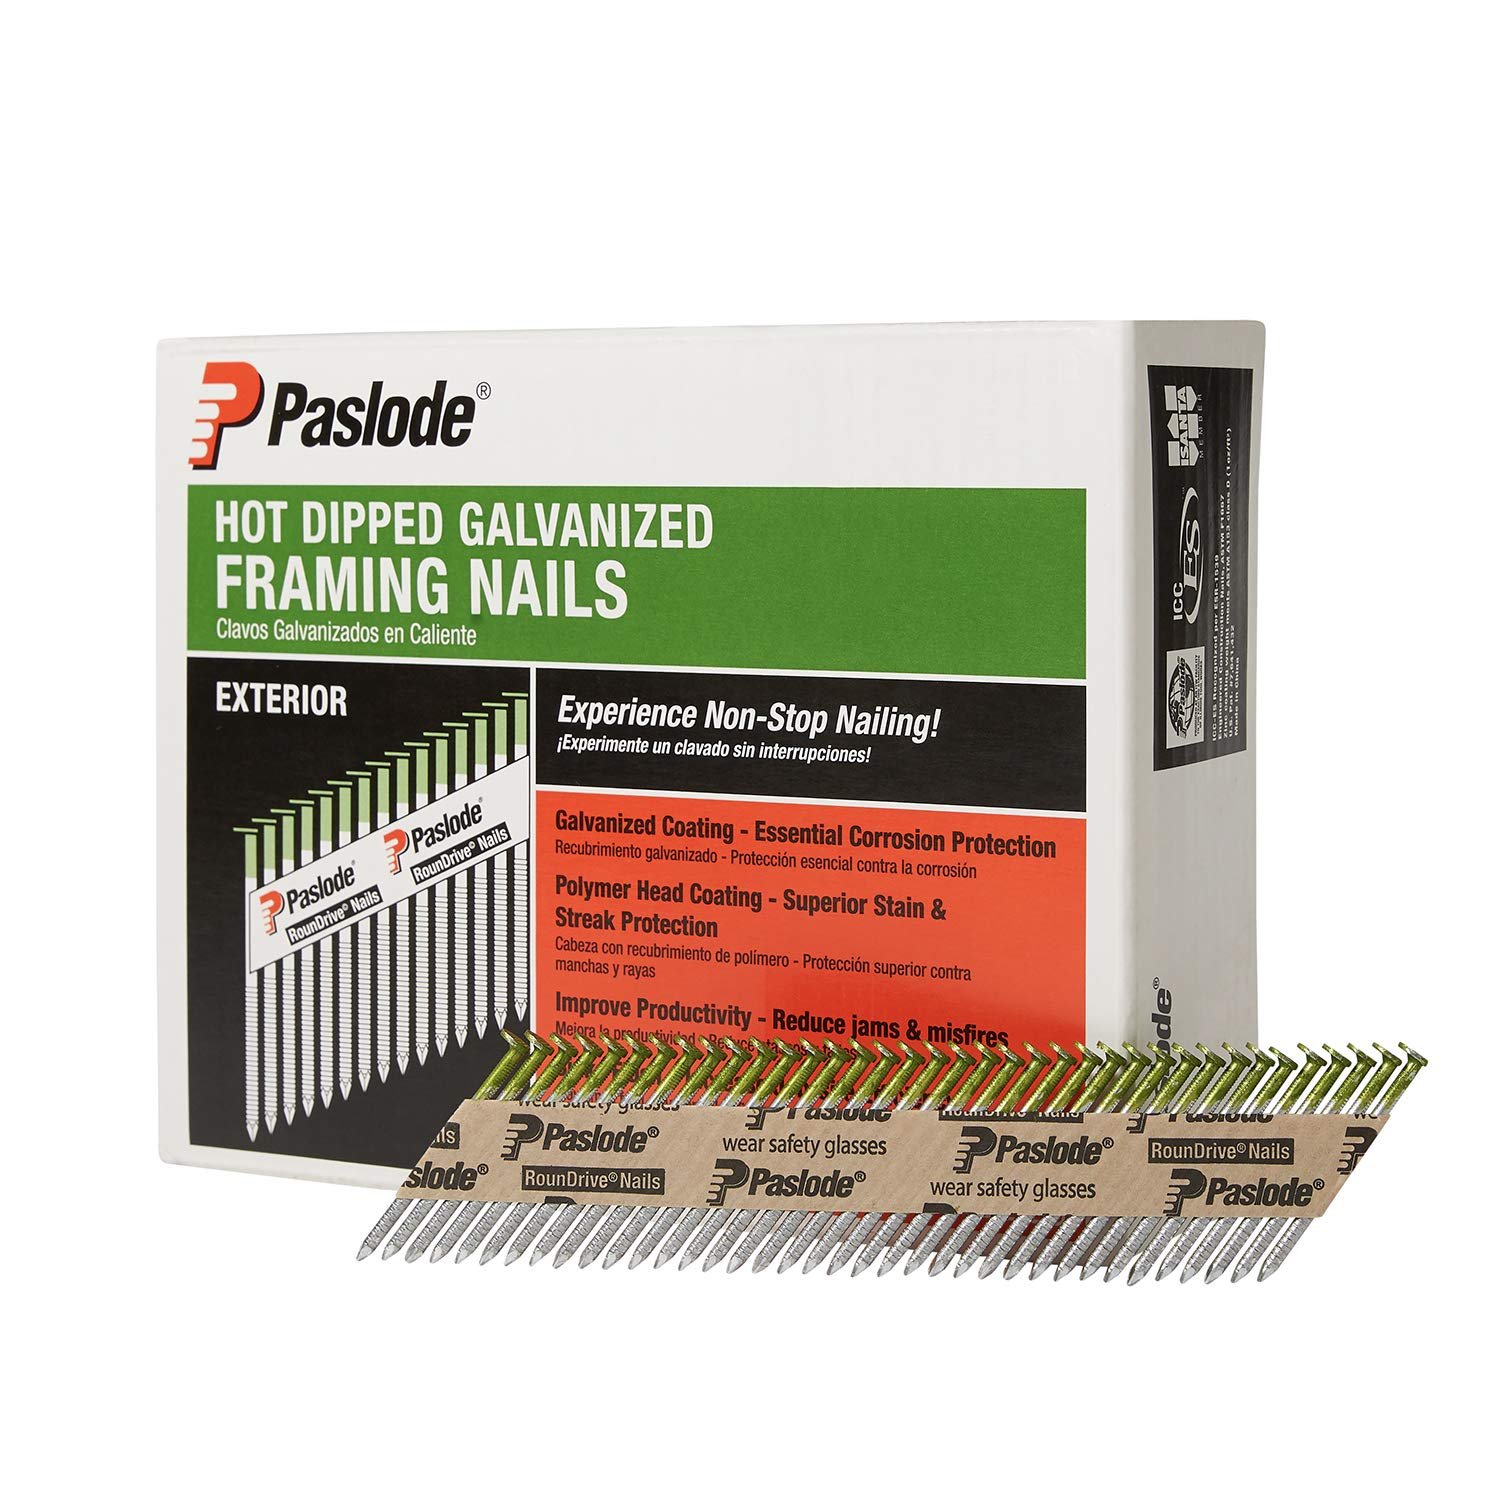
Wood type changes the best nail choice. Softwoods like pine are easier to nail into. Hardwoods or dense engineered materials need more careful selection. Coating also matters. Some framing nails have coatings that help improve holding power and reduce withdrawal over time.
If your project is outdoors or in a damp area, corrosion resistance becomes important. In that case, regular bright framing nails may not be the best choice. You may need galvanized or other coated nails, depending on the environment and local building requirements.
Common types of framing nails
Not all framing nails are the same. Even if two nails have the same length, they can perform differently because of head shape, shank design, or coating. Knowing these differences helps you choose better.
Full round head nails
These are the most accepted structural choice in many framing jobs. The full round head gives strong holding power and is often preferred for code-compliant work.
Clipped-head nails
These save space in the nail strip, so more nails fit in one bundle. They can work well in some applications, but some building codes or inspectors may prefer full round heads for structural framing.
Smooth shank nails
Smooth shank nails drive easily and are useful for many general framing tasks. However, they may not hold as well as ring-shank nails in some cases.
Ring-shank nails
These have grooves around the shank. They grip the wood more tightly and often give better pull-out resistance. That makes them useful in situations where holding power matters more than easy removal.
A smart tip here is to match the shank style to the real job. If you are building something temporary, easy removal may matter. If you are building a structural joint, holding power matters more. The “best” nail is not always the strongest-looking one.
How to read a framing nail box
Many people buy the wrong nails because they look at only one number on the package. A framing nail box may show the size, angle, collation, and finish all at once. If you know what each part means, shopping becomes much easier.
Look for these details on the label:
- Length — often listed in inches or penny size like 16d
- Diameter — usually shown in inches
- Head type — full round or clipped
- Angle — the degree of the strip
- Material or coating — bright, galvanized, stainless, or coated
- Compatibility — the nailer type it fits
The mistake many beginners make is buying based on length only. Two 3.5-inch nails may still be different if one is 21-degree clipped-head and the other is 30-degree full round head. They will not necessarily fit the same tool.
Another small but important point: some brands use slightly different dimensions even when the size name is the same. That is normal. It is why tool manuals and manufacturer labels matter more than guesswork.
Credit: homedepot.com
What gauge are framing nails for different tools?
Framing nailers do not all use the same fasteners. This is where many DIY users get stuck. If you are asking what gauge are framing nails for your tool, the correct answer is usually tied to the nailer system, not just the job.
Here is a practical way to think about it:
- 21-degree nailers often use thicker nails with full round heads.
- 28-degree nailers often use clipped-head paper-collated nails.
- 30-degree nailers also use angled strips, commonly for framing work.
Tool manuals usually list the exact nail range. That is the safest source. If your nailer says it accepts 2-inch to 3.5-inch framing nails, trust that range. Do not assume all framing nails will fit just because they are “framing nails.”
One thing even experienced users sometimes overlook is the role of collation material. Plastic-collated nails can leave more debris around the work area, while paper-collated nails may behave differently in moisture. Your work environment can affect which strip type is most practical.
Best practices for choosing framing nails
If you want consistent results, do not treat all framing nails as the same. Use the project, the wood, and the nailer as your guide.
- Check the nailer manual first. This tells you the correct angle, length, and collation type.
- Match the nail length to the lumber. A nail must penetrate deeply enough to hold the joint.
- Choose the right head type. Structural work often needs full round heads.
- Think about the environment. Damp or outdoor work may need coated or galvanized nails.
- Test before full use. Drive a few nails in scrap wood to check feeding and holding power.
Do not forget that building codes and project requirements can override personal preference. For example, some framing connections may require specific nail types or spacing. If you are doing structural work, code compliance matters.
Also, if the nailer is driving nails too deep or not deep enough, adjust the depth setting before changing nail size. Sometimes the tool setting, not the nail, is the real problem.
Common mistakes people make with framing nails
Many framing problems come from small buying mistakes. These are easy to avoid once you know what to watch for.
- Buying the wrong angle and finding out the nails do not fit the nailer.
- Confusing finish nails with framing nails because they look similar in photos.
- Choosing length only and ignoring head type or collation.
- Using the wrong coating for outdoor or moisture-prone areas.
- Ignoring wood type and causing splits in dense material.
One of the biggest hidden mistakes is using a nail that is technically “framing size” but not right for the exact connection. In other words, the nail can be strong enough on paper but still perform badly in the real joint. The wood pieces, the load direction, and the tool all matter.
Another issue is overdriving nails. If the nail sinks too deep, the holding power can drop. It can also damage the wood surface. That is why proper depth adjustment is important, especially when moving from soft pine to harder lumber.
Quick guide to framing nail selection
If you want a simple way to decide fast, use this approach:
- For general framing: choose a common size like 10d or 16d, depending on the task.
- For nail guns: match angle, collation, and head type exactly.
- For stronger holding: consider ring-shank nails if allowed for your project.
- For outdoor use: look for coated or corrosion-resistant nails.
If you remember only one thing from this article, remember this: framing nails are selected by more than gauge. Gauge is only one part of the picture, and in many framing jobs it is not even the main buying detail. Length, diameter, head type, angle, and coating all matter just as much.
Credit: amazon.com
Final thoughts
So, what gauge are framing nails? In practice, framing nails are usually thicker fasteners that are often around 10 to 12 gauge when gauge is used, but they are more commonly identified by their length, diameter, head style, and angle. That is the clearest way to choose the right nail for framing work.
If you are working on walls, roofs, floors, or other structural carpentry, the best choice is the nail that matches your tool and gives the right holding power for the job. Do not rely on one number alone. Read the label, check the manual, and test before you commit to a full build.
Once you understand framing nail sizes, buying the right fastener becomes much easier. You save time, protect your tool, and build stronger joints. That is the real goal.
FAQs
1. What gauge are framing nails usually?
Framing nails are usually not described by gauge the same way smaller nails are. When gauge is mentioned, they are often around 10 to 12 gauge, but framing nails are more commonly identified by length, diameter, and angle.
2. What size are standard framing nails?
Common framing nail sizes include 8d, 10d, 12d, and 16d. The 16d size, about 3.5 inches long, is one of the most common choices for framing work.
3. Can I use any framing nail in any nailer?
No. You must match the nail angle, collation type, head style, and size to your nailer. A nail may be the right length but still not fit your tool.
4. Are ring-shank framing nails better than smooth-shank nails?
Ring-shank nails usually offer stronger grip and better pull-out resistance. Smooth-shank nails are easier to drive and may be better for some general tasks. The right choice depends on the project.
5. Do framing nails need to be galvanized?
Not always. For indoor dry use, bright nails are often fine. For outdoor areas, damp spaces, or treated lumber, galvanized or corrosion-resistant nails are often a better choice.
