Wood glue looks simple, but strong joints do not happen by accident. A good bond starts before the bottle is even opened. The wood must fit well, the glue must be spread the right way, and the parts must stay still long enough to cure. If any one of these steps is weak, the joint can fail later.
If you have ever seen a glued chair leg come apart or a cabinet seam open after a few months, the problem was often not the glue itself. It was the way it was used. Learning how to use wood glue the right way can make a huge difference in durability, appearance, and repair life.
This guide explains the process in a clear, step-by-step way. You will learn how to prepare the wood, apply the glue, clamp the joint, and avoid common mistakes. You will also see practical tips that beginners often miss, so your joints can become stronger and cleaner from the start.
What wood glue actually does
Wood glue is made to bond wood fibers together. Unlike screws or nails, it does not just hold pieces in place. It creates a chemical and mechanical bond that can be extremely strong when the joint fits well.
Here is the important part many beginners miss: wood glue is strongest in tight-fitting joints. It is not meant to fill big gaps. If the wood pieces do not meet properly, the glue has less surface area to grip, and the bond becomes weaker.
That is why a well-made joint with glue can often be stronger than the wood itself. But for that to happen, the wood must be clean, dry, and clamped with the right pressure.
Choose the right glue before you begin
Not all wood glue is the same. Picking the right type saves time and prevents failure later. The most common choice for indoor woodworking is PVA wood glue, often sold as yellow or white glue.
For outdoor projects or areas with moisture, choose a water-resistant or waterproof formula. If the piece will face weather, like a garden bench or exterior trim, ordinary indoor glue is not enough.
| Glue type | Best use | Main benefit | Watch out for |
|---|---|---|---|
| PVA wood glue | Indoor furniture, cabinets, repairs | Easy to use, strong bond | Not ideal for long water exposure |
| Water-resistant PVA | Kitchen, bathroom, mild outdoor use | Better moisture resistance | Still not for heavy weather |
| Polyurethane glue | Gaps, mixed materials, outdoor jobs | Good water resistance | Can expand and foam during curing |
| Hide glue | Restoration and special woodworking | Easy to reverse with heat and moisture | More specialized, less common |
If you want a deeper technical look at wood adhesives, a useful resource is the USDA Forest Products Laboratory, which shares research on wood and adhesives.
Prepare the wood first
Strong glue joints start with good preparation. This part is not exciting, but it matters more than most people think. Many glue failures are really preparation failures.
Make sure the surfaces fit well
Wood glue works best on flat, even surfaces that touch properly. If the joint is crooked, bowed, or full of large gaps, fix the fit before adding glue. Use sanding, planing, or trimming if needed.
Non-obvious tip: do not try to solve a bad joint by using more glue. Extra glue does not create strength. It often makes cleanup harder and can even weaken the bond if the parts float apart.
Remove dust, oil, and old finish
Glue does not bond well to dust, wax, oil, varnish, or paint. Clean the joint area with a dry cloth or vacuum, then check the surface closely. If the wood is shiny from old finish, scrape or sand it until fresh wood is exposed.
For oily woods like teak or some tropical hardwoods, wipe the surface with a suitable cleaner before gluing. Let it dry fully first.
Check moisture content
Wood should not be too wet. If the wood is damp, the glue may cure poorly and the joint may fail later. This is one reason outdoor or recently cut wood can be tricky.
Non-obvious tip: very dry wood can also cause problems because it may absorb too much moisture from some glues too quickly. In normal home woodworking, standard dry lumber is usually fine, but extreme conditions can affect the bond.
Gather the tools you need
You do not need many tools, but the right ones make the job easier and neater.
- Wood glue
- Clamps
- Clean rag or paper towels
- Small brush, roller, or spreader
- Scrap wood for clamp protection
- Sandpaper or a sanding block
- Optional: painter’s tape for cleanup control
If you are working on a larger project, set everything within reach before applying glue. Once the glue is on, the clock starts moving. You do not want to search for a clamp while the joint is already slipping.
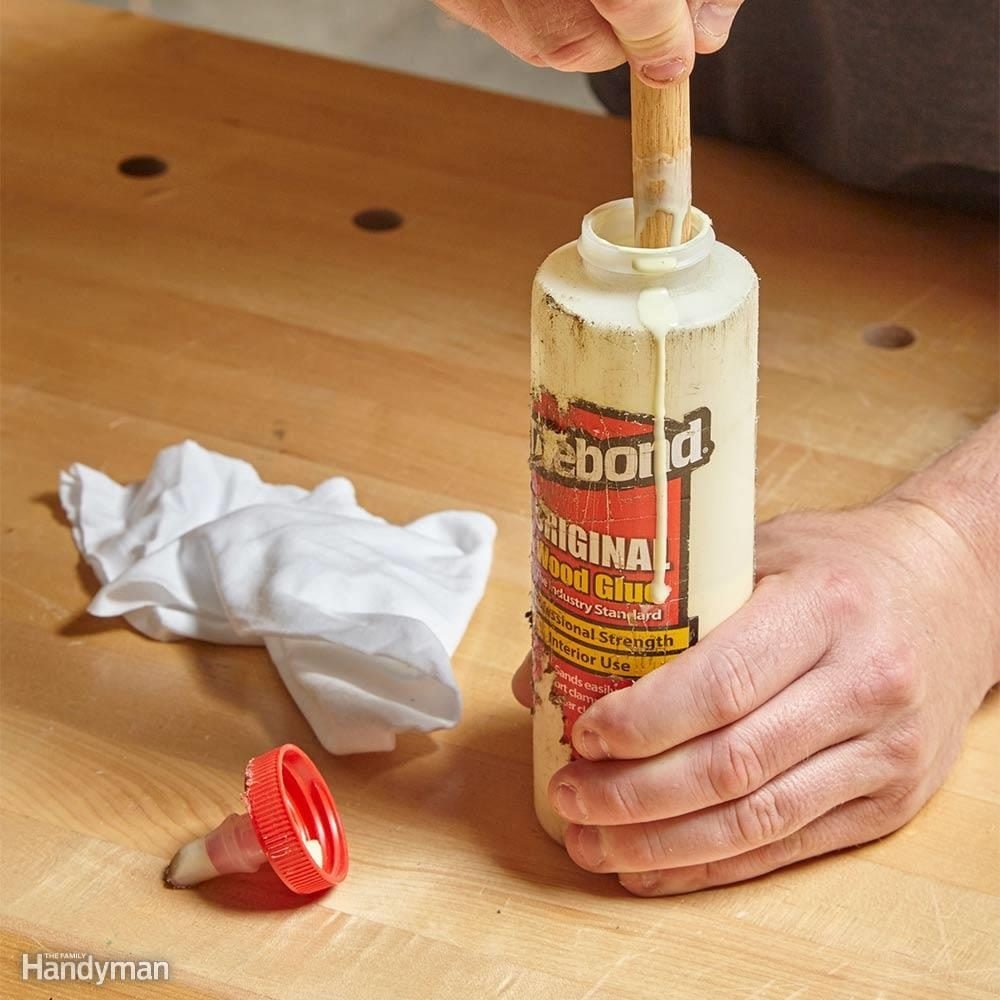
Credit: familyhandyman.com
How to use wood glue step by step
Now let us go through the full process in the right order. This method works for most indoor woodworking repairs and furniture joints.
1. Dry fit the joint first
Before using glue, assemble the pieces without adhesive. This is called a dry fit. It shows you whether the parts line up, whether the clamps reach properly, and whether anything needs adjustment.
This step saves time and mistakes. If the joint is tight and complicated, a dry fit is not optional. It is one of the smartest habits in woodworking.
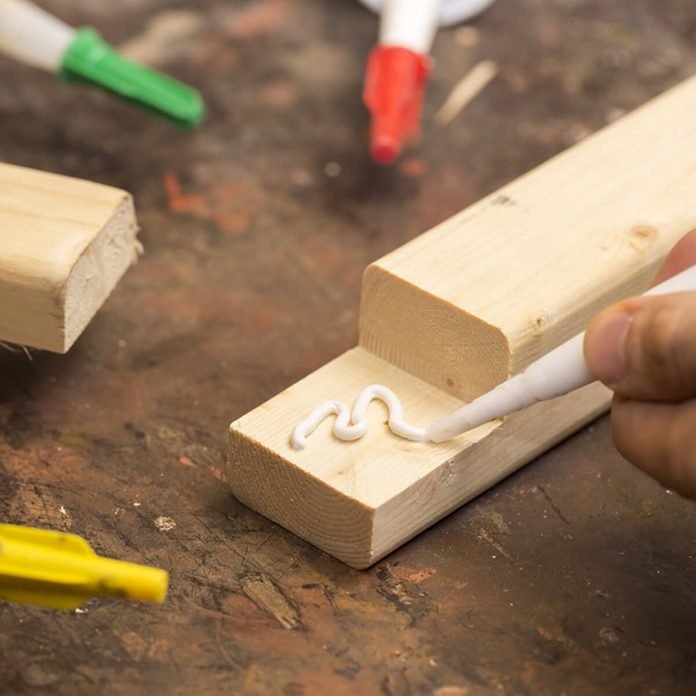
2. Apply the glue evenly
Squeeze a small amount of glue onto one surface, then spread it into a thin, even layer. You want full coverage, not thick blobs. A brush, plastic spreader, or even a small scrap of wood can help.
For most joints, covering one side is enough. For larger or very dry pieces, some woodworkers lightly coat both sides. The goal is a thin film that reaches the whole contact area.
Non-obvious tip: the best glue line is usually not the thickest one. A very thick glue layer can act like a soft cushion instead of a strong bond. Thin and even is better.
3. Join the parts with firm pressure
Bring the pieces together right away. Move them slightly back and forth for a second if needed. This helps spread the glue across the surface and improves coverage.
Then press the parts into final position. Make sure the joint is aligned before clamping. Once the glue starts grabbing, moving the pieces too much can weaken the bond.
4. Clamp the joint properly
Clamps hold the wood in position while the glue cures. You do not need huge force. You need steady pressure that closes the joint without squeezing out every bit of glue.
A good clue is this: a small line of glue should squeeze out along the seam. That shows the joint is tight. If too much glue pours out, the clamps may be too tight. If no glue shows at all and the joint looks open, pressure may be too light or the fit may be poor.
5. Clean up squeeze-out
Wipe away extra glue while it is still wet. A slightly damp cloth works for water-based glues, but do not soak the wood. Too much water can spread the glue or stain the surface.
For visible furniture surfaces, many woodworkers wait until the glue becomes rubbery, then scrape it off. This often gives a cleaner result than wiping wet glue all over the wood grain.
6. Let it cure fully
Do not rush this part. The joint may feel stuck after a short time, but that does not mean it is fully strong. Follow the glue label for clamp time and full cure time.
As a general guide, many wood glues need about 30 minutes to an hour of clamping, and around 24 hours to reach full strength. Cooler rooms may need more time.
Even if the glue feels dry, heavy stress too early can weaken the bond. Let the joint rest before sanding, moving, or loading it.
How much glue should you use?
This is one of the most common beginner questions. The answer is simple: use enough to cover the entire joint, but not so much that it floods out everywhere.
A thin, complete layer is usually ideal. If the glue is only in spots, some areas remain weak. If there is too much, cleanup becomes harder and the pieces may slide.
For edge joints, mortise-and-tenon joints, dowel joints, and similar connections, aim for full contact with a light squeeze-out. That is usually the sweet spot.
Best clamping practices for stronger joints
Clamping is not just about holding wood together. It is about controlling the bond while it cures. Many weak joints come from bad clamp use, not bad glue.
Credit: mamaneedsaproject.com
Use enough clamps, but not too many
One clamp is often not enough for long joints. On the other hand, too many clamps can make the setup awkward and may distort the wood. Place them where they support the joint evenly.
Protect the wood surface
Put scrap wood between the clamp jaws and your project. This prevents dents and clamp marks. Soft woods, like pine, are especially easy to crush.
Check alignment after clamping
Clamping pressure can shift the joint slightly. Look at the edges, corners, and faces before leaving the piece alone. A small misalignment now can become very obvious later.
Non-obvious tip: if a long edge joint keeps slipping, use a few small alignment pins, brads, or cauls to help position the pieces. This is often better than tightening the clamps harder.
Common mistakes when using wood glue
If your glue joints are failing, the reason is often one of these mistakes.
- Using too much glue – More glue does not mean a stronger bond.
- Skipping the dry fit – This causes rushed assembly and poor alignment.
- Clamping too hard – Excess pressure can starve the joint of glue.
- Not cleaning dust – Dust blocks the glue from reaching the wood fibers.
- Moving the joint too soon – Early movement can break the bond before it sets.
- Using the wrong glue type – Indoor glue is not right for wet or outdoor use.
One mistake deserves extra attention: people often think a joint that looks dry after 20 minutes is ready. It may not be. Surface dryness is not full cure. A joint can still be weak inside.
How to know when the joint is strong enough
You can usually tell by the full cure time listed on the bottle, but there are also practical signs. The glue line should feel firm, not rubbery. The joint should no longer shift under light pressure.
Still, be careful with stress. Sanding or trimming may be possible before full cure in some cases, but heavy use should wait longer. If the piece will carry weight, give it the full cure time plus a little extra if the room is cool or humid.
Tips for different woodworking projects
Furniture repair
For loose chairs, broken drawer parts, or table aprons, remove old glue before adding new glue. Old hardened glue can block the new bond. A clean joint is much stronger than a glued-over mess.
Cabinet and box building
These projects often need square corners. Use a square while clamping so the frame does not twist. Small mistakes in angle become very visible on cabinets and boxes.
Outdoor projects
For decks, planters, or outdoor seating, choose a water-resistant glue and follow the label carefully. Also remember that outdoor joints face swelling and shrinking from weather changes. Good joinery matters even more here.
How to remove dried wood glue
Sometimes glue squeezes out where you do not want it. If it is still wet, wipe it gently. If it has dried, let it harden completely, then scrape or sand it off.
Be careful with stain-grade or painted surfaces. Aggressive sanding can leave a shiny patch or damage the finish. If the glue is near a finished edge, use a sharp scraper or chisel with control.
For squeeze-out in corners, a small chisel or utility knife can help, but work slowly so you do not cut into the wood fibers.
Can wood glue fix a broken joint?
Yes, but only if you remove the old failure first. A broken joint often has dust, old glue, and damaged fibers. Re-gluing without cleanup usually does not last.
Lightly sand or scrape the broken area, test the fit again, and then apply fresh glue. If the joint was broken because the design was weak, you may also need to reinforce it with dowels, screws, or a stronger joint style.
Simple example: gluing a chair rung
Imagine a loose chair rung that has started to move. First, remove the rung if possible. Clean out the old glue from the socket and the rung end. Dry fit it to make sure it still fits tightly.
Then apply a thin layer of wood glue inside the socket and on the rung end. Insert the rung, align it, and clamp the assembly so the parts stay in the correct position. Wipe away squeeze-out. Leave it untouched until fully cured.
This small job shows the whole process clearly: fit, glue, clamp, clean, and wait.
Credit: familyhandyman.com
Safety and cleanup
Wood glue is usually safe to use, but basic care is still wise. Keep the work area ventilated. Avoid getting glue in your eyes or on open skin. Wash your hands after use.
Store the bottle tightly closed so it does not dry out. Keep it away from heat and freezing temperatures, since both can reduce performance.
Final advice for better results
The best way to get strong wood joints is not to use more glue. It is to use the right amount in a well-prepared joint and give it enough time to cure. That simple idea solves many common problems.
If you remember only a few things, remember these: dry fit first, clean the wood, apply a thin even layer, clamp with steady pressure, and wait for full cure. Those five habits will improve most woodworking jobs right away.
Once you understand how to use wood glue correctly, your repairs and projects will look better and last longer. Good glue work is quiet work. You do it once, and the joint keeps holding for years.
FAQs
1. How long should wood glue dry before removing clamps?
Most wood glues need about 30 minutes to 1 hour of clamp time for many basic joints, but always follow the product label. For full strength, many joints need about 24 hours before heavy use.
2. Can I use wood glue on painted or finished wood?
Not directly. Glue bonds best to bare wood fibers. You should sand or scrape away paint, varnish, or finish from the bonding area before applying glue.
3. Is more wood glue better for a stronger joint?
No. Too much glue can weaken the joint by preventing tight wood contact. A thin, even layer with slight squeeze-out is usually best.
4. What should I do if the joint has a small gap?
Small gaps can sometimes be filled, but wood glue is not made for large gaps. If the gap is noticeable, improve the fit first or choose a better joint design. Large gaps often lead to weak bonds.
5. Can I sand wood glue after it dries?
Yes. Once the glue is fully cured, you can sand it. If you sand too early, the glue may gum up the sandpaper or damage the joint.
