If you have ever stood in a workshop and held a sanding belt in your hands, you may have asked the same simple question: how do you measure a sanding belt without guessing? It sounds easy, but the wrong size can waste time, damage your machine, and give poor sanding results.
The good news is that measuring a sanding belt is not hard once you know what to look for. The trick is to measure the belt the right way, understand the difference between length and width, and know how different machines name belt sizes.
In this guide, you will learn how to measure a sanding belt step by step, how to read belt sizes correctly, and how to avoid the most common mistakes. If you buy belts often, these small details can save you money and frustration.
Start with the three numbers that matter
A sanding belt size is usually written with three parts: width, length, and sometimes the grit number. For example, a belt may be listed as 3 x 21 in, 80 grit. The grit tells you how rough the belt is, but it does not tell you the size. To choose the correct belt, you need the first two numbers.
The two measurements you care about are the belt’s width and its total loop length. Width is the short side. Length is the full distance around the belt when it is laid flat and measured end to end.
Many beginners make one big mistake here: they measure only one side of the belt and think that is the full size. It is not. A sanding belt is a loop, so you must measure the full circumference, not just one face.
Width is the easier part
Width is the distance from one edge of the belt to the other. Use a ruler or tape measure and measure across the belt at the widest point. Most belts are made with a standard width, such as 1 inch, 3 inches, or 4 inches.
Be careful not to include the seam or overlap when measuring the width. Measure only the usable belt area. If the edges are worn, measure from the original edge if you can still see it, or compare with an unused belt if you have one.
Length is the part people get wrong
Length is measured around the full loop. If the belt is already joined, you can lay it flat and measure from one end of the loop to the other along the long side, then double that number if needed, depending on how the belt is laid out. A simpler method is to use a soft tape measure and follow the belt around its inside edge.
If the belt is broken open, lay it flat on a surface and measure from one cut end to the other along the long edge. This gives you the full loop length when the belt is closed again.
For accurate results, do not stretch the belt too much. A stretched belt can look longer than it really is. Measure it gently and keep it flat.
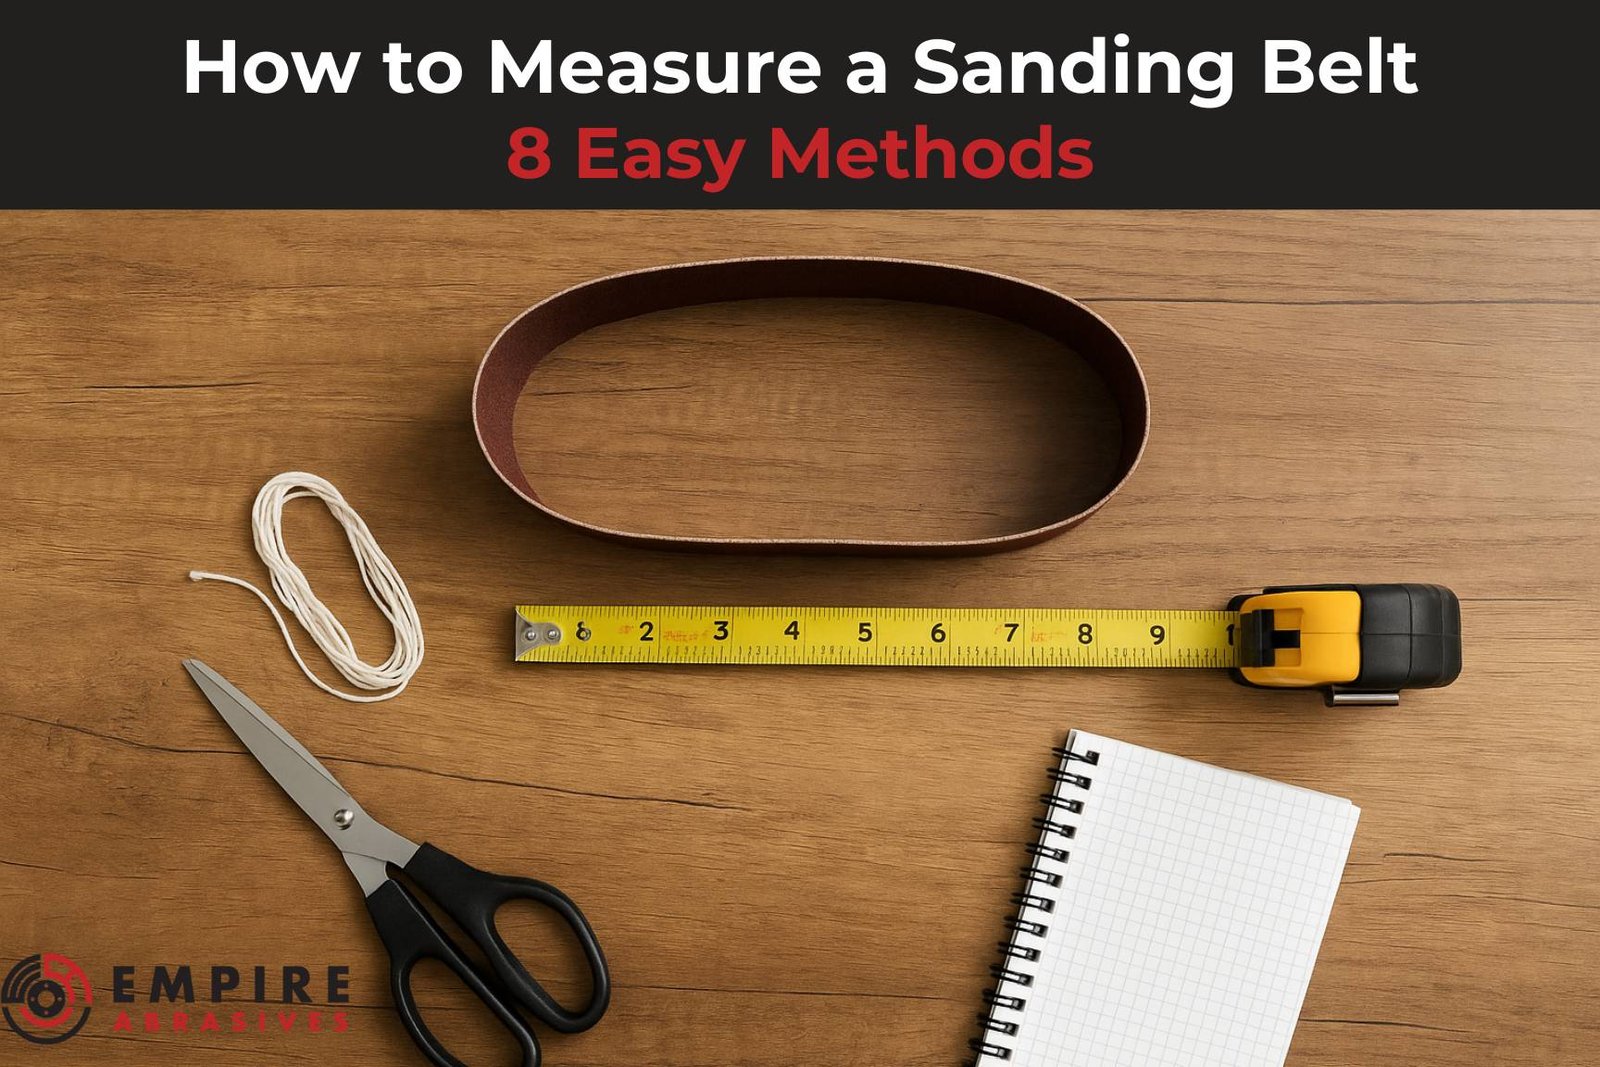
The easiest way to measure a sanding belt at home
You do not need special tools. A ruler, tape measure, or measuring tape is enough in most cases. If you want a fast and accurate method, follow this simple process.
- Lay the sanding belt flat on a clean surface.
- Measure the width across the belt from edge to edge.
- Measure the total length from one end of the loop to the other, or around the full loop if using a soft tape measure.
- Write the size in standard format, such as 2 x 42 in.
- Compare your number with the size listed on your sander or old belt.
If you are unsure about the exact shape of the belt, remember this: the belt size is not based on the abrasive grains. It is based on the physical dimensions of the belt backing.
A quick method for worn belts
Old belts can be stretched, torn, or rounded at the edges, so measuring them directly may not give the perfect size. In that case, use the old belt as a guide, but also check the machine label or user manual. Many sanders show the belt size near the belt housing or on the model plate.
For reliable reference, you can also check the size naming used by machine makers and abrasive suppliers. A good technical reference from Wood Magazine can help if you want to see how belt sizes are commonly described in woodworking tools.
How belt sizes are written
Sanding belts are often written in one of two ways. Some brands use inches, while others use millimeters. The format may also change by country, but the idea is the same.
| Common format | What it means | Example |
|---|---|---|
| Width x Length | Width first, then total loop length | 3 x 21 in |
| Width x Circumference | Same idea, different wording | 75 x 533 mm |
| Imperial size | Common in the United States | 4 x 36 in |
| Metric size | Common in many other regions | 100 x 915 mm |
One important detail many people miss: two belts with almost the same size can still be different enough to matter. A belt marked 3 x 21 in is not the same as a 3 x 20-1/2 in belt. That small difference can affect tension and performance.
Credit: benchmarkabrasives.com
Why exact size matters
If the belt is too short, it may not fit onto the machine at all. If it is too long, it may slip, track badly, or lose tension. Even a small mismatch can cause the belt to wander off center or wear faster than normal.
On sanding machines, fit matters more than many beginners think. A belt that is only slightly loose may still run, but it can create uneven sanding, heat buildup, and extra strain on the motor. That is why exact measurement is not just a buying detail. It is a performance issue.
Measure a belt without removing the old one
If the old belt is still on the machine, you may want to replace it without taking everything apart first. This is possible on many machines, but do it carefully.
- Turn off and unplug the machine.
- Release the tension if your sander has a tension lever.
- Remove the belt if the design allows easy removal.
- Lay it flat and measure the width and length.
If the belt is hard to remove or too worn to trust, check the machine label instead. Most belt sanders and spindle sanders have the size printed near the frame, on the nameplate, or in the manual.
This is one of the smartest beginner habits: never trust a damaged belt alone when the machine already tells you the correct size. The machine spec is often the best answer, especially if the old belt has stretched over time.
What if the belt has no markings?
Many used or generic belts do not show clear size markings. In that case, measure the belt yourself and then compare it against machine specs. If you still feel unsure, measure the old belt and the machine’s belt path. The full loop length should match the distance the belt must travel around the rollers.
A useful cross-check is the tension range. If the belt fits only when forced tight, it is probably the wrong size. A correct belt should fit with normal tension adjustment, not with extra force.
Common sanding belt sizes and where they are used
Different sanders use different belt sizes. Small handheld sanders often use narrow belts. Larger stationary machines use wider belts with longer loops. Knowing the common sizes can help you identify what you need faster.
- 1 x 30 in – often used on small bench-top belt sanders
- 2 x 27 in – common in smaller shop sanders
- 3 x 21 in – popular for handheld belt sanders
- 4 x 24 in – found on some medium-duty sanders
- 4 x 36 in – common on shop and combination sanders
- 6 x 48 in – used on larger, more powerful machines
These are only examples. Your machine may use a less common size. That is why measuring is still important, even if you think you know the general category.
Non-obvious detail: the same machine type may use different belt sizes
Two belt sanders that look similar can use different belts. One reason is roller size. Another is belt tension design. A machine with a longer frame may need a longer belt even if the sanding surface looks nearly the same.
This is a common trap for people who shop only by appearance. Always check the actual model number and belt size, not just the tool shape.
How to tell the difference between belt size and grit
Some beginners mix up belt size and grit because they are often printed together on packaging. But they mean different things.
Belt size tells you whether the belt fits the machine.
Grit tells you how aggressive the sanding action is.
For example, 80 grit is medium-coarse and good for removing material. 220 grit is much finer and gives a smoother finish. You can buy the correct size belt in many grit levels.
So when you ask how do you measure a sanding belt, remember that the size is only part of the choice. You also need the right grit for the job.
Credit: redlabelabrasives.com
Use the machine manual when possible
The manual is often the best source of truth. It will usually tell you the exact belt size, recommended grit range, and sometimes even the preferred belt type. If you still have the manual, check it before buying a replacement.
If you do not have it, search by the machine model number. Most manufacturers post manuals online. This can save time and help you avoid ordering the wrong part.
Another useful point: if your machine has adjustable tracking, the belt size still needs to be correct. Tracking helps center the belt, but it cannot fix a belt that is the wrong length.
Simple mistakes to avoid
Even experienced users make measurement errors. These mistakes are easy to avoid once you know them.
1. Measuring only one side
A belt is a loop. Measuring only one flat side gives you a false result. Always measure the full loop length.
2. Ignoring belt stretch
Old belts can stretch a little over time. If you measure a stretched belt, you may order a belt that is too long. Use the machine spec as your final check.
3. Confusing width with length
This sounds simple, but it happens often. Width is the short measurement across the belt. Length is the full size around the loop.
4. Forgetting seam thickness
The seam where the belt is joined can slightly change how a belt runs. This usually does not change the nominal size, but it can matter in tight-fitting machines. If a belt barely fits, the seam can be the difference between smooth running and poor tracking.
5. Buying by eye instead of measurement
Belts can look similar even when they are not. A difference of just a few millimeters can matter. Do not guess if you can measure.
How to measure special sanding belts
Not all belts are standard rectangles in a loop. Some belts are used on machines with unusual shapes or custom applications. In those cases, the same basic rule still applies: measure the width and total loop length as accurately as you can.
Spindle sander sleeves
These are not always called belts, but the sizing idea is similar. You need the correct diameter and length for the drum or spindle. Use the machine specification first, then confirm with the old sleeve if needed.
Wide industrial belts
Large sanding machines may use very wide belts. These often require more careful measurement because even small differences can affect tracking and belt life. When dealing with industrial equipment, the manufacturer spec should be your first reference.
Custom-made belts
Some shops order custom belts for special jobs. In that case, size accuracy becomes even more important because there may be no easy replacement if the belt is wrong. Measure twice and confirm the final size in writing before ordering.
How to buy the right replacement belt
Once you know the size, buying the correct belt becomes much easier. Still, do not stop at size alone. A good replacement belt should match the machine and the task.
- Check the size first – width and length must match your machine
- Pick the right grit – coarse for removal, fine for finishing
- Choose the right backing – some jobs need stronger cloth backing
- Look at seam quality – a poor seam can cause vibration or early wear
- Match the material – wood, metal, and plastic may need different abrasive types
For example, a woodworker who sands oak may need a different belt than someone smoothing metal edges. The belt size can be the same, but the abrasive material and grit should match the job.
A second detail beginners often miss is belt direction. Some belts have a directional arrow. If so, install them in the correct direction. This can improve belt life and performance.
Quick reference for measuring a sanding belt
If you want a fast memory aid, keep this simple rule in mind:
- Measure the width across the belt.
- Measure the full loop length.
- Check the machine label or manual.
- Match the grit to your sanding task.
- Do not rely on looks alone.
That is the core answer to how do you measure a sanding belt. Once you know those two key dimensions, you can shop with confidence and reduce the chance of buying the wrong part.
Credit: empireabrasives.com
Final thoughts
Measuring a sanding belt is simple when you break it into two parts: width and length. The hard part is not the measuring itself. The hard part is avoiding small mistakes that lead to a poor fit. That is why it helps to use the machine spec, measure the old belt carefully, and confirm the size before buying.
If you remember one thing, remember this: a sanding belt must fit the machine first, and only then should you think about grit or material. Get the size right, and everything else becomes much easier.
FAQs
1. How do you measure a sanding belt accurately?
Lay the belt flat and measure the width across the short side. Then measure the full loop length from end to end or around the full loop with a flexible tape. Compare the result with the machine manual or belt label.
2. Is sanding belt size the same as grit?
No. Belt size tells you if the belt fits the machine. Grit tells you how rough or fine the sanding surface is. You need both, but they are not the same thing.
3. Can I use a slightly different belt size?
Usually no. A belt that is too short may not fit, and a belt that is too long may slip or track badly. Even a small difference can cause problems.
4. What if my old sanding belt is stretched?
Do not trust a stretched belt as your only guide. Check the machine label, manual, or model number. Use the old belt only as a rough reference.
5. Where can I find the belt size on my machine?
Look near the belt housing, on the nameplate, or in the user manual. Many machines print the belt size clearly on the frame or product label.
