
If a motor is weak, noisy, hot, or not starting, the problem is often inside the windings, not outside the machine. A test motor multimeter check helps you find many common faults before you replace parts or spend money on a new motor.
You do not need a very complex setup to get useful results. A basic digital multimeter can help you check resistance, continuity, insulation clues, and supply problems. With the right method, you can spot open windings, short circuits, bad connections, capacitor trouble, and some mechanical issues that affect electrical performance.
This guide shows how to test motor performance and faults in a clear, practical way. It also explains what readings matter, what warning signs to watch for, and where beginners often make mistakes. If you follow the steps carefully, you can diagnose many motor problems with confidence.
What a multimeter can tell you about a motor
A multimeter does not measure everything about a motor, but it gives you a strong picture of its health. It can show whether the motor windings are open, shorted, or unbalanced. It can also help you check if the power supply is reaching the motor correctly.
That said, a multimeter is not a magic answer for every fault. Some problems only appear when the motor is running under load. Others need an insulation tester, clamp meter, or vibration check. Still, a test motor multimeter method is one of the best first steps because it is fast, low-cost, and useful in the field.
Main things you can check
- Winding continuity
- Resistance between motor leads
- Shorts to the frame or ground
- Power supply voltage
- Capacitor condition in single-phase motors
- Basic signs of overload or poor connections
One important detail beginners often miss: the same reading can mean different things depending on motor type. A small single-phase fan motor and a large three-phase pump motor do not behave the same way. Always compare readings between similar windings, not only against a random number from the internet.
Tools and safety before you start
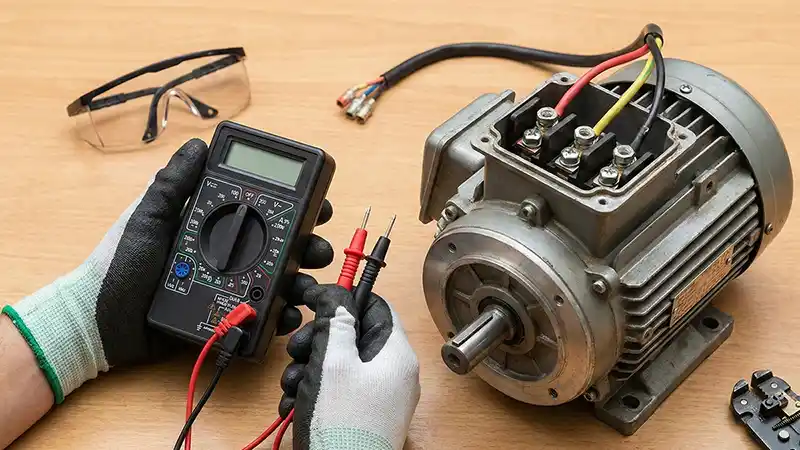
Before you test anything, make sure the motor is safe to work on. Disconnect power fully. Lock out the machine if possible. Let moving parts stop completely. A motor can be dangerous even after the switch is off if the capacitor is charged or if rotating parts are still moving.
You only need a few tools for a basic test:
- A digital multimeter with resistance and continuity mode
- Insulated test probes
- Screwdrivers or tools to open the terminal box
- Safety gloves and eye protection
- Motor wiring diagram, if available
If the motor has a capacitor, discharge it carefully before touching the terminals. This step is easy to skip, but it matters. A charged capacitor can give a shock and can also damage your meter.
For deeper insulation testing, professionals often use a megohmmeter. The Fluke guide on insulation resistance testing is helpful if you want to understand that next level of checking.
How to test a motor with a multimeter step by step
Start with the simplest checks first. Do not jump straight to advanced tests. A smart sequence saves time and avoids confusion.
1. Check the motor nameplate and wiring
Look at the motor label. Find the voltage, phase type, horsepower or kilowatt rating, and connection style. This helps you know what readings and wiring setup to expect.
Then inspect the terminal box. Loose wires, burned connectors, and broken insulation can all create fake motor faults. Sometimes the motor itself is fine, but the terminal connection is not.
2. Test continuity of the windings
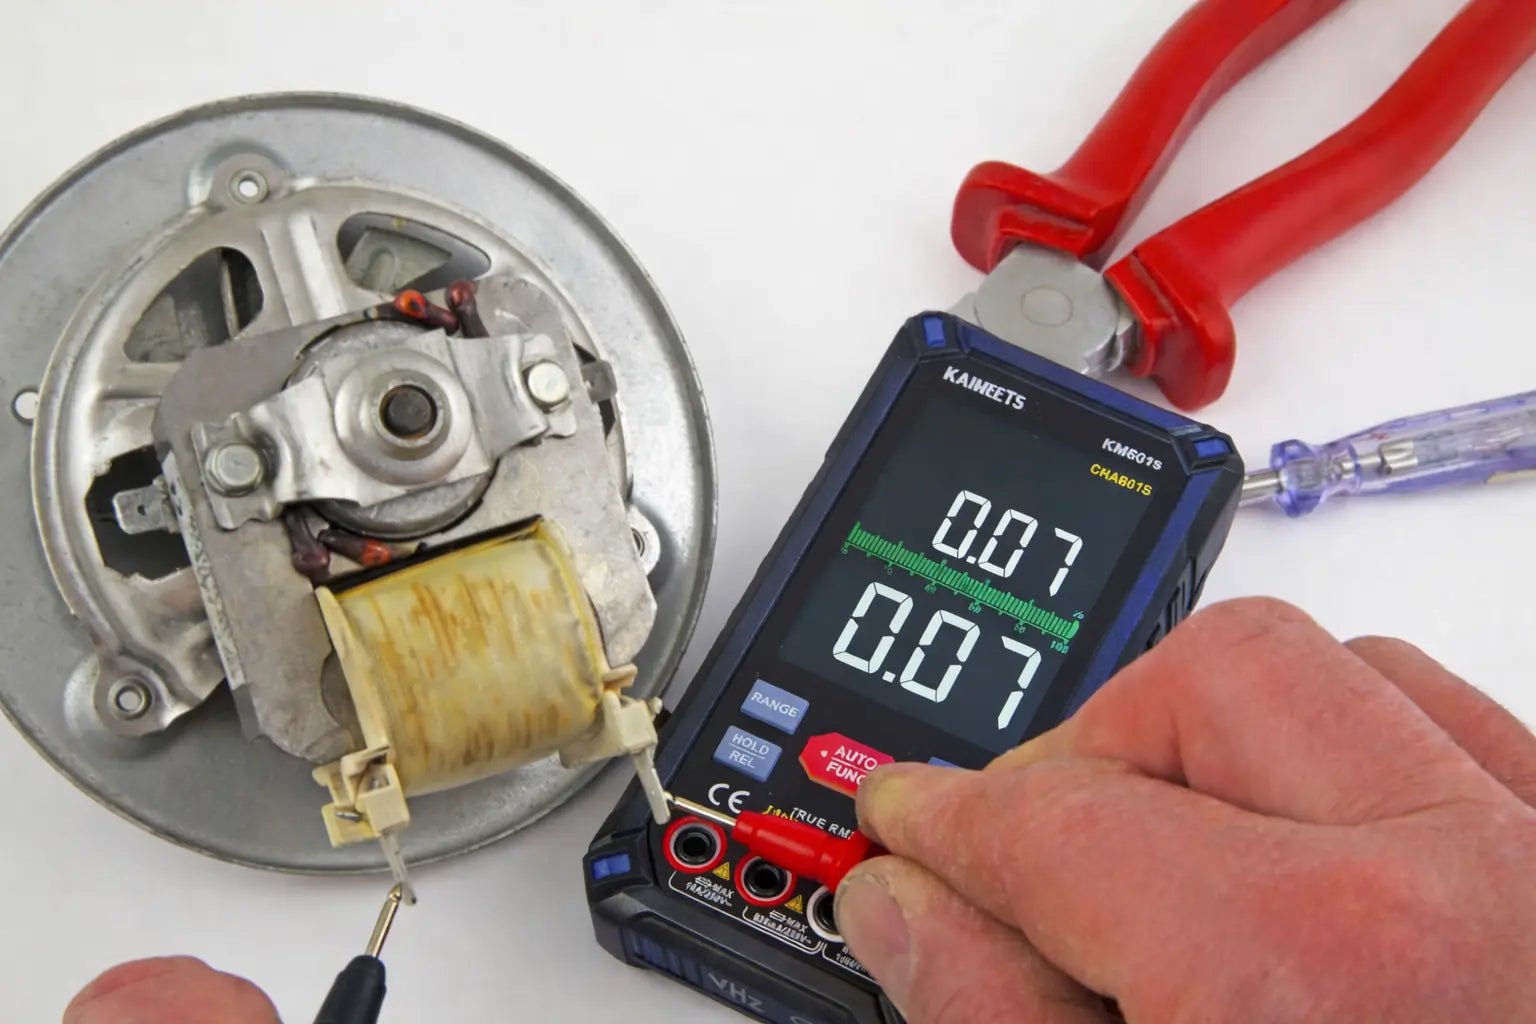
Set your multimeter to continuity mode or low ohms. Place the probes on the motor winding leads. On many motors, you should hear a beep or see a low resistance reading if the winding is intact.
If you get no beep and the meter shows open circuit, that can mean a broken winding or a thermal protector that is open. In some motors, a thermal protector is built in, so you must know the design before you decide the winding is bad.
3. Measure resistance between winding leads
Now measure resistance across each winding pair. For a three-phase motor, compare all three phase-to-phase readings. They should be close to each other. A large difference can point to a damaged winding or a bad connection.
For a single-phase motor, you may find start and run windings with different resistance values. That is normal. What matters is whether the readings match the expected pattern from the motor diagram.
4. Check for shorts to ground
Place one probe on a motor winding lead and the other on the metal frame. The meter should show very high resistance or no continuity. If you get a low reading, the winding may be touching the frame, which is a serious fault.
This test is important, but it has a limit: a regular multimeter may not catch weak insulation that only breaks down under high voltage. So a motor can still pass this check and fail later under load.
5. Inspect supply voltage while the motor is connected
If the motor is not starting or is running weakly, check the supply voltage at the motor terminals. Low voltage can make a healthy motor look bad. High voltage can also overheat windings and shorten motor life.
Measure voltage with the motor switched on, if it is safe and you are trained to do so. Compare the result with the motor’s rated voltage. A significant drop under load usually points to wiring trouble, bad contacts, or an overloaded circuit.
6. Test the capacitor if the motor uses one
Single-phase motors often use a start or run capacitor. A bad capacitor can cause humming, slow starting, or failure to start. Some multimeters have a capacitance mode, which can help you check if the capacitor value is near the rated value.
Before testing, fully discharge the capacitor. Then remove at least one lead from the circuit for a cleaner reading. If the value is far below the rating, the capacitor may be weak or failing.
How to read motor test results the right way
A lot of people ask for one perfect number. In real work, motor testing is more about patterns than exact magic values. The numbers should make sense together.
Here is a simple way to think about the results:
| Test result | What it often means | What to do next |
|---|---|---|
| Open circuit / no continuity | Broken winding, blown thermal protector, or disconnected lead | Check the wiring diagram and inspect the protector |
| Uneven resistance between phases | Possible winding damage or bad internal connection | Compare all windings and inspect for burn marks |
| Low resistance to frame | Possible short to ground | Remove from service and test insulation more deeply |
| Correct resistance but motor still fails | Capacitor, supply, overload, bearing, or mechanical issue | Check voltage, load, and rotation parts |
| Low voltage at terminals | Supply drop, weak contact, or undersized wiring | Trace the power path back to the source |
One non-obvious insight many beginners miss is that a motor can read electrically normal and still be mechanically bad. Worn bearings, tight load, and shaft damage can force the motor to draw extra current and heat up even when winding resistance looks fine.
Another useful point: if you test a motor when it is cold and it looks fine, that does not always mean it is healthy. Some faults appear only after the windings warm up and resistance changes slightly. That is why real-world diagnosis often needs both a cold test and a running observation.
Credit: kaiweets.com
Common motor faults you can find with a multimeter
A multimeter helps you find several common faults quickly. It will not solve everything, but it can narrow the problem fast.
Open winding
An open winding means the electrical path inside the winding is broken. The motor may not start at all, or it may hum and trip protection. Continuity testing usually reveals this problem.
Shorted winding
A shorted winding has damaged insulation between turns or coils. A basic meter may show resistance that seems normal, but the motor may still run hot, draw too much current, or trip the breaker. This is one of the reasons advanced tests are sometimes needed.
Short to ground
This fault happens when the winding touches the metal frame. It is dangerous and usually means the motor needs repair or replacement. Never keep running a motor with a suspected ground fault.
Bad capacitor
In single-phase motors, a weak capacitor can stop the motor from starting properly. The motor may hum, start slowly, or need a push. Capacitance testing can reveal a value that is too low or far off the rating.
Loose connection
A loose terminal can cause intermittent faults that are hard to find. The motor may work one day and fail the next. Heat marks, melted insulation, or darkened terminals often point to this issue.
Checking motor performance while it runs
Some problems only show up during operation. If the motor is safe to run and you have proper training, you can check basic performance signs while it is loaded.
Listen for uneven sound. Feel for excess vibration. Watch for slow startup, repeated tripping, or abnormal heat. These signs often point to electrical stress or mechanical drag.
Credit: powertoolstoday.com
What to watch for during a running test
- Motor starts slowly or struggles to start
- Motor hums but does not spin well
- Breaker or overload trips after a short time
- Motor runs hotter than normal
- Speed drops when load increases
Here is a useful rule: if resistance readings are good but the motor fails under load, think about current draw, load condition, and voltage drop. The fault may not be inside the windings at all. It may be in the driven machine, bearings, or supply path.
Typical mistakes when using a test motor multimeter
Even a simple multimeter test can go wrong if you rush. These are the mistakes that cause most bad conclusions.
Testing without isolating the motor
If the motor is still connected to a circuit, you may read through other components and think the motor is fine or faulty when it is not. Disconnect the motor from the circuit when possible for a cleaner test.
Ignoring the wiring diagram
Some motors have internal protectors, dual voltage windings, or special connections. Without the diagram, you can misread a normal result as a fault.
Comparing readings to the wrong motor
Every motor is not the same. A reading from a different model is not a reliable target. Compare similar windings on the same motor first.
Forgetting that temperature changes resistance
Hot windings usually show higher resistance than cold ones. If you test a hot motor and compare it to a cold spec without adjusting your thinking, you can draw the wrong conclusion.
Skipping the mechanical side
Many people focus only on electrical tests. But a stiff bearing, jammed fan, or overloaded pump can make a good motor appear faulty. Always check the load side too.
A practical testing sequence for faster diagnosis
If you want a simple field method, use this order. It saves time and reduces guesswork.
- Turn off and isolate power.
- Inspect the motor body, leads, and terminal box.
- Check the capacitor if the motor has one.
- Test continuity and resistance of windings.
- Check for shorts to the frame.
- Measure supply voltage at the terminals.
- Run the motor only if it is safe, and observe behavior.
- Compare all results with the motor type and wiring diagram.
This order works well because it moves from easy checks to more specific ones. It also helps you avoid replacing parts before you know the real fault.
When a multimeter is not enough
There are times when your test motor multimeter checks will not give a final answer. That is normal.
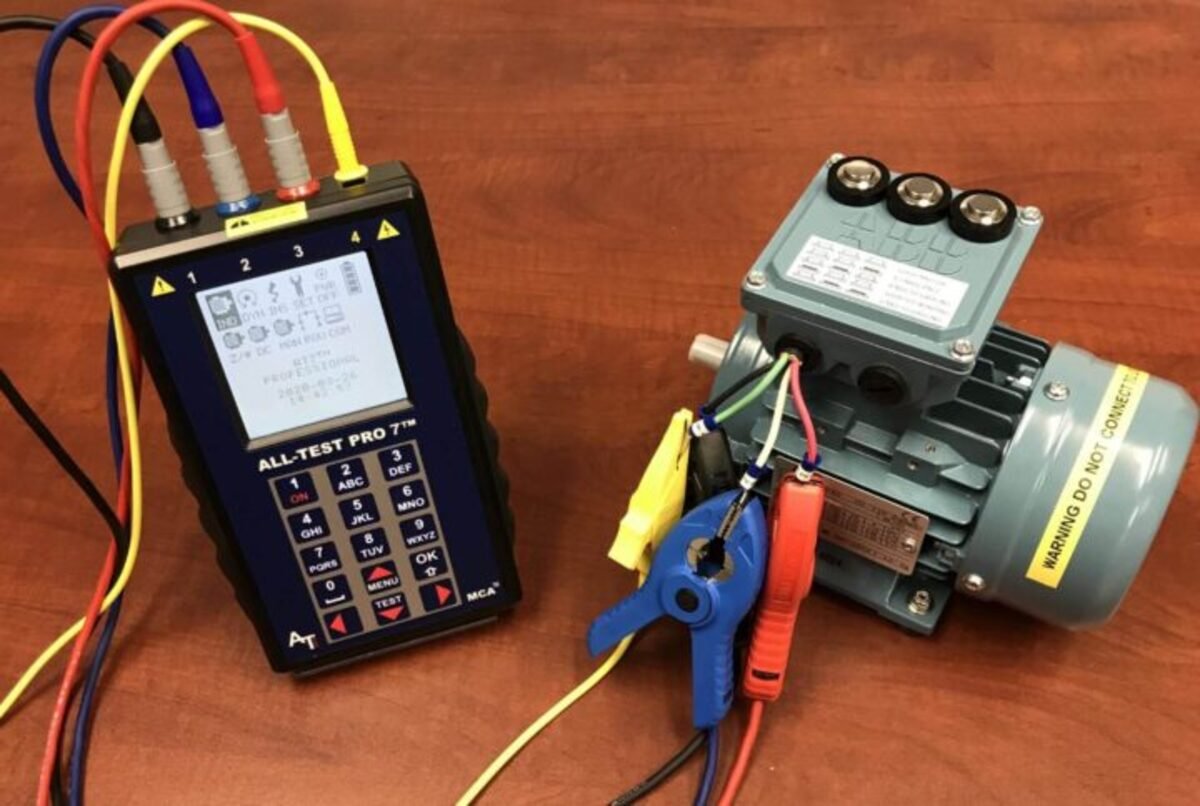
You may need an insulation tester if the motor trips only under high voltage stress. You may need a clamp meter if you want to see real running current. You may need vibration tools if the main problem is mechanical. And if the motor is large or expensive, a full motor shop test may be the best choice.
Think of the multimeter as the first and most useful filter. It helps you decide whether the motor is clearly bad, likely healthy, or needs deeper testing.
How to protect motor life after testing
Once you finish testing, do not just close the panel and walk away. If the motor passed, you still want to reduce future faults.
Make sure terminals are tight. Replace cracked insulation. Keep the motor clean and dry. Check that cooling paths are open. Make sure the load is not forcing the motor to work too hard. Small problems often grow slowly into major failures.
One practical habit is to record the readings. Write down resistance, voltage, capacitor value, and any unusual sound or heat. The next time you test the same motor, those notes help you spot slow changes early.
Credit: storables.com
Final thoughts
A multimeter is one of the best tools for basic motor diagnosis. With a careful approach, you can use it to check windings, spot grounding faults, test capacitors, and confirm supply problems. That makes the test motor multimeter process valuable for technicians, electricians, and maintenance teams.
The key is not just taking readings. It is reading them in context. Look at the motor type, the wiring diagram, the condition of the load, and the results from all tests together. That is how you move from guessing to real diagnosis.
FAQs
1. Can a multimeter test if a motor is bad?
Yes, a multimeter can reveal many common motor faults like open windings, short circuits, bad connections, and some capacitor problems. It cannot find every issue, but it is a very good first test.
2. What resistance should a motor winding have?
There is no single correct resistance for all motors. The value depends on motor size, type, and design. What matters most is that similar windings on the same motor are close to each other and match the wiring diagram.
3. How do I know if a motor is shorted to ground?
Set the multimeter to resistance mode and check between each winding lead and the motor frame. A healthy motor should show very high resistance or no continuity. A low reading can mean a short to ground.
4. Can a motor still be bad if it passes a multimeter test?
Yes. A motor can pass basic multimeter checks and still fail under load because of weak insulation, mechanical drag, bearing wear, or supply problems. That is why running checks are also important.
5. Do I need a special meter to test a motor capacitor?
A multimeter with capacitance mode is very helpful, but not always required for basic checks. If your meter does not measure capacitance, you may still detect a clearly bad capacitor by symptoms and replacement testing.
