
If you want to shape wood with clean curves, smooth edges, and neat joints, a router is one of the most useful tools you can own. At first, it may look a little scary. The bit spins very fast, and the tool can remove wood quickly. But once you learn the basics, it becomes much easier to control.
This guide explains how to use a wood router in a simple, beginner-friendly way. You will learn what the tool does, how to set it up, how to make safe cuts, and how to avoid the mistakes that often frustrate new users. The goal is not just to help you start, but to help you use the tool with confidence.
Whether you want to round over table edges, cut dados, make decorative profiles, or improve your woodworking skills, the steps below will help you work safely and get better results from the start.
What a wood router actually does
A wood router is a power tool that spins a sharp bit at high speed. That bit cuts, shapes, or hollows out wood. You can use it on edges, in the middle of a board, or along a guide. In simple terms, it helps you make wood look more finished and precise.
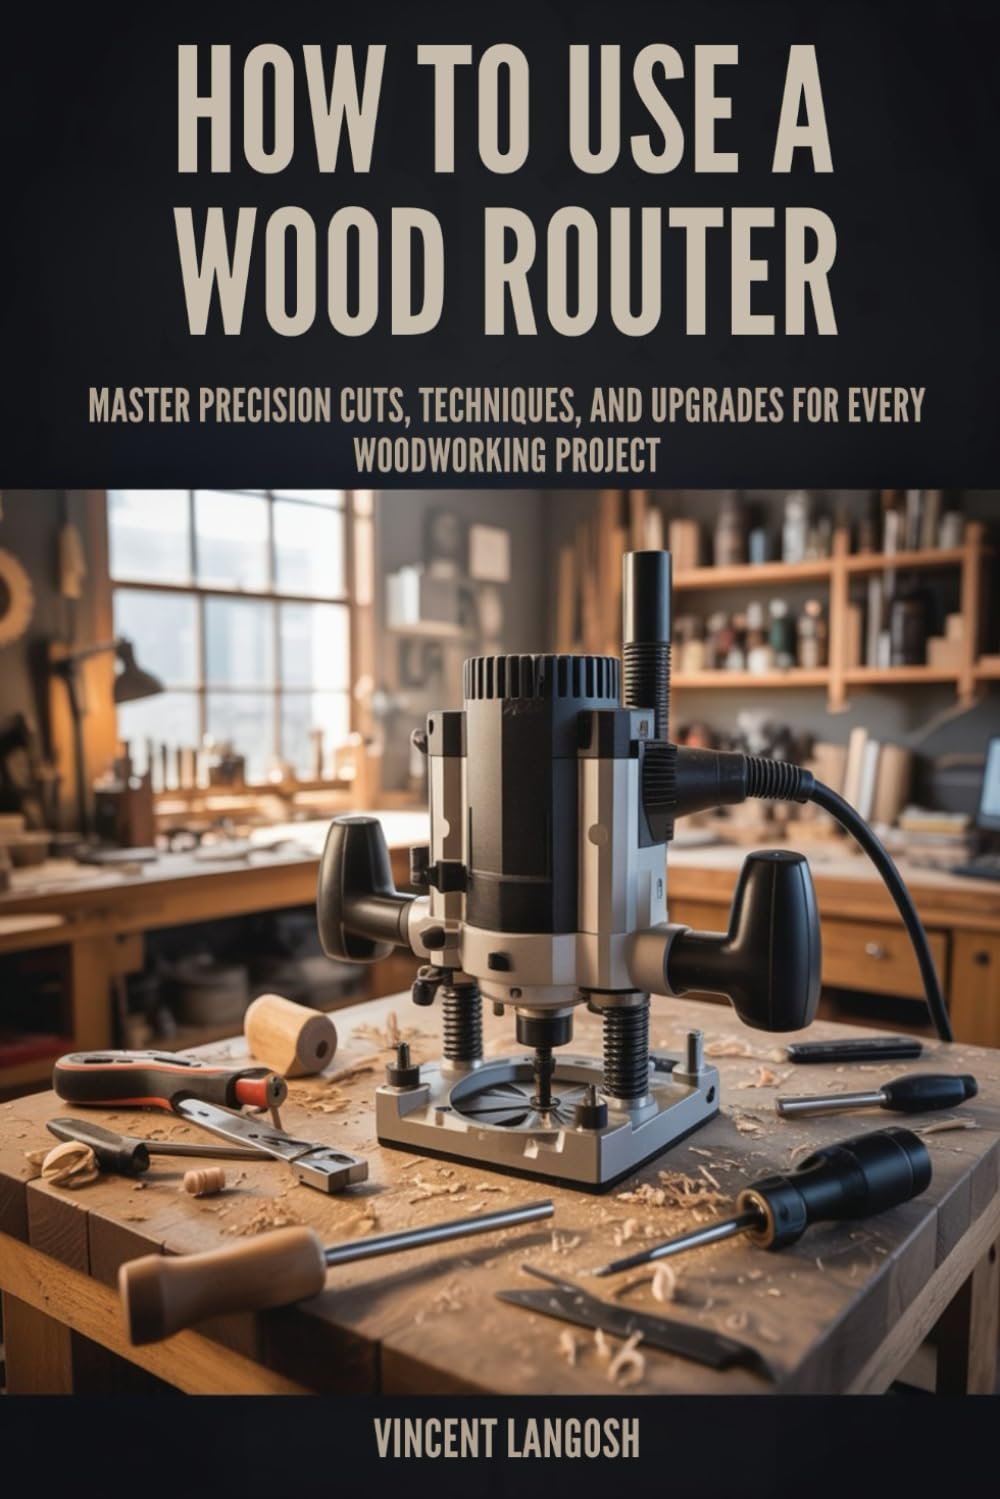
There are two common types. A fixed-base router keeps the bit at one height. A plunge router lets you lower the bit into the wood while the tool is running. Beginners often find a fixed-base router easier for edge work, while a plunge router is useful for cuts inside a board.
Many people think a router is only for decoration. That is not true. It is also very practical. You can use it for hinge recesses, shelf dados, trimming, template work, and joint cleanup. Once you understand the tool, it becomes useful in many projects.
Why beginners should not rush the first cut
A router removes wood fast, and that is both its strength and its risk. Small mistakes can show up very clearly. If you move too quickly, the bit may leave burn marks, tear out the grain, or catch the wood. That is why the first lesson is simple: control matters more than speed.
Another thing many beginners miss is that the router bit matters as much as the router itself. A dull or wrong bit can make the tool feel difficult, even if the technique is fine. Good results come from the right bit, the right speed, and steady movement.
Know the parts before you start
Before you learn how to use a wood router, take a minute to understand the main parts. This makes setup much easier and safer.
- Motor: Powers the spinning bit.
- Collet: Holds the bit tightly in place.
- Base: Sits on the wood and keeps the tool stable.
- Depth adjustment: Controls how deep the bit cuts.
- Bit: The cutting part that shapes the wood.
- Handles or grips: Help you guide the router with control.
If your router has a speed control dial, that is also important. Not every bit should run at full speed. Larger bits usually need slower speeds for safer, cleaner cuts.
Choose the right router bit for the job
The router bit decides the shape of the cut. Beginners often buy a router and then use whatever bit came in the box. That is not always enough. Different tasks need different bits.
| Bit type | What it is used for | Beginner note |
|---|---|---|
| Round-over bit | Smooths sharp edges | Very useful for first projects |
| Chamfer bit | Cuts angled edges | Good for clean decorative edges |
| Straight bit | Cuts grooves, dados, and slots | Use with guides for better control |
| Flush trim bit | Trims one board or material level with another | Helpful for template work |
| Core box or cove bit | Makes rounded decorative grooves | Best after you get comfortable |
A simple tip: start with a round-over or straight bit. These teach you basic control without creating too much risk. Also, check the bit shank size before buying. Most routers use either 1/4 inch or 1/2 inch shanks. A 1/2 inch shank often gives better stability, especially with larger bits.
Set up the router safely
Good setup makes the work much easier. Do not skip this part. Many router problems happen before the cut even starts.
1. Unplug the tool first
Always unplug the router before changing bits or adjusting depth. This simple habit prevents accidental starts, which can cause serious injury.
2. Install the bit correctly
Open the collet, insert the bit shank, and then pull it back slightly before tightening. The shank should be seated properly, but not bottomed out hard. Tighten it firmly. A loose bit is dangerous and can ruin your cut.
3. Set the depth of cut
Depth is one of the most important settings. Start shallow. For edge work, a small cut is easier to control. You can always make a second pass deeper if needed.
A beginner mistake is trying to take too much wood at once. That often causes chatter, burning, or tear-out. Thin passes give a cleaner result and are safer for both you and the tool.
4. Check the speed
If your router has variable speed, adjust it based on bit size and material. Smaller bits can usually run faster. Larger bits should run slower. If the router sounds strained or you see burning, slow down the feed speed or reduce the bit speed.
5. Inspect the workpiece
Make sure the wood is flat, clamped well, and free from nails, screws, and loose knots. Any hidden metal can damage the bit and throw the router off balance.
Prepare your workspace before cutting
A clean setup helps more than many beginners expect. Routers can move quickly, and a messy work area creates avoidable mistakes.
- Use a sturdy bench or work surface.
- Clamp the wood so it cannot shift.
- Keep both hands on the router when possible.
- Clear sawdust from the cutting area.
- Make sure the cord will not snag while you move.
Good lighting matters too. You need to clearly see the bit, the edge, and the direction of the cut. If the line is hard to see, it is easier to drift away from it.
Wear safety glasses and hearing protection. A dust mask is also wise, especially if you are routing for more than a few minutes. For reliable safety information, it helps to review guidance from a trusted source like the Wood Magazine woodworking resource.

Credit: thesprucecrafts.com
Learn the direction of travel
This is one of the most important ideas in router work. The bit spins in a certain direction, and you should move the router against that spin when working on an outside edge. This is called cutting against the rotation or working in the correct feed direction.
Why does this matter? If you move in the wrong direction, the router can pull away from you and run too fast. That makes control harder and can damage the wood.
The simple rule
When routing the outside edge of a board, move the router from left to right. When routing inside a hole or along the inside of a frame, the direction may change. The key is to keep the bit cutting into the wood in a controlled way, not pulling the tool away from the cut.
Many beginners forget that the router is not like sanding. You cannot move it any way you want. Direction is part of the technique.
Make your first edge cut
Edge routing is the best place to begin. It helps you learn balance, pressure, and movement without making an internal cut.
1. Mark the edge if needed
If you are cutting only part of an edge, mark the start and stop points with pencil or tape. This gives you a clear target.
2. Place the base flat on the wood
Before starting the motor, set the router base fully on the surface. The bit should not touch the wood yet if possible. This helps avoid a jump when the tool starts.
3. Start the router and let it reach full speed
Do not rush into the cut. Wait until the bit is spinning steadily.
4. Move smoothly and steadily
Guide the router along the edge with gentle pressure. Do not force it. Let the bit do the cutting. If you push too hard, the tool may slow down or burn the wood.
5. Keep the base flat
This is a small detail, but it matters a lot. If the base tilts, the cut may become uneven. Flat contact gives cleaner lines and better control.
For a beginner, a shallow round-over on scrap wood is a very good first practice cut. It teaches you the feel of the tool without much risk.
How to use a wood router for grooves and dados
Once you are comfortable with edge cuts, you can try grooves and dados. These are cuts made in the middle of a board, often for shelves, panels, or joinery.
Use a guide when possible
A straight edge, fence, or guide rail helps keep the cut accurate. Freehand routing is possible in some cases, but beginners usually get better results with a guide.
Measure carefully
Grooves must often be placed very precisely. Even a small error can affect how a shelf or panel fits. Mark both sides of the cut clearly before starting.
Make multiple passes
Do not try to cut the full depth in one pass unless the cut is very shallow. Remove wood in layers. This reduces strain and improves accuracy.
One useful trick is to cut a little less than the final depth on the first pass, then make the final pass at full depth. The last pass often gives the cleanest bottom surface.
Use a plunge router for interior cuts
If your router can plunge, you can start a cut in the middle of the wood. This is useful for mortises, sign work, and cutouts.

Credit: thesprucecrafts.com
How to plunge safely
- Mark the cut area clearly.
- Set the depth stop before powering on.
- Hold the router steady with both hands.
- Start the motor before lowering the bit.
- Lower the bit slowly into the wood.
- Move through the cut at a steady pace.
- Lift the bit out only after the cut is complete.
Do not twist the router while plunging. Keep the movement straight and controlled. A slow plunge gives more accuracy and less risk of a rough entry point.
Control the router with your body, not just your hands
Good router use is not only about hand strength. Your stance matters too. Stand with your feet apart and your body balanced. Keep the cord away from the cutting path. Move your whole body as you guide the tool, not just your wrists.
Another beginner mistake is leaning too hard over the workpiece. That can make your movement awkward and uneven. Try to stay in a position where you can see the cut clearly without stretching.
Let the tool work at its own pace
When the router is cutting well, it feels smooth. If you have to fight it, something is wrong. You may be moving too fast, using the wrong bit, or taking too deep a cut. The tool should not feel like it is dragging you around.
Avoid the most common beginner mistakes
Many first-time users think router problems mean they are bad at woodworking. Usually, the issue is one small setup or technique mistake.
- Cutting too deep: This causes rough edges and more tear-out.
- Moving the wrong direction: The router can become hard to control.
- Using a dull bit: This creates burning and rough cuts.
- Not clamping the wood: A shifting board can ruin the cut.
- Forcing the tool: This strains the router and makes the finish worse.
- Ignoring grain direction: End grain and tricky grain areas can chip easily.
Two less obvious points matter a lot. First, the first and last inch of a cut are often the most visible, so approach and exit slowly. Second, if you are routing a delicate edge, you may get a cleaner result by making a very light pass first, then a full pass after the fibers are already partly cut.
Get cleaner results with simple finishing habits
A router can make a good cut, but a few habits help turn that cut into a polished result.
Make test cuts on scrap wood
This is one of the smartest things you can do. Scrap wood tells you if the depth, speed, and bit choice are correct before you touch the real piece.
Take lighter final passes
The last pass should be smooth, not aggressive. A lighter finish pass often removes tiny marks and leaves a cleaner surface.
Sand lightly after routing
Routers cut well, but they do not always leave a perfect finish. A quick sanding step removes small marks and softens the edge if needed.
Watch for burn marks
Burning usually means the bit is moving too slowly through the wood, the bit is dull, or the speed is too high for the bit size. If you see dark marks, stop and correct the cause before continuing.
Clean and maintain the router after use
A clean router lasts longer and works better. After you finish, unplug the tool and brush away dust from the base, collet, and vents. Resin and buildup can affect performance over time.
Check the bit for damage. If you see chips, dull edges, or rust, clean or replace it. Store bits in a way that protects the cutting edges. A damaged bit can make future cuts unsafe and rough.
Also inspect the power cord, switches, and base plates now and then. Small maintenance checks help prevent bigger problems later.
When to stop and reset instead of pushing through
Sometimes the best skill is knowing when to stop. If the router starts to vibrate badly, the bit burns the wood, or the cut looks wrong, pause. Do not keep forcing the tool just because you are halfway through.
Resetting may mean changing speed, reducing depth, sharpening the bit, or rechecking the feed direction. A short pause can save the workpiece and protect the tool.
This is one of the biggest differences between a nervous beginner and a careful woodworker. Careful users adjust early. They do not wait until the wood is ruined.
Credit: amazon.com
Practice project ideas for beginners
If you want to build confidence, start with small practice projects. These help you learn without a lot of pressure.
- Round over the edges of a scrap board.
- Cut a straight groove in pine scrap.
- Use a template and flush trim two matching pieces.
- Create a simple decorative edge on a small shelf.
Pine and other softwoods are good for learning, but they can also show tear-out more easily. That makes them useful practice material. Once you understand the router on softwood, hardwood work becomes easier to judge.
Final thoughts for new router users
Learning how to use a wood router is mostly about control, patience, and setup. The tool itself is powerful, but it becomes much easier to handle when you use the right bit, make shallow passes, move in the correct direction, and keep the workpiece secure.
Do not expect perfection on the first day. Instead, aim for safe habits and simple practice cuts. Each good pass will teach you something useful. With time, the router will feel less like a difficult machine and more like a natural part of your woodworking process.
If you start with small projects and respect the tool, a wood router can open the door to cleaner edges, better joints, and more professional-looking work.
FAQs
1. What is the easiest router project for a beginner?
A simple edge round-over on a scrap board is one of the easiest beginner projects. It teaches you how to hold the tool, control the feed direction, and keep the base flat without needing complex measurements.
2. Should I use a fixed-base or plunge router first?
Many beginners start with a fixed-base router because it is easier for edge work and simple shaping. A plunge router is better when you need to start a cut in the middle of a board.
3. How deep should I cut with a router?
Start with shallow cuts, especially on your first attempts. Light passes are safer and usually give cleaner results. If you need more depth, make several passes instead of one deep cut.
4. Why does my router leave burn marks?
Burn marks usually happen when the bit is dull, the feed speed is too slow, or the bit speed is too high for the size of the cutter. A lighter pass and a sharper bit often solve the problem.
5. Is a router dangerous for beginners?
It can be dangerous if used carelessly, but it is very manageable with the right habits. Unplug it before changing bits, clamp your work, use the correct direction, and start with shallow cuts.
